Cheap Windows and Linux Mini PCs – Turn a Thin Client into a Full PC
27th October 2023
Batocera Full Installation to Portable USB and Hard Drive
10th November 2023How Create, Manage, Resize and Fix Bootable SD Cards and Flash Drives
When you start messing around with computers and Raspberry Pis you’ll very quickly come across the need to create a bootable USB drive. If you’re not familiar with this process it can be a bit confusing as to why you’re doing it, how you create the drive, how you use the drive, and finally how you can recover the SD card or USB stick after the project for use in your next idea.
So, in this video I’ll walk you through the whole process and explain exactly what is happening as we create our bootable media.
What Is Bootable Media?
Computers need software to run. No matter what type of computer or microprocessor you talk about this holds true. This software can be held in several different storage types such as ROM, a hard drive or as we’re working with today, a USB memory stick. Please note that I’ll probably swap between talking about USB memory sticks and SD cards throughout this video, but we’ll treat them in the same way.
When a microprocessor is first powered on it expects to find a memory device attached to it that will contain some basic software to allow it to communicate with the rest of the hardware. This is usually called the BIOS, or Basic Input Output System. Once the BIOS has loaded the processor is then able to communicate with other storage devices such as your hard drives or memory sticks. The BIOS software will then scan these devices to find one that is formatted in a specific way so that it is recognised as a bootable device. If the BIOS can’t find a storage device that’s formatted in this special way the system won’t start.
The format of these bootable devices isn’t usually something that you can easily create yourself. We need to use ready-made snapshots or images of correctly formatted drives which we can burn onto our blank storage device to turn them into bootable media.
Once we’ve done that we can then use it during the boot sequence of our system and the BIOS will be able to load our software and start the computer. At this point the code embedded into our boot media will start to run.
Making Sure We Boot From The Right Device
If you’re setting up something like a Raspberry Pi there’s usually only one mass storage device connected to the system, your SD card. As the Raspberry Pi boots up it will find your card and start to run the software on it.
If we’re working with a PC there will usually be a number of possible boot devices connected to the computer. You might have a hard drive and a DVD drive as well as the USB stick that you really want to boot from.
So how do we make sure that we boot from the USB drive and not something else?
As we talked about earlier it’s the BIOS software that finds and loads the boot code. So, if there is more than one boot device it needs to be told which one to use. On most computers we can access a BIOS settings screen by pressing a specific button on the keyboard as the computer powers on.
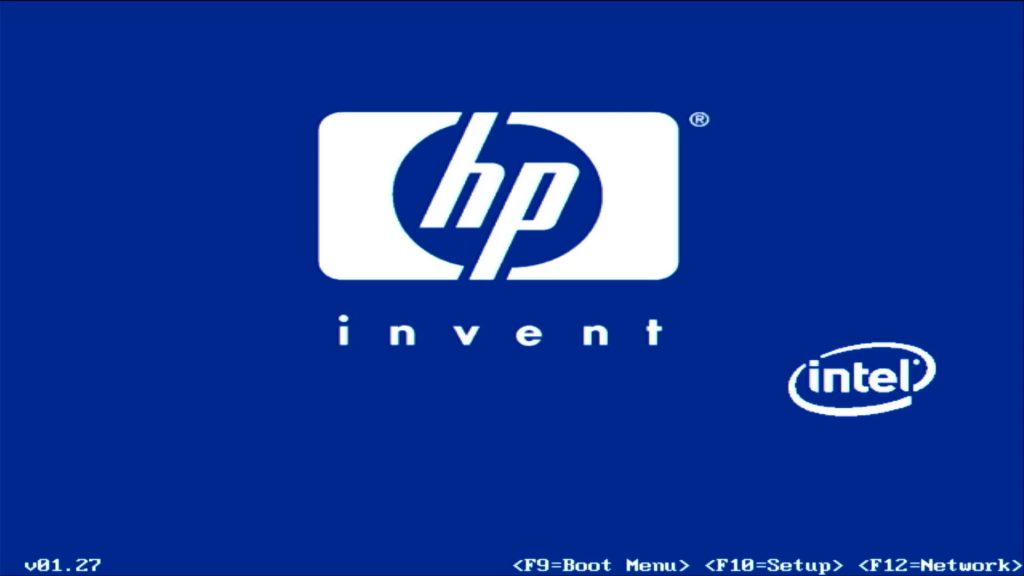
Once we’ve got into the BIOS settings there’s usually a section which lists the boot order during computer startup. This tells the BIOS which devices to check first to see if there is some bootable media available.
Alternatively most PCs also have a boot menu that you access again by holding down a specific key on your keyboard. For all these keys please check the documentation for your computer as they are different for each machine. This brings up a menu and you select the device you want to boot from.
Once you’ve done that the computer it will check to see if our USB drive is plugged in. If it is, it will try to boot from it. If it’s not plugged in or is not a bootable device the system will try the next item in the boot order list.
How To Create a Bootable USB Drive
The first step and creating a bootable USB drive is to get the drive image. Mostly this will be a simple download from the website of the software you’re trying to install. In this tutorial I’m going to use a Linux boot drive so that we can see the general process. However, pretty much all boot drives are created the same way.
Once we’ve got hold of our drive image, we need to burn this onto our SD card. For this we will need a few bits of hardware.
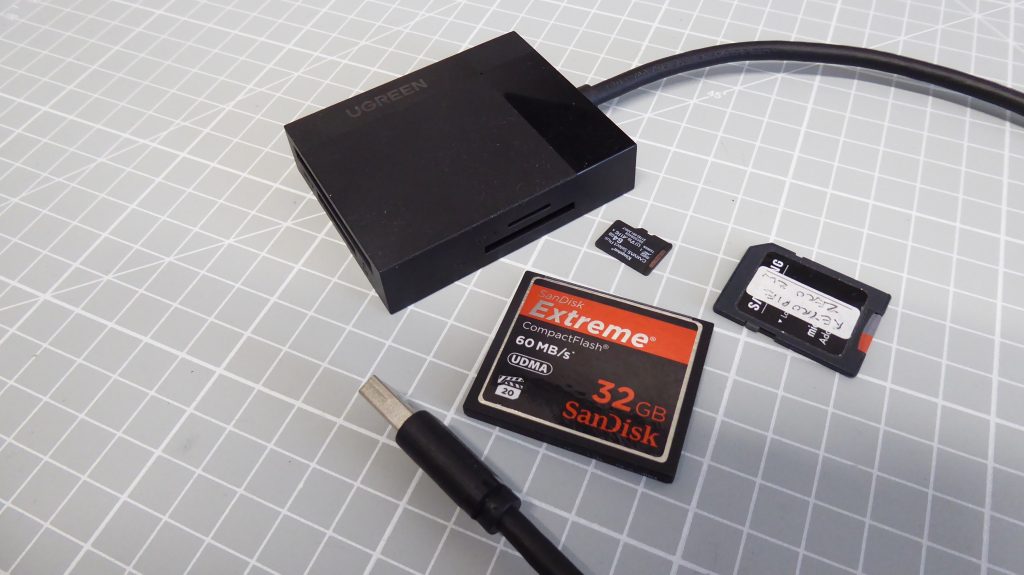
If we’re using a USB memory stick we can usually plug this straight into our computer. If you’re using some sort of memory card then you’ll need a card reader device that has a slot for the type of card you want to use. I use a USB adapter that allows me to use the full range of memory cards available. This simply plugs into a USB port on my computer and I’m ready to go.
You’ll also need to consider the size of your memory device. If the bootable media is simply to install an operating system then it just needs to be big enough to hold the installation files. If, however you’re creating a bootable drive for something like a Raspberry Pi then you’ll need something bigger as the bootable drive will actually become the hard drive off your Raspberry Pi system. If you don’t leave enough spare space for your applications and data you’ll need to rebuild the whole system at some point.
Burning Software
Now that we’ve got all the pieces in place, we need some software that will take our drive image file and transfer it onto our memory stick. This is not a simple file copy operation. The image contains information about the format of the final drive. There are a range of programmes that will do this for you.
If you’re creating a drive for a Raspberry Pi I advise using the Raspberry Pi imager. This will help you select and download the correct image for your Raspberry Pi and then burn it onto your USB drive.
https://www.raspberrypi.com/software/
In this video I’ll be using a package called Etcher. This makes the whole process very simple and can be used for pretty much any bootable drive you want to make.
https://etcher.balena.io/#download-etcher
If you’re looking for something a bit more advanced try Rufus. This allows you to create and modify bootable drives for a wide range of applications. If you’ve watched my Windows 11 installation video you’ll see that I use it to modify the Windows software to bypass the hardware checks.
Whichever package you decide to use simply download it and install it onto your computer. When you run the application you’ll need to select the drive image that you want to burn and the USB device that you want to burn it onto. When you click the go button, you’ll get a warning telling you that you’re going to wipe all the data on the drive you selected.
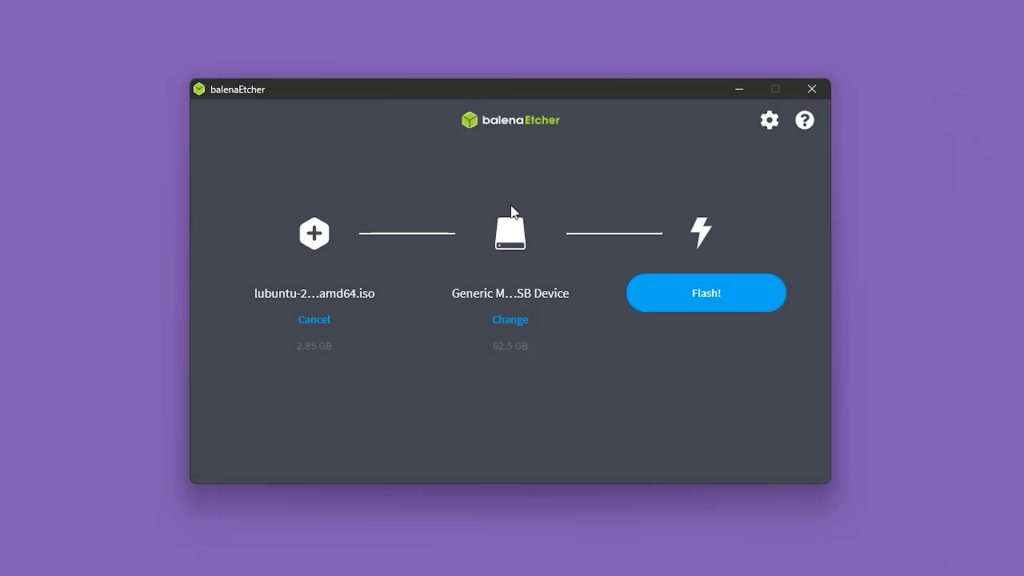
It’s incredibly important that you make sure that you have selected the correct drive. Once you start the burn process any data on that drive will be immediately deleted and you won’t be able to recover it. Your card writing software should not allow you to select any of your hard drives but do check. If you select your hard drive by mistake you will be in a lot of trouble!
Once the burning process has started it can take quite a while to complete. Once the data has been written to the USB drive the software will usually verify it to make sure everything has gone OK.
If you do get verification errors you can try the burn process a second time. If the error persists you can try a couple of routes. I’d always advise trying the newly created boot device just to see if it does work. Sometimes the verification process can have trouble reading some specially formatted cards so it fails even if the device is correct. However, if you get errors during the boot sequence it will probably be a corrupted SD card so you might need to use a different device. SD cards and memory sticks can simply die, but we’ll have a look at testing it later in the video.
Eventually your bootable USB device will be ready. At this point you simply need to put it into the computer you’re trying to rebuild and turn it on. If everything’s gone correctly it will boot from your memory stick and start installing your software.
You should now have your project up and running.
Playing With Partitions
Once you’ve got your software installed you may need to do some maintenance on your SD card.
If you’ve installed a Raspberry Pi operating system it will usually look after itself. But some bootable drive images lock off part of your memory stick. For example in a recent video I created a Commodore 64 drive for a Raspberry Pi. This turned my 8 gigabyte SD card into a 300 megabyte drive.
In these instances we need to resize something called a partition.
When you format an SD card or memory stick your computer can divide it up into a number of sections. These are called partitions. Each partition effectively becomes a separate drive in your computer. If we want to alter these partitions we need some software to help us.
The easiest way to do this is to use a graphical partition tool. If you’re using a Linux computer you can try gparted. In this video as I’m using a Windows computer so I’m going to use a package called Partition Wizard. Although this package has a number of paid options the free version is absolutely fine for what we want to do.
Partition Wizard software – Windows
https://www.partitionwizard.com/free-partition-manager.html
GParted – Linux, Mac OS, Windows
https://gparted.org/
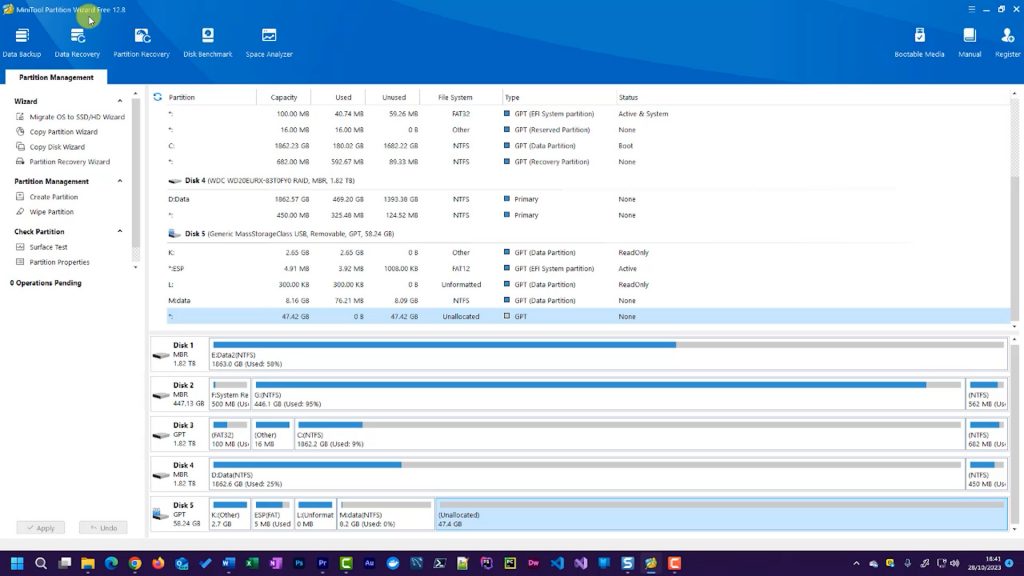
Once you install and run the software you’ll see a representation of the disc drives attached to your computer. Make sure that your USB drive is plugged in and you should see how the drive space has been partitioned.
As you can see in the image above there is a large area off unallocated space. To make use of this space I can simply drag out the size off one of the other partitions so that it now has more space allocated to it.
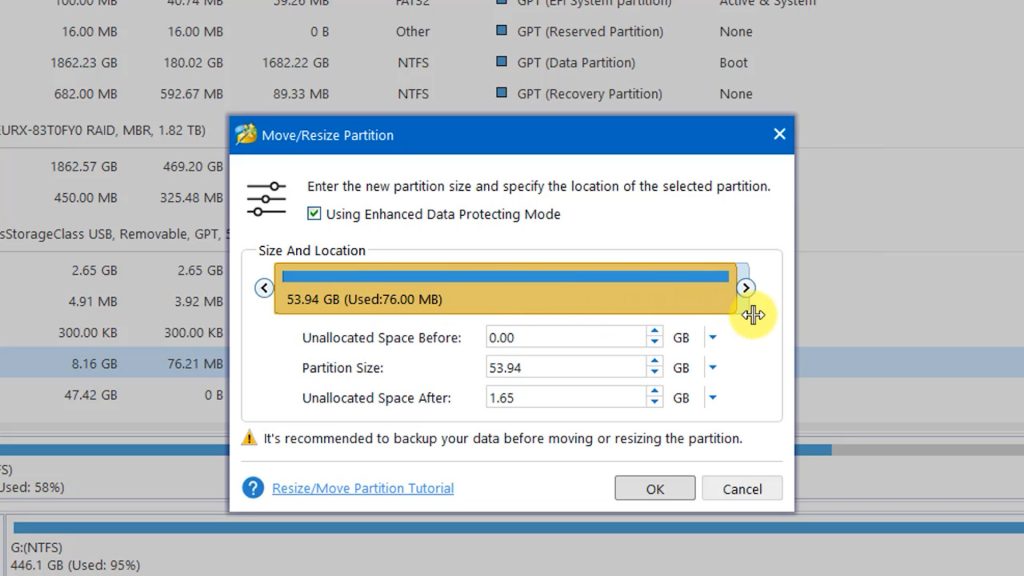
With this software package any changes you make are queued and will only be actioned once you press the correct button. This gives you a second chance to undo any changes you’ve made by mistake.
Recovering Your SD Card For the Next Project
Usually, you can simply overwrite the contents off your SD card by simply going through this process a second time. But sometimes the SD card is formatted in a special way that your computer can’t read properly even though it was able to create the SD card image in the first place. In these instances, you’ll either find that the burning process fails or that your memory device reports back a much smaller size than it really is.
It’s very easy to assume that the memory device has become corrupted and needs to be replaced but usually we can recover it using our partition software from the previous step.
If I use the Linux installation image SD card unplug that into my computer, using the partition software I can see that there are a number of different sections or partitions on the device. Windows isn’t able to see all of these directly, so we need our partition software to clean this up for us.
The easiest way to do this is to simply delete all the partitions on the device and then create and format a new one that uses all the available space. This will get us back to a simple memory drive that we can use in any computer.
Checking For Corruption
Sometimes this recovery process will fail. At this point we need to do a deep scan of the memory device to see if it is still working correctly. Again, our partition tool will do this for us.
If this process comes back with some errors, it’s time to throw the card away and use a new one.


