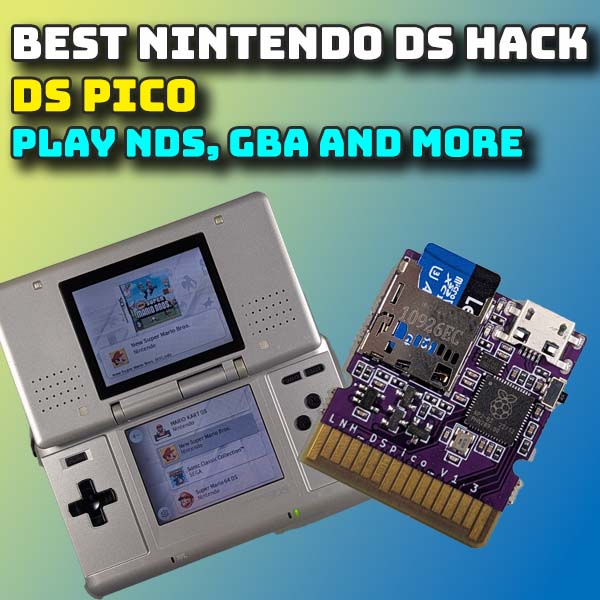
262GB of Windows 95 and 98 games to play for free – eXoWin9x
30th December 2025
Update, Repair and Replace Your R36 ArkOS card – even if it’s completely dead!
14th January 2026
Remote Play on Your Modded PlayStation 4 – Official app and Chiaki-ng
One of the great features of the PlayStation 4 (and 5) models is that you can stream your games to pretty much any other device and play your games from there. Mobile phones, tablets and PCs can all be used as remote clients for your console. The standard Sony remote app works through the PlayStation Network so if you’ve got a modded PS4 you’ll need to set up a work around. In this video I’ll show you how to get all of this set up.
Get Your PlayStation 4 Ready
For this video we’ll be using a modded PlayStation 4 console that’s booted up and running GoldHen. We’ll cover a couple of techniques to get set up using both a real PSN account and a fake one, but all will run on the modded console without any danger of bans from the PSN.
Your console needs to be connected to your local network so we can communicate with it from other devices and you’ll need to know the IP address that’s been allocated to it by your router.
If you go to your settings and system information you’ll see your current IP address listed so just make a note of it.
It’s a good idea at this point to try to turn this IP address into a static address. When your console connects to your router it usually asks the router for a valid network address. Mostly your router will give it the last address it was using, but if you reset the router or don’t use the console for a while it can change the IP address. If this happens you can lose connection and have to reset some of your remote links.
Most routers can reserve specific IP address for each device so that every time it sees the PlayStation for example it will give it the same IP.
To do this you’ll need to log onto your router and find the DHCP settings. There should be a list of DHCP clients currently connected to the router so try to identify your PS4. Usually you’ll see a device name, MAC address and IP address. So just try to match the IP address you found earlier, or look for a suitable device name. Once you’ve identified the PS4 make a quick note of it’s MAC address. This Media Access Control address is unique to your PlayStation, even if you change the device name, so this is what the router will use to identify the PS4.
You should now have an option in your router control panel to reserve an IP address. Select your PlayStation and attach it to it’s current IP address. This will make sure that it always joins your network at the same address. As usual all routers will work slightly differently, but just consult your manual or help system.
We now need to make sure we’ve got the Appollo Save Tool installed on the PS4. This is a homebrew app that we can download from the Homebrew Store. If you haven’t got the homebrew store app installed then please have a look at my initial modding video to see how to get it up and running. But once it’s installed you can just download and add homebrew apps to your console from the main menu. Just find the Appollo Save Tool and install it.
Finally on the console we need to enable the Remote Play Options.
In the Settings page go to Remote Play Connection and enable remote play.
We also need to get the console to allow us to remotely start it if it’s in rest mode, so back to the main settings and Power Saving Settings. Check both the Stay Connected to the Internet and the Enable Turning on from Network options.
Official or Homebrew Remote Play App
With our console set up we now need to get hold of a client app for our remote device. There are two choices for this.
First, I’m going to download the official Sony app. So head over to this web address
https://remoteplay.dl.playstation.net/remoteplay/lang/gb/
And then scroll down and download the files for your device. I’m going to be using my Windows PC to remote control the console so once you get to the installation page just scroll down, accept the terms and download the installation exe file. Once that’s downloaded run the file and follow the instructions to install the application.
The official application is the easiest to set up and use, but it doesn’t allow you much flexibility on how you set it up, especially when it comes to what accounts you can use.
The second option is an open source application called Chiaki. This is easy to install and get running, but has a wide range of settings allowing you to tinker with the connection. So it can be both more powerful, but more complex to get running smoothly. The main project was archived a couple of years ago, but there is a newer branch in the form of Chiaki-ng. In this video we’ll use the ng (next generation) version for the main setup and PC link, but you might need to use the original, older version for Android and other platforms. You can download the newer application it from this url
https://github.com/streetpea/chiaki-ng
Just go to the releases page, then click the Assets link for the latest build and then download the version for your device. As you can see there are pre complied Windows, MacOS and Linux versions. Download the version for your computer and install that. If you look back in the release history you’ll come across some other platforms but my advice would be to move over to the older version for these.
You can access the original Chiaki files from this web page
https://sr.ht/~thestr4ng3r/chiaki/
For now we’ll use the new version as it includes some built in features that help us get our modded PlayStation accounts set up correctly. At the end I’ll take you through setting up the client on Android.
So that’s everything prepared and all the software in place. Let’s get it all installed.
Creating Accounts
The official Sony app is the easiest one to use but it does rely on a valid PSN account. If you haven’t got one you just need to head over to the PlayStation Network at
https://www.playstation.com/en-gb/playstation-network/
and sign up. If you’ve already got an account you can use that or create a new one just for this remote connection. What we’re doing in this video won’t harm your account, but if you want to keep it all separate then please do.
We now need to jump onto our console and set up the account there.
First we need to check what accounts we’ve already created. For this we’ll use the Appollo Save Tool. Start up the application and go over to User Settings and then Activate Accounts. This will show a list of the accounts currently attached to the PS4.
You should find at least one account. This will have an account ID number beside it. If the number is all zeroes the account has not yet been activated. If it has a non zero number you should also see a padlock symbol in front of it showing the account has been activated.
This tool allows you to create local accounts which might not be real PSN accounts and to then fake their activation so the console thinks they are connected to the PlayStation Network. Some games and software require this.
For our setup we want to be able to take a local account and fake it’s ID so it matches our real PSN account ID. We can only do this with accounts that have not been activated, in other words, ones with a zero for the ID.
If you’ve already got an account that’s been activated, and that isn’t a real account, you won’t be able to use it with the official Sony App, but Chiaki will be able to connect. You can either skip ahead to that section or create a new user account for the remote play. Of course this will mean that all of your game saves won’t be attached to your remote account but you can use the Appollo Save tool to copy them over.
On the PlayStation 4 go to the Settings menu and then Login Settings. Next select User Management and Create User. Follow the on screen instructions, but skip when it asks about connecting to the PlayStation Network. Then enter a name and create the account.
If you go back to the Appollo Save Tool you should now find this account with a zero ID. We now need to connect it to your real PSN account. Just leave the Appollo Tool running.
Connecting Your Console Account to Your PSN Account
PSN accounts use this account ID to identify themselves as we connect to and use the various services. We now need to find the account ID for your PSN account. This is where we need to use the Chiaki-ng app. This has some built in software that will pluck this ID out of the communications with the PSN servers so we can use it to set up our modded console.
Open up the Chiaki-ng app on your computer and it should show you a list of the PlayStations attached to your network. If not click the Add Manual Host link at the top of the window and enter your PS4 IP address. This should allow the app to connect to your console.
Click your console and a dialog will pop up asking about Registration. Automatic registration works if your console can connect to PSN so we’ll need to click No.
We now need to read the account ID. Click the PSN Login button and your browser will open up on the PSN login screen. Log in as normal and if all goes well you’ll end up on a blank screen that says redirect. You now need to copy the URL from the browser window. If you look you’ll see that it contains a login token. Our app is going to use this to extract our account ID.
Back in the Chiaki app you need to paste the URL into the bow and then click the Get Account ID button in the top right corner. This will take you back to the Register Console page but you should have a PSN Account ID entered.
At the moment this will be in base64 coded format. For Appollo we need it in hexadecimal. So, on your computer head over to this website
https://cryptii.com/pipes/base64-to-hex
Copy your Base64 ID and paste it into the left most box. Make sure the Base64 box is set to decode and you should get an 8 byte ID code in the right most box.
In the group by dropdown select none to get rid of the spaces and you now have the Appollo formatted ID. Make a note of this. You can also close the Chiaki App as we’ll be looking at the official app first.
Back onto the PS4 and in the Appollo Save Tool account list we can now select our zeroed account to activate it. Appollo will offer a fake ID for us so we need to delete this and enter the one we’ve just discovered for our real PSN account.
Select done and our console account is now linked to our real PSN account.
We’re finally ready to remote play!