PlayStation 1 games on your hacked PlayStation Portable
19th June 2024
How to fix This app has been blocked for your protection error on Windows 11
11th July 2024Play Sega and Nintendo on your PSP – Emulation on a hacked PlayStation Portable
If you’ve been following my PlayStation Portable videos you’ll know how to install the ARK-4 custom firmware so you can play games from backup files. But the modification also lets you run homebrew applications. These are programs created by PSP fans to allow it to do much more that the original Sony device was ever designed for.
If you haven’t yet modded your PSP then do check out my videos. It’s really easy and you’ll have it all set up in about 10 minutes.
Finding Homebrew Apps
To get hold of the homebrew apps just head over to this website
https://www.gamebrew.org/wiki/List_of_PSP_homebrew_applications
you’ll find a fairly comprehensive list of what’s available.
There’s a whole range of applications to play around with, but in this video we’ll have a look at using the PSP to emulate other consoles so that we can play those games directly on our Sony handheld.
So let’s start with the Super NES which is one of my favourite consoles.
Installing Homebrew
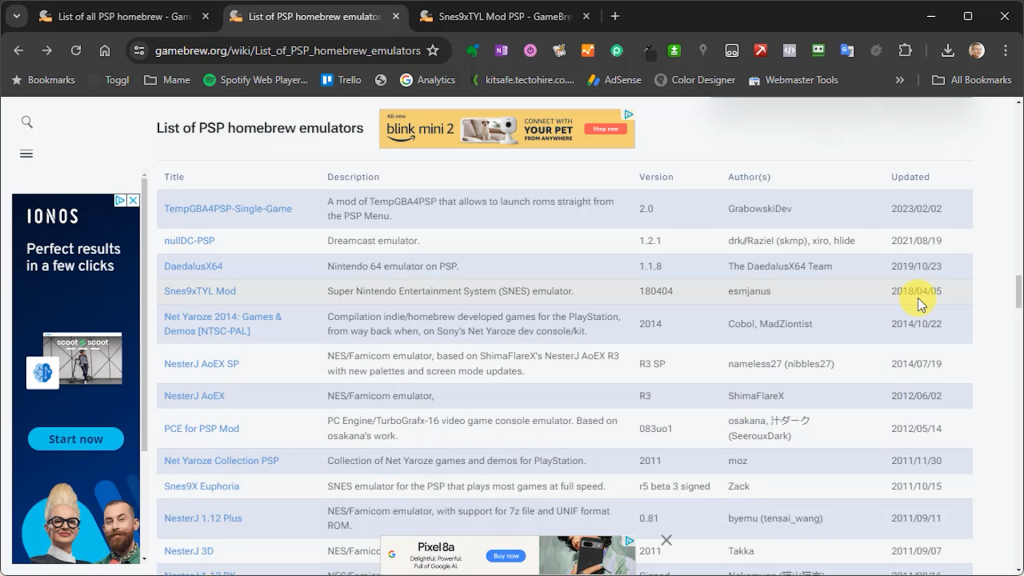
If we have a look in the homebrew list you’ll find it’s broken down into a number of sections. So if we click into the emulators section we’ll get apps for a wide range of consoles and computers. Scrolling down to the consoles area we can look for an SNES app. Sometimes you’ll find a range to choose from so look at the descriptions to see if you can get a clue as to which one might be best, but at the end of the day you’ll probably need to try then out to find the one that works best.
I’m going to use this one, Snes9xTYL. I initially chose it as it’s based on the Snes9X emulator and is listed as the most recently updated. After trying it out is worked really well.
Installing the homebrew apps is really easy.
First read through the information on the GameBrew website. Most apps come with an installation guide. For this emulator you can see that there are two versions depending on which PSP you’re using. I’m going to need the s9xTYLme version. After that we’ll need to create out own ROMS folder and that should be the games ready to play.
So let’s download the software using the download link.
This will pull down an archive file so we just need to extract that to our hard drive.
Inside that you’ll find the two versions of the emulator wrapped up in their own archive files, so we need to extract the one we want and then extract that again to get to the actual files we want to copy over to the PSP.
So we now have the s9xTYLcm_mod folder. If you have a look inside you’ll see an EBOOT.PBP file. If you’ve watched by PlayStation games video you’ll know these are the files the PSP uses to package applications and games.
So this whole folder is what we need to transfer over to the PSP.
But first let’s create that ROMS folder inside this package so we can keep everything together. We can then copy in some SNES game files. I’m using extracted games so if yours are inside zip files just extract them before you copy the actual software files in here.
With those added we just need to plug our PSP into the PC over USB, or plug in the SD card.
On the PSP sd card go into the /PSP/GAME folder and then copy and paste the whole s9xTYL_mod folder in there.
That’s the emulator installed.
Running the SNES Emulator
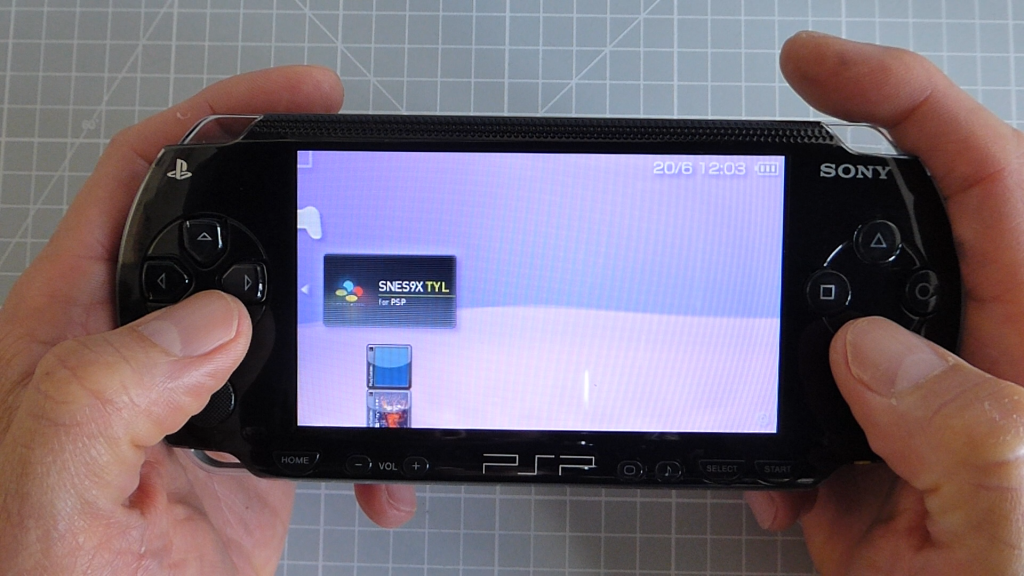
If we now go onto the PSP and into our Memory Stick game menu we should see the emulator sitting there. Just select it to run and we’re into our SNES games system.
When you first run the software you’ll need to accept some terms and conditions. So just scroll down to the bottom of the page and then press X to accept.
We next need to find the ROMS folder. First press the triangle button to go up a level and then use the dpad to navigate the menu until you find the game files that we put into the ROMS folder. Just select one with the X button and, after a short delay, we’re playing on a portable SNES!
As you can see the emulation is really good with good sound and smooth gameplay. If you look in the instructions on GameBrew you’ll also find some tips for the software settings if you find a game that’s not working as well.
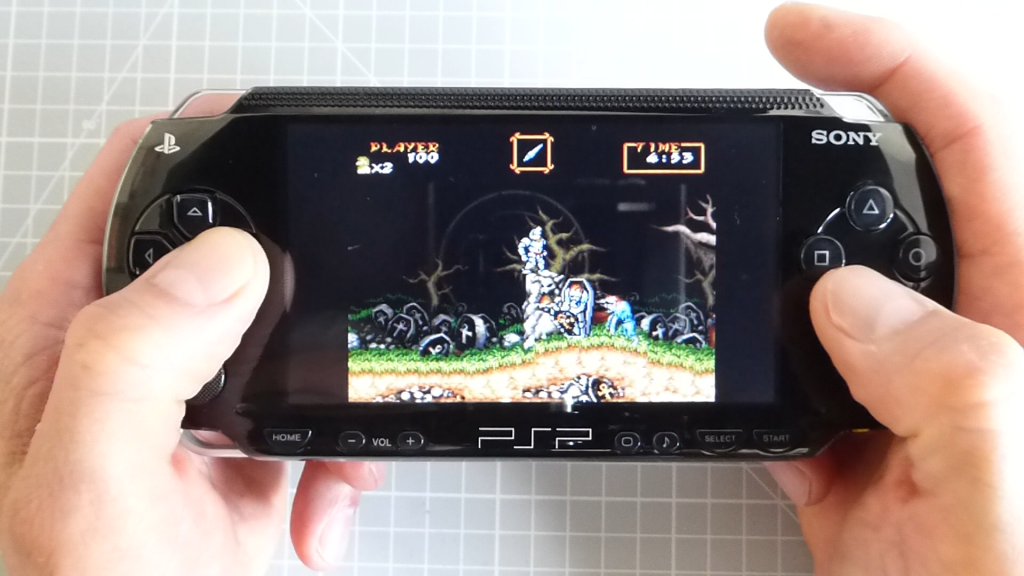
But that’s how easy it is to set up emulation. So just click the home button and we can exit out of this.
Sega MegaDrive / Genesis
So next let’s look at the Sega MegaDrive. I’m choosing this one not only because it’s a great console, but also to show you that you sometimes have to play around with the actual version you use.
On the GameBrew system it lists Picodrive. The information page for that is for the latest 1.92 version that includes the Sega Megadrive CD emulation. But I’ve found that that doesn’t emulate the base model as well as the older 1.51 version. So let’s look at how to get hold of that.
For each application in GameBrew you’ll get a link to the project website if there is one. If we click on that link you’ll be taken to the Picodrive page. Here we’ll find links to various prepared versions. We need the 1.51 PSP download.
Again this is all by trial and error, and by watching more in depth emulation videos for the PSP where people have done the testing for you.
So once we’ve downloaded the package we just need to extract the files to get the folder with the EBOOT.PBP file. The instructions on the GameBrew page tell us to create a ROMS folder inside the PicoDrive folder and to put our game files in there.
We then just copy this all over to the PSP in the PSP/GAME directory and we’re all set to play our Sega MegaDrive games on our Sony handheld.
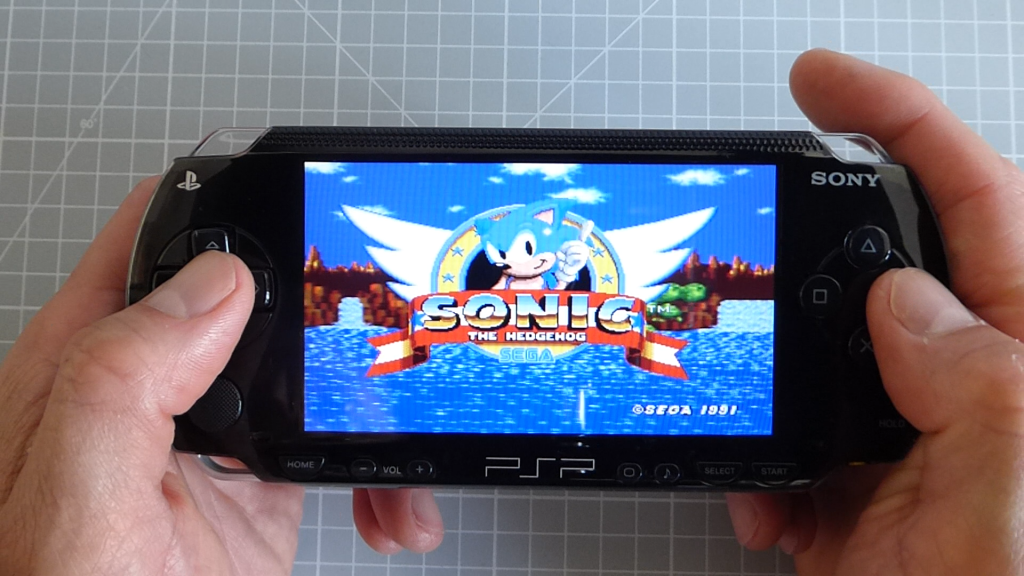
Other Homebrew
So that’s a quick run through of how easy it is to get homebrew emulators and apps up and running on the PSP. You will find the quality of these a bit variable but if you install one that doesn’t work, just delete its folder from the PSP SD card and that will remove it.
Don’t forget that there are loads of other games, emulators and apps to try out. Just have a browse through the GameBrew directory and have fun.

