
Connect an SPI LCD Display to Your Raspberry Pi Pico Using MicroPython – ILI9341 Driver
29th December 2021
Commodore Amiga Emulation in RetroPie Using AmiBerry on the Pi Zero 2W, 3B+, 4 or 400
14th January 2022Atari ST emulation on your PC – Standalone Hatari and LaunchBox integration
The Atari ST was launched in the Spring of 1985, just ahead of the Commodore Amiga. It was one of the first of the new generation of high powered home computers to hit the market when it was still dominated by the classic 8 bit computers such as the ZX Spectrum and Commodore 64.
Powered by the Motorola 68000 processor with 512KB of RAM, the 520ST was the first computer to feature a full colour, Windows Icons Menus Pointer or WIMP operating system. This was the GEM desktop from Digital Research, the original competitor to Windows. WIMP OSs had been pioneered by the monochrome Apple Macintosh, but pretty much every computer following the Atari ST came with a colour GUI instead of the traditional console based interface, including PC’s which saw Windows V1 released in late 1985.
With the processing power of the 68000 and up to 1MB of RAM, teamed with a relatively low selling price should have set the system up for success. Indeed it was very well received by the press and public, but at home the Commodore Amiga became the must have machine and in the office the Apple Mac and IBM PCs won out. This left the Atari ST in a poor second place all round, excelling only in a few niche markets such as music where its unique midi interface made it an essential tool for musicians.
On the gaming side the Atari had fantastic graphics and sound. Not quite as good as the Amiga, but not far off. Developers created an extensive catalogue of titles and that’s what we’ll be focusing on as we emulate the system.
We’ll be using an emulator called Hatari. In this tutorial I’ll show you how to run it on your PC, turning it into your very own Atari ST. So lets get started.
The Hatari Emulator
The Hatari emulator is an open source package that you can download from this website.
Installation is very easy. Just unzip the downloaded archive and extract it into a suitable folder. I’ll be loading my version into my LaunchBox installation so I’m extracting it into the emulators folder inside my LaunchBox folder.
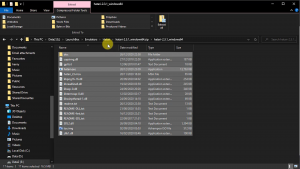
That’s the emulator installed!
BIOS ROMS – TOS
To get the Atari ST to run you need a BIOS ROM. Like the Amiga there are a number of versions, each tailored to different machine, specifications and world regions.
There are 2 choices here.
Firstly you can find the original TOS ROM images. For gaming the UK release of TOS 1.02 is probably the most compatible and if you need this or other versions try the web page for the Steem Atari emulator which can help you get hold of these, but do be aware that these ROMs are copyright software and should not be used without permission.
Luckily there is a completely free and legal alternative to the manufacturer ROMs. If you go to the EmuTOS website at
https://emutos.sourceforge.io/
you can download their 512K version to set up your Atari ST. This software replaces the original ROMs and adds a number of more modern features as well as supporting the later Atari models such as the STE, TT and Falcon. I’ll be using EmuTOS in this tutorial.
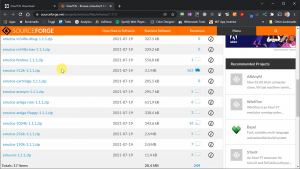
Installing the BIOS ROM
To install the BIOS you just need to extract the ROM image and save it somewhere. I’ll use the UK ROM version and I’m putting it in the folder with my Hatari application.
Booting Up Your Atari ST
All we need to do now is to start the emulator.
This needs to be run as Administrator, so right click the file in explorer and select Run As Administrator. Initially the screen will be blank. It might prompt you about your TOS version but just accept any dialogs and wait. It will take about a minute for the desktop to appear.
Either wait for the desktop or just press F12 straight away as we’re going to change the emulator settings and reboot anyway. this should bring up the Hatari control panel.
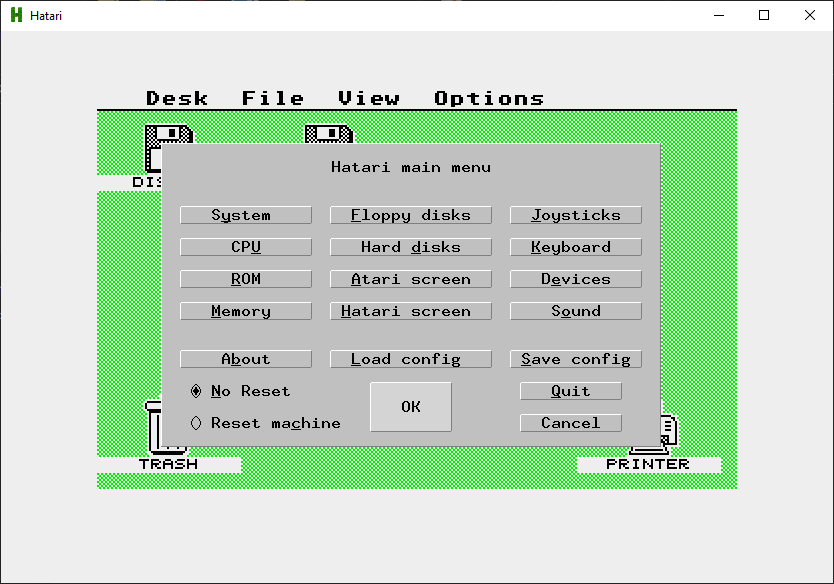
First we need to load the new TOS ROM. Click the ROM button and browse for your EmuTOS image. Select that, then back to the main menu, make sure Reset Machine is selected and click OK.
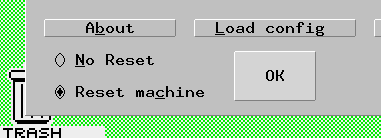
The Emulator will reboot, showing that EmuTOS is installed and then drop into the GEM desktop.
If you’ve got this far everything is working.
Setting Up the Emulator
We can now adjust a few settings on the emulator. At any time pressing F12 will pause emulation and bring up the Hatari Main Menu.
Click the System option to set the model you want to emulate. CPU lets you change processor type, speed and settings. The Memory screen lets you set the system RAM. So I’m leaving mine at the default setting of an Atari ST with 68000 processor and 4MB of RAM.
The Joysticks option is next. Here you can tell the emulator which game controllers to use. Note that ST joystick 1 is the joystick port. ST joystick 0 tended to be the mouse port. Here you can either define some keys for the directions of select your USB controller.
Finally we’ll go to the Hatari screen settings. Here I’m setting my system to fullscreen with no indicators to turn off the status bar.

With this set you can save the configuration so these settings will stick for the next time we run Hatari.
All we need to do now is select Reset machine and click OK to reboot.
You should now have a full screen Atari ST. Again use F12 to get to the Hatari menu, or F11 to toggle full screen mode.
Installing Games
So that’s the emulator all up and running. Lets get some games.
As usual you’ll need to find your own games for the system. These will come as floppy disk images, usually with a .st extension. If you get a zipped file you’ll need to extract the individual disk images to get the game to run.
As with the Amiga setup in my previous tutorial, and I’ll put a link to that in the description, you can find hacked versions of games with any software protection removed. If these are available I’d advise using these, unless you have the manuals and security devices handy.
Create a game folder to hold your games and copy the disk images in there. I’m putting the game folder in my LaunchPad ROMs folder so I can use that front end later on.
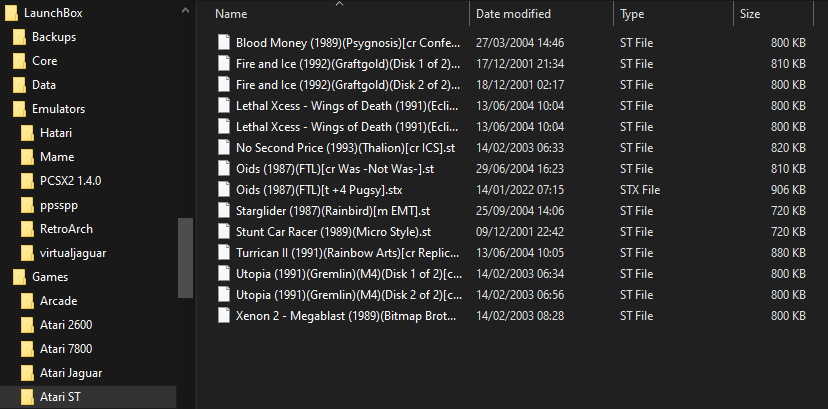
We’re now ready to play.
Playing Games
To play your games you need to pretend that you’re actually sat at a real Atari ST. We need to put the disks into the machine in the order it asks. Quite often the games will assume you’ve only got a single floppy drive so you’ll have to swap them in and out.
Boot up Hatari and go to the Hatari menu with F12.
Click on the floppy disks option. First we can set the default folder for our games so we don’t have to navigate around to find them. Click the Browse button for the Default floppy images directory and select your games folder.
Now, when you browse for drive A, you’ll find it goes straight to your games disks. Find the first disk of your game and select that. You can browse for drive B and select a second disk, making sure to tick the Auto insert B option, but I find it doesn’t always work.
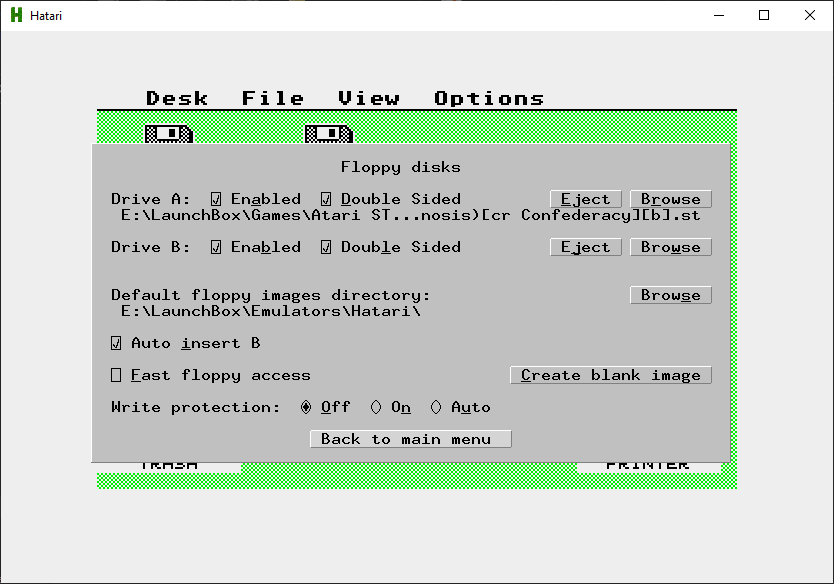
Back to the main menu, check the Restart radio button and click OK to reboot.
Your game should now start playing. Make sure you wait as the Hatari software emulates the floppy drive speeds, or lack of speed, so you’ll have long pauses while it sorts itself out – at least it shows you how spoilt we are with computer speeds these days!
If the game asks for more disks, press F12 and then load it into drive A. DON’T select reset, but just OK to resume the loading.
You should now be gaming.
Launchbox Integration
As I mentioned earlier my aim was to integrate Hatari into my Launchbox system.
If you’re not familiar with Launchbox it’s a fantastic front end launcher for your whole retro gaming collection. It easily lets you browse your games across multiple emulators and launch them with a single click. It can download box art and game information from the web and even has a BigBox brother app that turns your PC into a full screen gaming centre. I’ve made a video on how to install and set it up so please do check that out – How To Install LaunchBox.
To get Hatari to work with LaunchBox, and BigBox, you first need to connect the emulator. Bring up the LaunchBox menu, tools, manage, emulators. Then click the add button and type in the emulator name, Hatari, and browse to find the executable file. I’d put this into my LaunchBox Emulators folder to make the whole setup portable. The other boxes on this page can be left as they are.
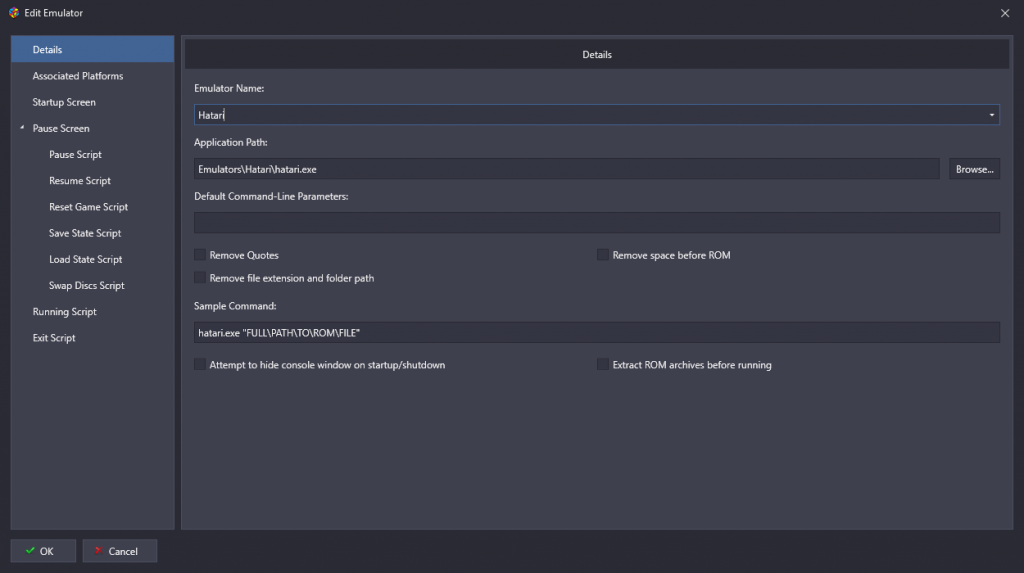
We now need to set the associated platforms so Launchbox knows that this is how we run the Atari ST games. Select that tab and click in the Associated Platforms column. Add Atari ST as the platform and check the box to make Hatari the default emulator.
Once you OK this dialog you’ve added the emulator.
We now need to create the Atari ST as a platform.
So back to the menu and select tools, manage, platforms.
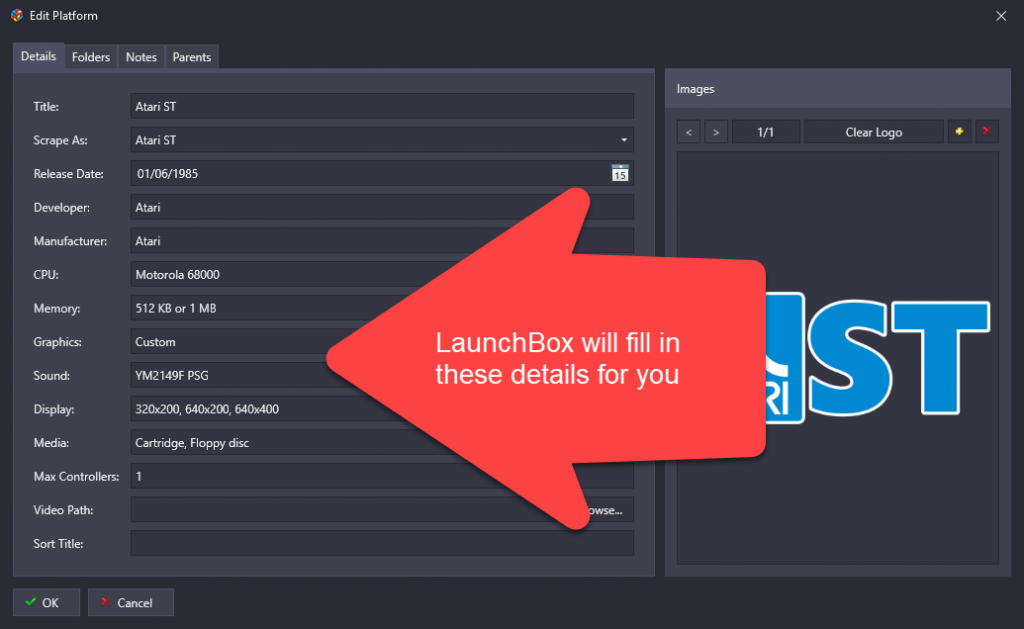
We need to add a platform and call it Atari ST. In the Scrape As dropdown select Atari ST so that Launchbox knows how to associate this platform. Then in the parents tab we can put this platform into the correct place in our system list. So I’m adding mine to the Computers section, but you can set your list up however you want.
The emulator and Atari ST are all set up now. We just need to add the games.
When I downloaded my game files I dropped them into the Atari ST folder in my Launchbox setup. This means that I now just need to scan my folders for updates. If you didn’t do this you’ll need to import your games folder to get the files into Launchbox.
Once the scan is complete, or you’ve imported, Launchbox will prompt you with a list of new games and take you through the box art and game info scraping process. Once that’s all up and running you should have a list of Atari ST games on your screen that you can just click and play!
Games That Don’t Work
You will find some games that don’t launch directly from Launchbox. But as we’ve installed the full version of Hatari you’ve always got access to the Hatari menu via the F12 key. Sometimes the game disk you download is just corrupted in some way so swapping for a different version will bring the game back to life. Sometimes you need to change the specification on your Atari ST model to meet the game specifications. But just use a bit of trial and error and you should get most games running.
Conclusion
So that’s the Atari ST running on your PC and connected to your Lauchbox setup. All you need to do now is have fun exploring all the games.


