Native DOS Gaming with Sound – FreeDOS + SBEMU on a portable USB drive
9th May 2023
Web Control Panel – Building the Web Page – Raspberry Pi Pico, ESP32, Arduino
21st May 2023DOSBox Full Installation, Game Download and Setup – Everything you need to start DOS gaming
With the PC becoming the dominant home computer during the late 1980s and 90s, DOS gaming became the driving force in the computer games market.
If you’ve watched some of my other tutorials on building a native DOS gaming machine you’ll know that this approach is far from perfect. In my previous tutorial we finally managed to get some emulated Sound Blaster music and sound effects, but it’s all still a bit hit and miss, requiring lots of fun tinkering.
But if you want to get your DOS gaming machine up and running as quickly and easily as possible we need to use an emulation package called DOSBox.
DOSBox
DOSBox emulates the DOS computer rather than trying to run the software directly on your existing hardware. This means that it has an inbuilt interface between the DOS operating system running within the emulator and the screen, keyboard, mouse, etc connected to your host PC. The upshot of this is that you don’t need to worry about matching your drivers with your hardware and all the hassle that comes with trying to get all these separate pieces to work together.
Installing DOSBox
You can download DOSBox from https:\\dosbox.com.
When installing the software I find it best to create a separate folder on my hard drive where I can keep everything related to my DOS gaming setup in one place. As such I also installed DOSBox into this folder.
Once DOSBox is installed we need to set it up so that works correctly with our host computer.
The first thing we need to do is to create a folder that will act as our main hard drive in our DOS set up. Again I simply create a folder in my DOSBox area.
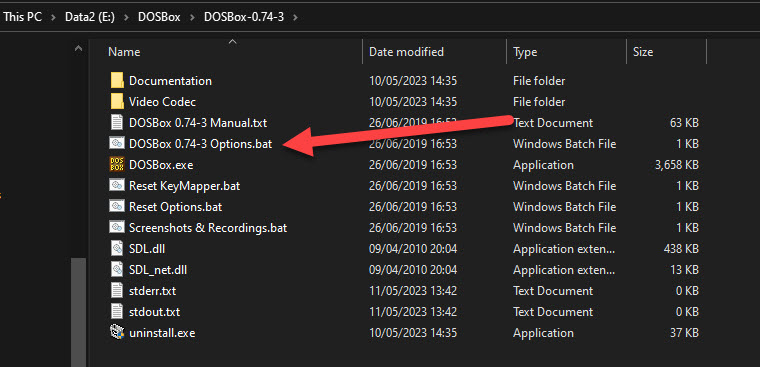
To edit the settings file we need to navigate inside the DOSBox software folder and run the options batch file.

There are a whole range of settings that you can adjust using this file. The main ones we need to look at for now are the screen set up and the hard drive mountings.
To set up the screen I’ve change the following settings. This make sure that we start in fullscreen mode with a resolution matching my monitor using OpenGL rendering engine and maintaining the DOS screen aspect ratio so that it doesn’t get stretched to fit my widescreen monitor.
fullscreen=true
fulldouble=false
fullresolution=1920x1080
output=opengl

aspect=true
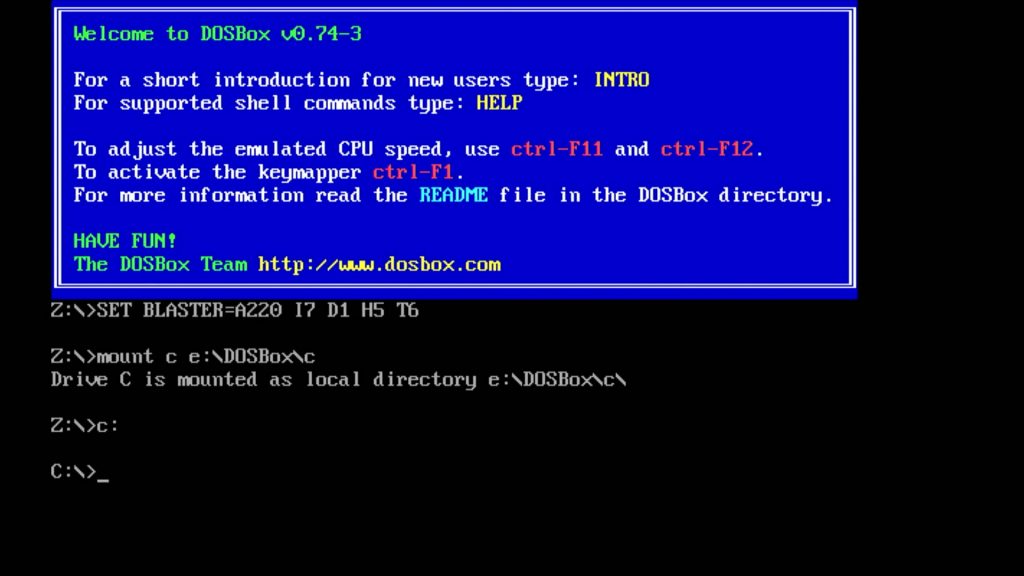
Then at the very bottom of the configuration file in the autoexec section we can add any commands that we want to execute after DOS box has been initialised. This is where we mount our hard drive and any other devices we want to use. For the moment I’m just connecting DOS drive C to a folder I’ve created on my PC. The final line simply make sure that we change working directory to the C drive.
[autoexec]
# Lines in this section will be run at startup.
# You can put your MOUNT lines here.

mount c e:\DOSBox\c
c:
At this point DOSBox should be ready to go.
Running DOSBox
To run DOS box you simply need to run the executable file in the installation folder, or use the desktop shortcut that DOSBox has created. If all’s gone well you should now be sitting in front of a DOS gaming machine.

Installing Doom
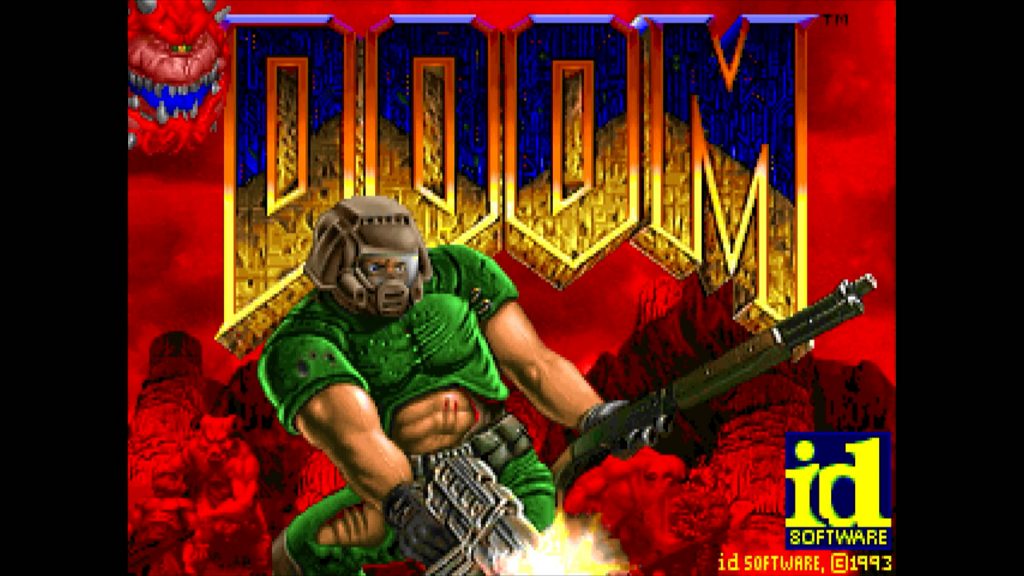
We can now start installing games. The first one will try is Doom, which is one of the easy ones to install. You’ll need use your normal PC to download a copy of Doom, it’s not that hard to find, and save the game files into a folder in your DOSBox drive C folder. If you then start up DOSBox you can navigate into this folder and run the install file. This will take you through the Doom installation process where it will install itself onto the drive C of your DOS computer.
If you then navigate to the Doom install folder you can start the game from there.

Hopefully you’ve now got a fully working copy of Doom with full sound, keyboard and mouse control.
Many DOS games will follow the same installation process where you simply download the game files and either run the main executable directly or run through a simple install procedure.
Harder to Install Games
Some games are harder to install. Usually these require access to a floppy drive or CD-ROM, sometimes doing checks to make sure you have the correct media installed, and sometimes running some antipiracy software. To get these to run you’ll need some help from the DOSBox Wiki website – https://www.dosbox.com/wiki.
In the video above a take you through the process of installing Command and Conquer. This requires a CD Rom to enable the software. As you’ll see in the video we can either attach a CD-ROM iso image or simply create a folder with the game files in it and tell DOSBox to attach that as a simulated CD-ROM. Either way we can very quickly get the game up and running.
What Next?
That’s pretty much it for DOSBox. You now have access to the full DOS gaming catalogue so simply have search around on the Internet and you’ll easily find any of the games you want.
Don’t forget that DOSBox creates a fully working DOS computer on your PC so you don’t have to limit yourself to games. If you want to have a play with any of the old application software just find the installation files and install the software directly onto your DOS computer in the same way as we did for the games.
Have fun!


