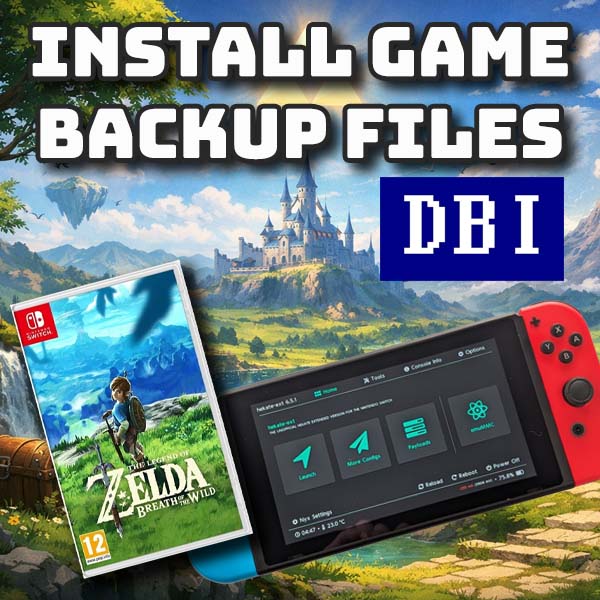
Mod your PlayStation 4 with just a home made disk – BluRay Lapse exploit V1.2 firmware 9.00 to 12.02
10th September 2025
A £15 Raspberry Pi turns your TV into a retro gaming powerhouse – play all the classic consoles
28th September 2025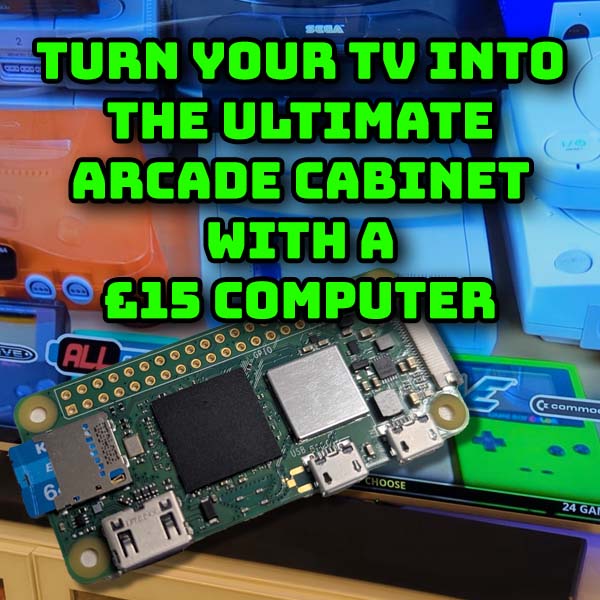
Turn your TV into the Ultimate Arcade cabinet with a £15 Raspberry Pi
Classic arcade games are one of the best casual gaming experiences you can get. They are specifically designed to allow you to jump straight into the action, have some great fun and then finish the game without any of the bother of game saves or ongoing campaigns. Want another game, then just put in another coin and start again.
For me this makes them an ideal fit for adding extra fun to your family TV.
And best of all you don’t need any fancy high powered computers. A simple £15 Raspberry Pi will do just fine.
So let’s set up an arcade gaming system.
What You’ll Need
Gamesir G7 Pro – https://amzn.to/4gyEGgW
Raspberry Pi Zero 2 – https://amzn.to/4nimlHG
Mini HDMI converter – https://amzn.to/4pzISRx
Micro USB converter – https://amzn.to/46xETwp
Raspberry Pi power supply – https://amzn.to/46P9lDn
Raspberry Pi Zero case – https://amzn.to/4pBtkgj
For this project we’ll be using the Raspberry Pi Zero 2W. This is my favourite Raspberry Pi as it gives you the full Linux PC system but in a fantastically small and budget friendly package. Yes, it’s nowhere near as powerful as the latest Pi5 boards, but it will easily cope with what we want to do in this video.
To get that working you’ll also need a micro SD card. I’m using a 64GB one here. A power brick with a micro USB connector output, a mini HDMI to Full sized HDMIcable and a micro USB adapter so you can plug in a keyboard and mouse to help gets things set up.
Once we’re up and running you’ll need a game controller to both navigate the gaming front end and to play the games. For this project Gamesir sent me over one of their G7 Pro Tri-mode gamepads. This is a great fit for this project as it comes with a charging station so you can both store your controller and have it fully charged and ready whenever you want to play.
The controller itself is built to the same high standards as all of the Gamesir devices I’ve tested. You’ve got drift proof hall effect sensors on both joysticks and analogue triggers and really responsive pushbuttons for the rest of the controls. You also get interchangeable D Pad covers to match your preference and the device can be configured using the Gamesir app. This lets you set the programmable extra buttons on the underside to give you shortcuts for various functions and controls.
The really useful feature of this controller is it’s ability to connect to just about any device using it’s 3 modes of connecting. You’ve got a wired connection for ultimate response times, a wireless dongle for easy wireless setup and Bluetooth which is the connection technology we’ll use today.
So I do highly recommend this gamepad as it will not only finish off this project with style but also give you a great controller to use with al of your other computers, phones and tablets as well.
So with all those bits assembled let’s start building.
The Emulation Software
There are a number of different emulation systems you can use on the Raspberry PI. For this video I’ll be using Batocera.
Batocera is one of the applications still under constant development and it offers a great user experience and can make best use of the limited processing power in these smaller Raspberry Pi boards.
If you do fancy using RetroPie or RecalBox or Lakka these are fine and the setup is very similar to the process we’ll go through. But let me know in the comments if you’d like to see any of these at some point in the future.
To get hold of Batocera you simply need to go to the batocera.org website and click on the Download link.
You next need to select the computer you’ll be using, so we need to click on Rpi.
You’ll see that Batocera gets customised to work with the resources on each type of Raspberry Pi board. So we need to download the specific version for the Pi Zero 2.
That will download as an img.gz file so just save that somewhere sensible on your computer.
Arcade Game ROMs
Next we’ll need some arcade game ROM files. These are the actual game code files from the real arcade cabinets. We’ll be using a piece of software called MAME which can take the real code and build a virtual cabinet in software in the Raspberry Pi so we can play the games exactly as they would have been in the old arcades.
MAME ROMs can be a bit difficult to understand and I have made a few videos on how to work with them, so please do check those out if you want more information. But in this video we’ll be taking the easy route and installing a full ROM set so we get a fully working version of pretty much every arcade game ever released up to around the year 2000.
To get hold of these ROMs takes a bit of searching online but if you look for MAME 2003 plus reference set you should get some good results. This will probably download as a zip file, so again save that somewhere safe on your computer.
Installation and Setup
Please watch the video for full instructions on installation and setup.