3D print your own ZX81 and turn it into a USB keyboard for emulation
15th February 2025
How to beat Manic Miner and complete every level
21st February 2025
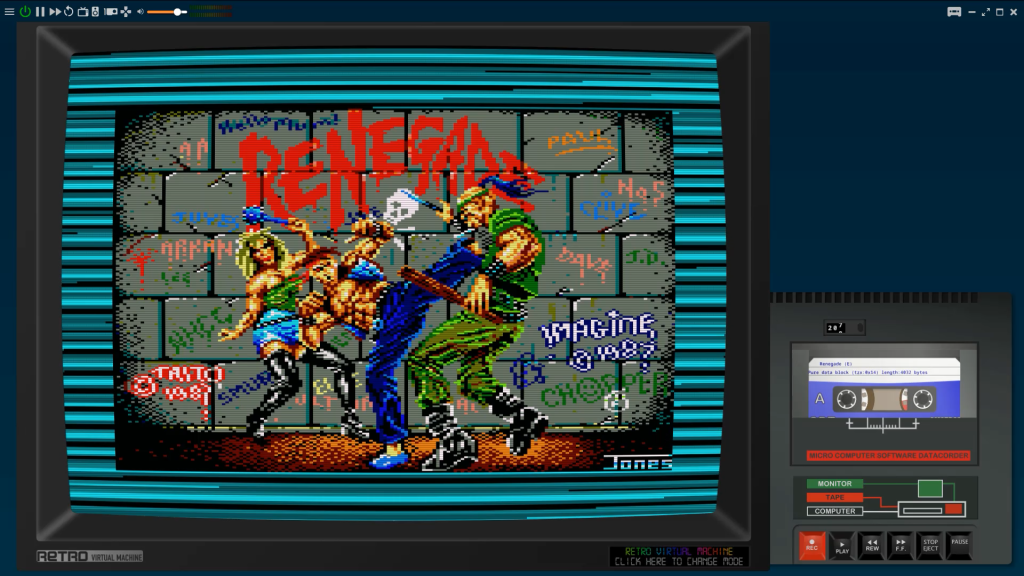
Get the full home computer experience with the Retro Virtual Machine emulator
Emulating the old 1980’s home computers is great fun. There are some fantastic emulators out there for pretty much any machine you want to play around with.
But sometimes the emulators can detract a bit from the true experience of using this old hardware. Everything can be a bit too slick and modern. Games load instantly from files on your hard drive, there’s lots of extra clutter on your screen, and you miss out on all the old sights and sounds of using cassette tapes, floppy disks and so on.
Recently I’ve been getting back into my home computers and have been trying out a whole range of emulators looking to get that feel of the real thing. And thanks to a comment from one of my viewers I was recommended to try out the Retro Virtual Machine emulator.
So let’s download this and give it a go.
Retro Virtual Machine
The emulator can be found at https://www.retrovirtualmachine.org/.
This is a multi machine emulator that currently supports the Sinclair ZX Spectrum, Amstrad CPC series, a Toshiba MSX-1 computer and the Sega SG-1000 and Master consoles.
It’s available for Windows, Mac OS, Linux and also has an optimised version for the Raspberry Pi. The best thing about this code is that it’s still being developed with new releases and, hopefully, new machines coming out at a steady pace.
So for this video I’ll be installing the Windows version.
The download link will give you a zipped file so you just need to save that into folder on your computer. I’d advise creating a folder for this project as we’ll soon be creating some machine files that you’ll need to keep together.
Once the file is downloaded just extract it and you should get a single executable file. This is the entire emulator!
Booting it up should take you to the main control screen.
To create your first computer just click the hamburger menu in the top left corner. From there we need to create a machine. Let’s go for a Sinclair ZX Spectrum, and a 48K model, and one with the issue 2 motherboard.
We now need to save this as a file on our computer, so I’m going to navigate to my RetroVirtual Machine folder, then create a machines folder in there and then give this computer a name, and then save it.
This will now build a virtual 48K Spectrum and drop it onto your list of machines.
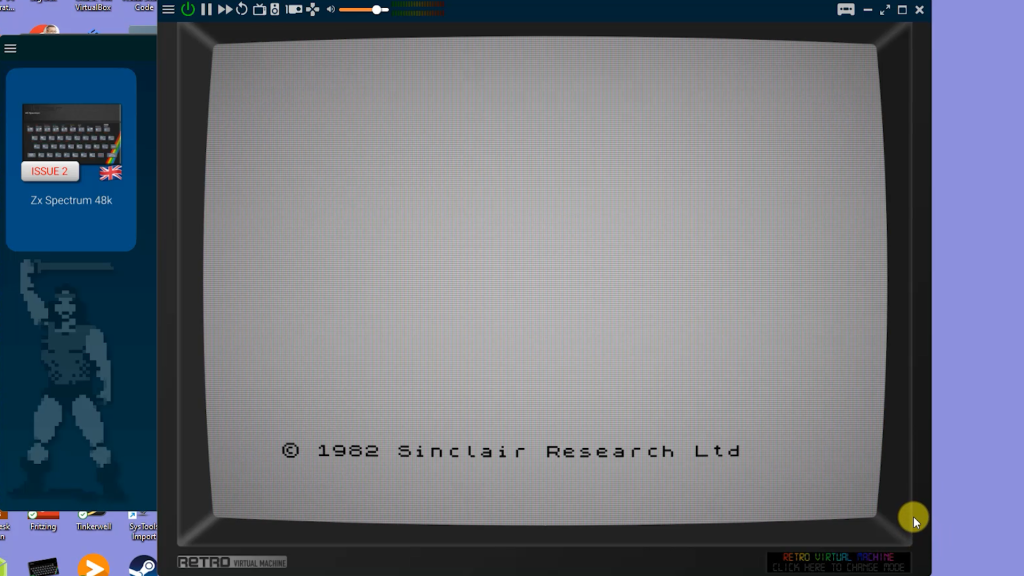 Just click it and it will open up your new computer as a TV screen, which is currently powered off. Moving the mouse over the screen will bring uo the control menu at the top and if I hit the power button it will boot me straight into the computer. This creation process is a novel way of allowing you to have multiple machines of multiple types all set up in specific ways.
Setting Up a Machine
So with our 48K Spectrum we can now fine tune the way it looks and works.
In the top menu bar you’ll see a number of choices.
The hamburger icon lets you load and save states which are full snapshots of the current computer state. This lets you save what you’re doing so that you can come back to this exact point. It’s great for saving game progress and any special setup you’re working on.
Power pause, warp mode and reset do what they say. Warp mode just speeds up the computer so you can quickly get through tape loads, long processing pauses or anything else you want to skip over. You’ll still be able to see what’s going on, it will just be at perhaps 20 times speed (I haven’t worked that out – just guessing).
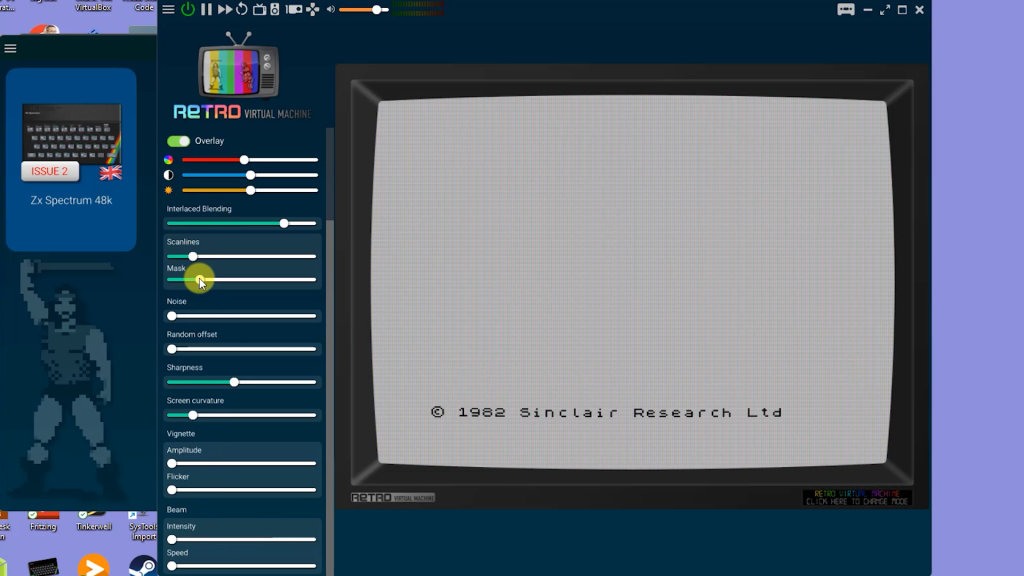
Next we have the screen settings. This is designed to give you the real look and feel of an old style monitor. There are a range of effects to play with so just have a go to set it up just how you like it. I tend to turn the beam and flicker off and then just tweak the scanlines and mask a bit to get what looks like a proper TV screen to me (minus the annoying bits).
Next on the menu we can adjust the sound and add extra hardware to our setup. Hopefully this area will expand as the project develops.
Finally we can set up which type of joysticks we want to emulate. This setting will you’re your attached gamepad into one of the Spectrum joystick add ons.
Over on the right we’ve got the tape and drives icons. Disks and sd cards will appear when you’ve got those attached but we’ll use this in a second. So let’s use the full screen button to drop into a bigger view so we can play with the computer.
Tape Emulation
One of the great things I like about this emulator is the way it handles using it as a real computer.
At the moment we’re sat in front of our portable TV working on our ZX Spectrum. We can type on the keyboard and perhaps write some code.
If I want to save this I can either jump into the menu and create a complete machine saved state, or I can actually use the attached cassette tape recorder, just like on the real machine.
If I hit the cassette icon you’ll se the tape recorder pop up beside your monitor. So first we need to insert a blank tape. Hot the pause button to bring up the tape menu. This allows you to insert an existing tape or create a new one, so let’s make a new blank tape.
You can save the tape in a range of formats for the Spectrum, so we’ll use TZX. We now need to save the tape file somewhere on our PC and give it a sensible name. Once that’s created you’ll see a list of the tape contents. Of course there’s nothing on here yet. At this point when you’re saving anything make sure the write protect switch is turned off.
So close that popup and you’ll see our tape in the machine.
We can now save our program.
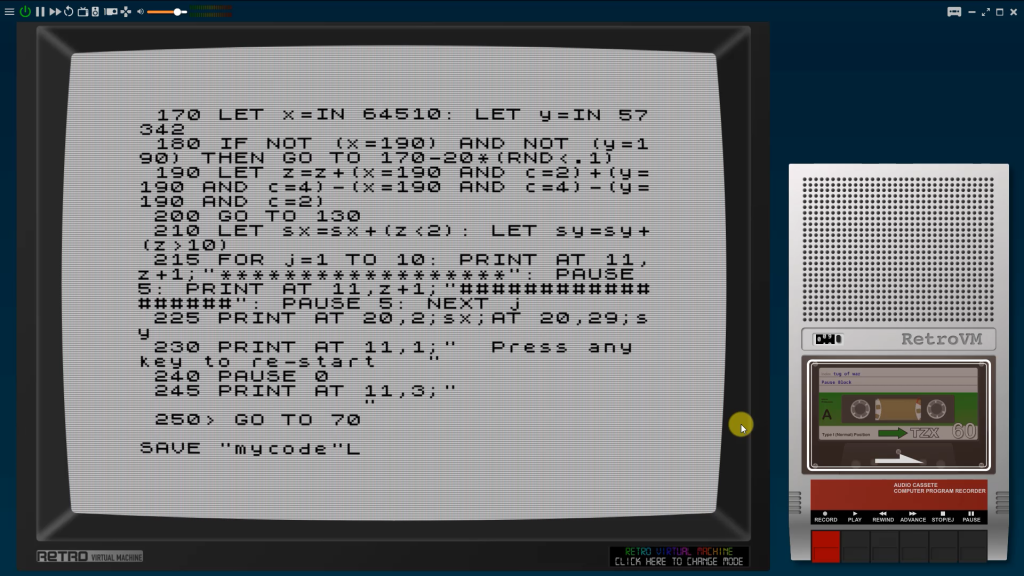
With the tape recorder open we can still type on the computer. Type
SAVE ”mycode”
and press enter. Save is on the S key, inverted commas are CTRL P.
The Spectrum is now prompting you to start the tape recording, so hit the record button. Then hit return on the keyboard (or any key apart from space which is the BREAK key) and you should see and hear the code being saved to tape. Once you get the OK message make sure you stop the tape.
I have to admit I really like this touch to the interface as it’s just like using the real thing!
If you now hit the pause button you’ll see a list of saved data on the tape.
So let’s reload our code.
Close the Tape popup and you’ll see the tape in the recorder. It will have the file name and the position displayed. Press rewind until you get back to your program code. This will position the tape playback to where we saved the program.
On the menu hit the reset button to clear the code from memory. If I type LIST (K) there’s nothing there. We can now load our code.
LOAD “” (J, CRTL P, CTRL P)
and then enter.
The Spectrum is now waiting for the tape to start so hit play on the tape machine. Your code will now load. Once it’s in don’t forget to stop the tape recorder.

If I type LIST again our code is back.
Loading Commercial Games
So that’s using the tape for our own saves. We can of course use it for loading game tapes in exactly the same way.
If I hit the STOP / EJECT button this will take me straight to the file selector. I can then put a game tape into the machine. Again I have to ask the Spectrum to load the tape and once it’s waiting for the signal press PLAY.
With commercial games you’ve got a few minutes of loading time. Quite often you’d get a loading screen to at least have some interest in front of you, but even that took a minute or so to load. This is where warp mode comes into play.
If I hit that the whole machine is put into turbo speed. We can still see what’s going on and we can return to normal speed whenever we want. So here I’m just watching the final steps of the loading screen coming in.
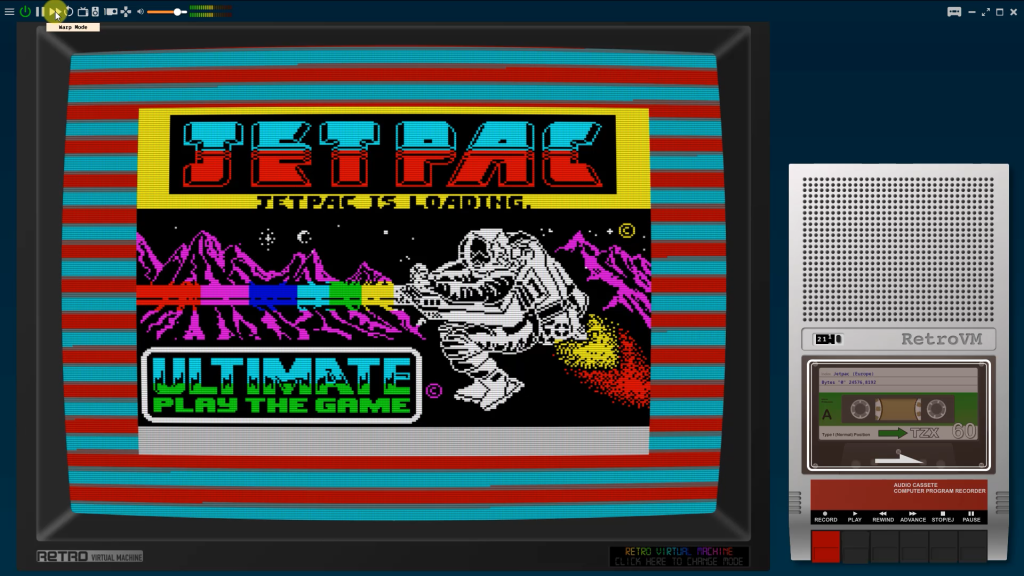
But for the longer waits this will save you a lot of time.
Once the game is loaded warp mode will sometimes detect this sometimes not so you might need to manually cancel it.
As well, especially if your game uses multi loading sections, you’ll need to stop the tape before it runs into the next sections. Of course you can always use the rewind button to jog back a section.
And that should now be our game up and running.
Other Computers
As I mentioned at the start this emulator let’s you run a number of home computers. Each works in pretty much the same way in terms of putting disks and tapes into the drives but you will need to find the computer manuals to work out how to get the machines to load your programs which is really all part of the fun.
For example we could set up an Amstrad CPC464 and then get hold of the user manual online.
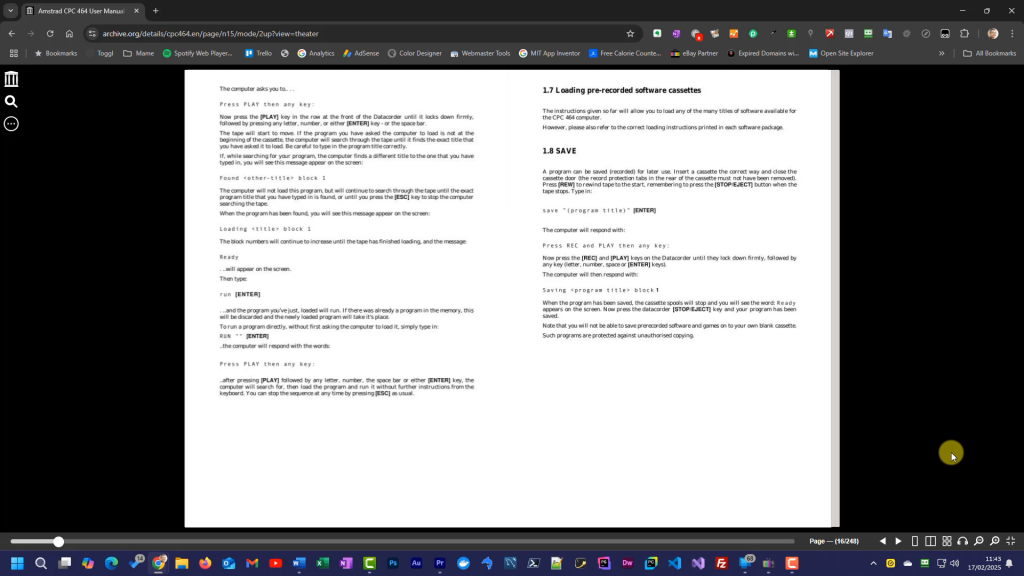
This will take up through the process of loading tapes so we can then put a tape in our drive, type the LOAD”” command and off we go.
Conclusion
So I hope you’ve found this useful. The Retro Virtual Mnachine Emulator is a rally fun way to play with the old machines. It’s great for getting the feel of the computers, even if the emulator features are not as full as on other applications. So if you want to have the pleasure of using these machines as close to the way they were intended I highly recommend giving this a try.