
How To Add The Commodore 64 To RetroPie – Installing VICE
7th October 2021
Retro Gaming – Emulation or Real Hardware – Which is Best?
26th October 2021How to Play ZX Spectrum Games in Retropie – Setting Up The FUSE Emulator
Retropie is a great way to turn your Raspberry Pi into the ultimate retro gaming console and I’ve been making a few videos now on how to do just that. Please take a look at my Retropie installation video to find out how to get started. It allows you to not only emulate all of the 8 and 16 bit consoles and arcade machines, but also to emulate most of the 80s and 90s home computer systems.
The Sinclair ZX Spectrum emulator is installed as part of the default setup so you simply need to add games to be able to play your Speccy favourites. Or at least that’s what should happen. If you do try playing a ZX Spectrum game you’ll probably find you can’t get it to work properly. Your game controller won’t do anything and the game doesn’t respond your keyboard, so you end up sitting, looking at the game start screen and getting nowhere.
Everything is installed but the Fuse emulator needs to be set up correctly. So let me show you how that’s done.
What is the ZX Spectrum?
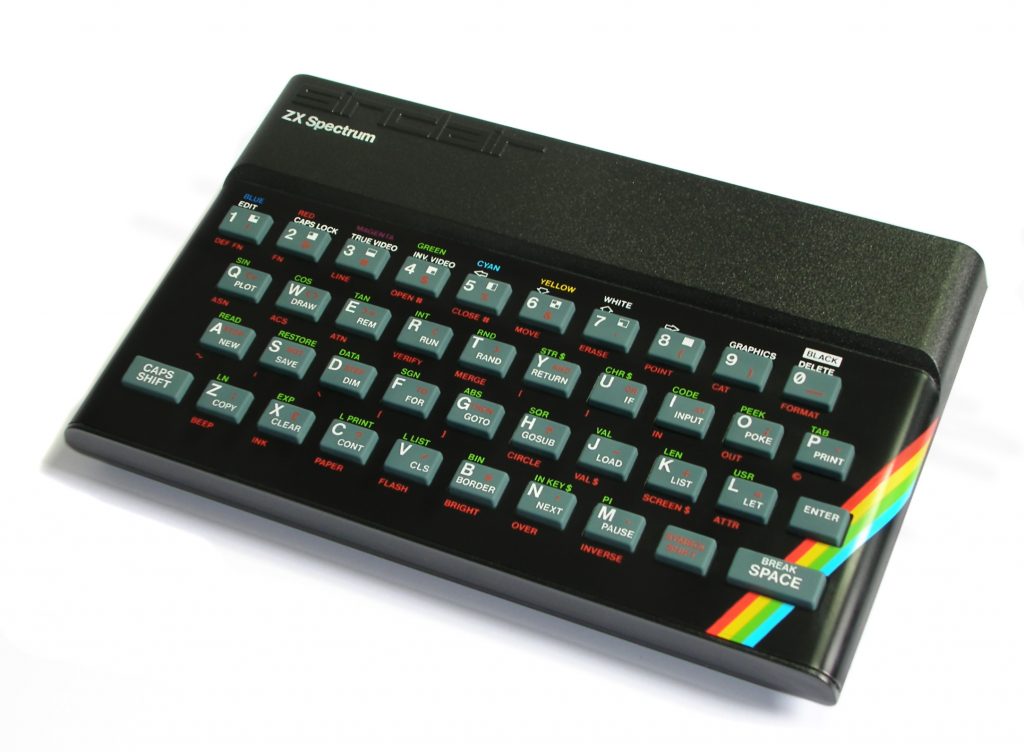
ZX Spectrum 48K : Bill Bertram, CC BY-SA 2.5 <https://creativecommons.org/licenses/by-sa/2.5>, via Wikimedia Commons
If you’ve never come across the ZX Spectrum it was the UK’s most popular home computer in the 1980s. It’s popularity was mainly due to its fantastically low price tag when compared to other computer systems while still delivering a fantastic machine. For example at it’s launch in 1982 the ZX Spectrum cost £175 for a 48K model (£125 for the 16K model) compared to around £400 for a Commodore 64 or BBC Microcomputer. The whole Sinclair business was built on this model of keeping the price low with innovative hardware designs so more and more people could afford their own home computer.
Of course, with the massive popularity of the ZX Spectrum came a massive games library. The ZX Spectrum has probably got one of the largest games collections of any computer with literally thousands to choose from. You’ll find some great titles, highly original games and hours of fun.
ZX Spectrum in Retropie
Getting back to the emulator, the only problem with the standard Retropie installation is that Fuse, the ZX Spectrum emulator Retropie uses, hasn’t yet been set up correctly. It’s not necessarily running the best version of the ZX Spectrum, and is not yet connected to your gamepad or your keyboard. So these are the main problems we’re going to fix in this video.
Downloading ZX Spectrum Games
The first thing we need to do is to get hold of some ZX Spectrum games. If you’ve been following my channel you’ll know that I use Emuparadise to download the majority of my game files.
Emuparadise is a safe, free download site that has pretty much every game for every console and home computer that you can think off. Better still you can download complete game libraries in a single archive file.
The only complication is that the download links on Emuparadise are broken and don’t work. But there is an easy workaround which only takes about five minutes to install so please check out my Emuparadise Link Fix video to get them working again.
If you go to the Emuparadise website and then to be ROMs and ISOs page. Scrolling down to near the bottom you’ll find a link for Complete ROM Set downloads. This will take you to a part of the database where you can download every game for a particular system as a single file.
Clicking on the letter Z will take you to a page with a link to the ZX Spectrum download page. Click on that and then scroll down to the download section and you’ll see the download links for the complete ZX Spectrum game library. Again you will need to install the download link fix before you can get hold of the file.
Once you’ve downloaded the file you’ll notice it’s in RAR format.

If you’re on a PC you’ll need to install the 7-zip archive software to be able to open it. Go to 7-zip.org and install that. Once you’ve opened the archive you’ll find a whole lot of software and information files. The game files we’re after are in the ZX Spectrum Games [TZX] folder. TZX files are dumps of the actual game cassettes which will load directly into Fuse.
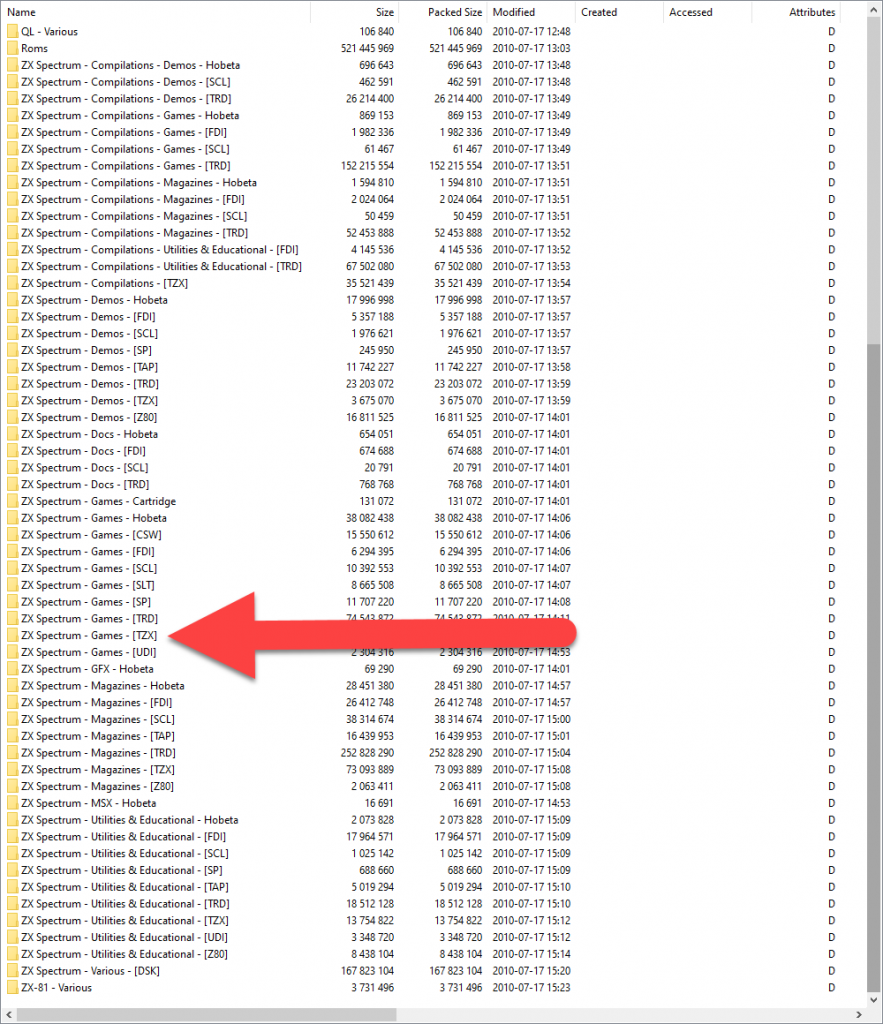
Simply copy all these TZX files into the zxspectrum folder on your Retropie SD card, restart EmulationStation and you’ll have the complete ZX Spectrum game library at your fingertips.
Choosing the Right ZX Spectrum Version to Emulate
By default Fuse is set up to emulate a 128K ZX Spectrum.
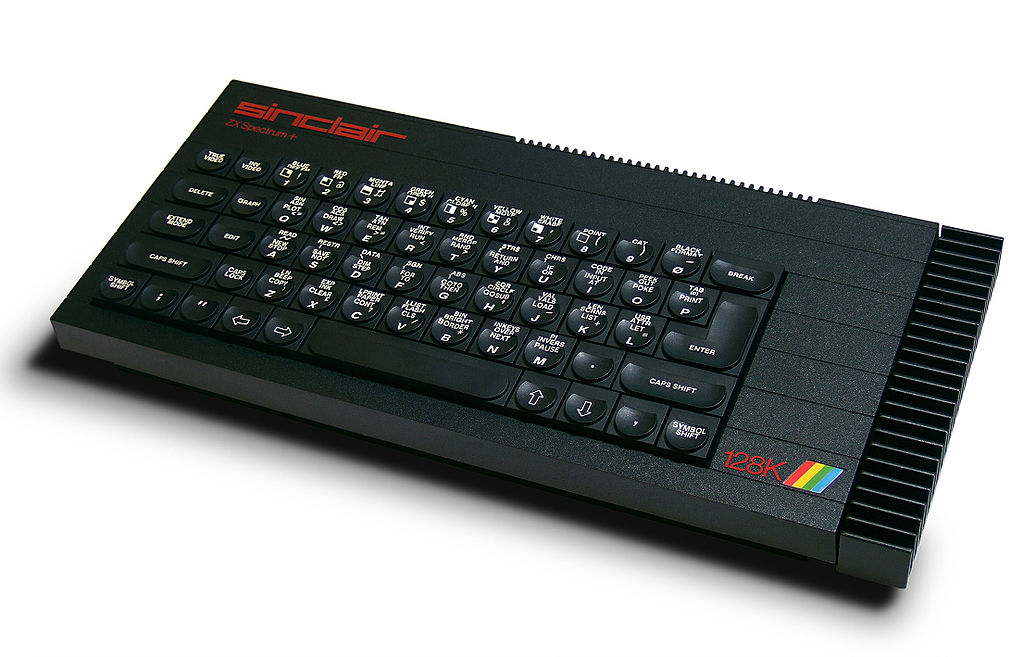
ZX Spectrum 128K : Bill Bertram 2006, CC BY-SA 2.5, https://commons.wikimedia.org/w/index.php?curid=1077588
This is great for some of the later games, and indeed essential for those, but it does mean that some of the earlier titles designed for the 48K Spectrum won’t work. Unfortunately for me this includes some of my favourite games from Ultimate Play the Game such as JetPac and Lunar Jetman.
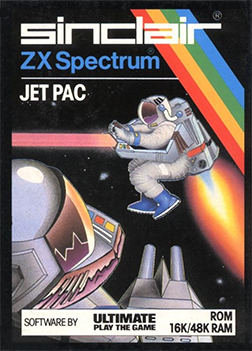
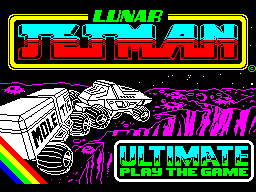
Jetpac Coverart may be found at the following website: http://img258.imageshack.us/img258/5500/jetpacfw5.png, Fair use, https://en.wikipedia.org/w/index.php?curid=20554459
Lunar Jetman box/cover art can or could be obtained from the distributor., Fair use, https://en.wikipedia.org/w/index.php?curid=2378018
Although Fuse lets you emulate any version of the ZX Spectrum it’s a bit awkward in Retropie to tell it which version to use for each game. My advice is to set the default to the 48K Spectrum as it should give the best compatibility for games. I’ll then show you how to individually tell Fuse what settings and Spectrum model to use for specific games.
The great thing is that all of this can be done through the RetroArch User Interface without having to manually edit the configuration files.
The RetroArch User Interface
Start up a Spectrum game from the main Retropie interface and once the Fuse emulator has booted up either to a playable game or not, hold down the Select button on your game controller and press the X button. This should start the RetroArch setup utility.
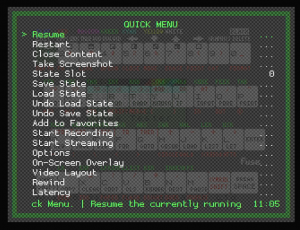
The Select button is the default hotkey that is created when you first set up your controller in Retropie. If you selected a different hotkey please use that instead.
You should now be in the QUICK MENU. Use your D pad to highlight the Options menu item and then press your A button to select it. You’ll see a range of settings that we can play about with, but for now select Model and you should see a list of ZX Spectrum’s that Fuse can emulate. Highlight the 48K version and press be A button to select it. This should take you back to the Options menu and you should see that the Spectrum 48K is now set as the default model.
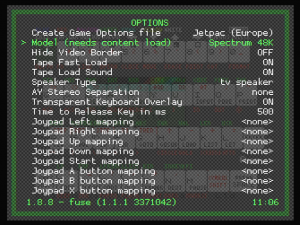
This change will take effect until we reboot RetroArch. So press your B button until you get back to the Main Menu and then select Quit RetroArch. This should take you back to the ZX Spectrum game list in Retropie. If you now restart your game and call up the RetroArch menu you should find that you are running a 48K Spectrum.
Setting up Your Joystick and Keyboard
Now we need to make sure that our joystick and keyboard are connected correctly so that we can actually play some games. Again we need to do this in the RetroArch menu, so boot up a game and press Select with X.
From the Quick Menu we need to select the Controls option. This lets us attach various devices to the five ports in the emulator. If you select the Port 1 Controls option you’ll see a page with lots of information about the input device connected to this port.
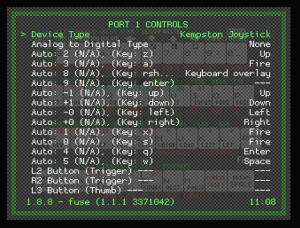
At the very top of the list you’ll see the Device Type which is probably set to None. Make sure this line is highlighted and then use your left and right buttons on the D pad to change the selection. My preferred option for joystick is a Kempston joystick but feel free to select whichever one you want. Again we are setting the default option at this point so choose one that works for most games. Pressing your B button will take you back to be Controls menu.
Now you’ve got the joystick set up we need to connect the keyboard.
On the Controls menu select the Port 3 Controls option. On the Device Type line you should find a different set of options. Select Sinclair Keyboard to connect a Spectrum keyboard to this port. Again press your B button until you get back to the main menu and then quit RetroArch.
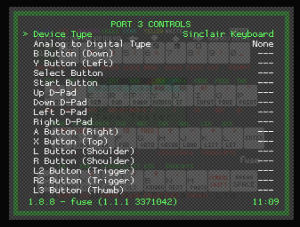
Your ZX Spectrum emulator should now be set up correctly with the keyboard and a Kempston joystick plugged in.
Customising Settings for Each Game
As default our games will now boot with a keyboard and Kempston Joystick attached. But Fuse makes it easy to customise your settings for each game in your library. You do have to do this per game but it does mean that you can select which Spectrum version you want to run the game on. You can also set up custom joystick mappings so that you can use your joystick for games which don’t support any of the standard Spectrum controllers, especially those that use the incredibly awkward arrow key controls.
To customise a game you first need to boot it up and then call up the RetroArch menu and from the Quick Menu select Options. RetroArch uses a series of configuration files to work out how to set itself up for each game. To override the default settings you need to create a Game Options file for your game. Once that file is created any changes to the options will be saved to this game specific file rather than to the default settings.
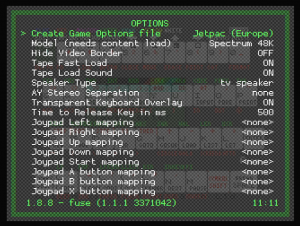
So select the very top menu item to create a Game Options file.
You can then select the ZX Spectrum Model that you want to use for this game. And then go down to the Joy pad mapping options to have your gamepad button presses mapped to any keys on the keyboard that the game requires.
The On-Screen Virtual Keyboard
While we’re in Fuse one nice feature that helps you if you haven’t got a keyboard plugged in is the virtual keyboard.
When you press the Select button you might have noticed a Spectrum keyboard appearing on screen.
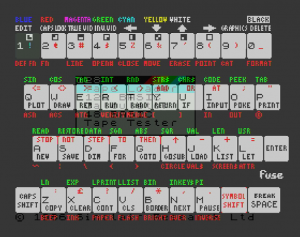
This virtual keyboard lets you simulate keypresses on the Spectrum keyboard. Just press the Select button by itself and when the keyboard appears use your game controller to select the key you want press.
This is very useful if you’ve had to map a number of keys to your gamepad and don’t want to waste any buttons for things like the start game button. Just call the virtual keyboard and press whatever key you need that way.
It’s also a great way to see which keywords and symbols are on which key if you want to have a go at typing in a Speccy program from a magazine. Don’t forget that by default the left shift key on your PC keyboard is the Caps Shift and the Ctrl key is the Symbol Shift.
Have Fun With the ZX Spectrum
So have fun reliving the heydays of the 1980s computer boom. I hope you enjoy this video and please do check out the project page of my main website for more information and all the links we’ve used in this tutorial. Make sure you click the like and subscribe button on my YouTube Channel so you don’t miss any of my future videos and I look forward to seeing you again in another video very soon.


