
LaunchBox Retro Gaming on a £35 Android TV Box – Setup, RetroArch and standalone emulators
17th July 2022
Mame – Use mouse control for trackball, light gun and dial games
28th November 2022How to win at retro games – play the higher levels the easy way!
One of the great features of using emulation for your retro gaming is that you have instant access to thousands and thousands of great games. Almost every game you’ve ever come across and thousands you’ve never heard of are all there waiting for you to play them.
From all this choice you will inevitably find a few favourites. Games that you will come back to play on a regular basis. But if like me, you’re just an occasional retro gamer, it’s very easy to end up playing level I over and over again. You never quite have the time to master the title. You know that there are some fantastic game screens to get to, but you just can’t afford to spend endless hours honing your skills to get there.
Emulation Versus Real Hardware
So, this is where emulation has a big advantage over the original hardware.
When we owned and played these retro consoles, generally, you only had a few games. You’d naturally play each game enough to get good at it. This was the only way of progressing.
Emulators work by building a complete gaming console inside software. Everything the console does and everything that is needed to run the console is modelled using data inside the emulation software. This allows the emulator to take complete control over every aspect of the game console.
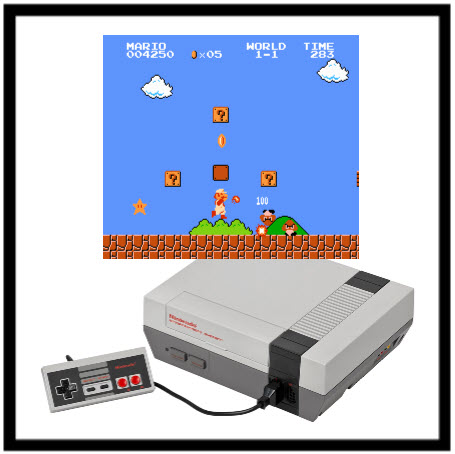
It can pause the console. It can make the console run at half speed. Or you can even rewind the gameplay that you’ve just played.
But the best feature for helping you get to deeper levels of the game is the save state feature.
Saving State
As the emulator models the game console processor, memory, support chips, controller interface and everything else in software it’s able to package all of this modelled data into a file which takes a snapshot of the complete state of the gaming console at a particular point in time. It can then save this file to your hard disk and then reload it at a later time to take the software emulated game console straight back to exactly the same point when you clicked the save state button.
The upshot of this is that you can save any game at any point and then return to that point any time you want. By saving state after you’ve completed a certain section of your game you create a new starting point that you can return to rather than having to go right back to the start of the game.
By creating multiple save state points you can even bookmark particular points in a game. For example, you might bookmark the start of each level so when you next play the game you can pick your favourite level without having to play through the rest to get there.
Saving State in RetroArch
If you’ve been following my videos on how to set up emulators on both computers and android devices you’ll know that the majority of emulation is done using RetroArch.
RetroArch allows you to run a whole range of different emulation packages from within a single emulation application. So once we know how to use snapshots in RetroArch will be able to create save points in most of our computer and console emulators.
To begin with we need to make sure we’ve got hotkeys set to allow us control the making and loading of the save state files.
Start RetroArch as a stand-alone application. If you’ve installed it using LaunchBox or some other front end package just navigate to the installation folder and start RetroArch from there. If you’re not able to start RetroArch by itself, then start playing a game and press the F1 key on your keyboard. This is the default key to get to the RetroArch menu system.
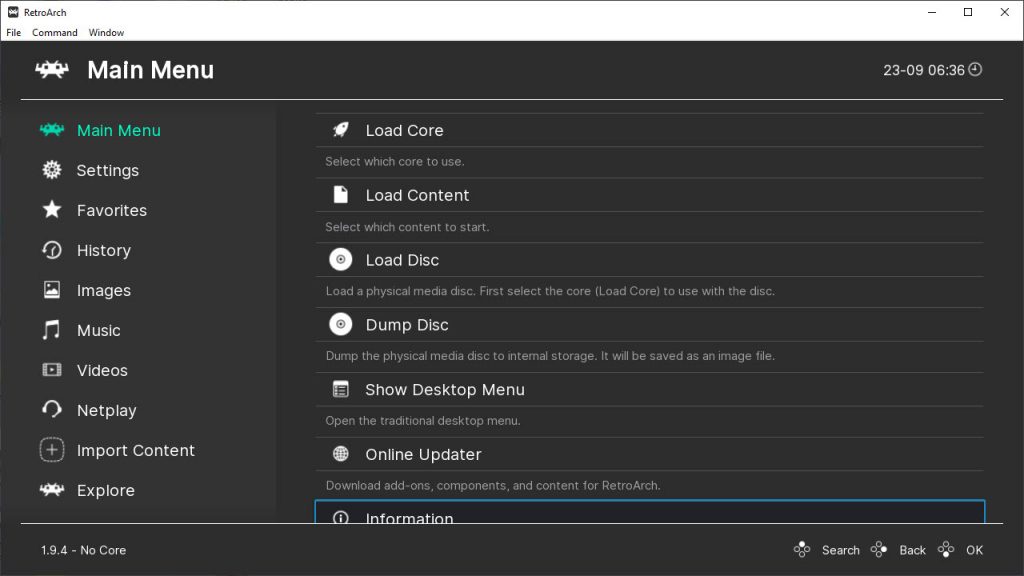
Once you’ve got to the menu you need to go to the settings screen and then select the input section. This section allows you to set up all of your controllers and input devices, but also lets you set up the hotkeys that we use to access the RetroArch features. So, scroll down until you find the hotkeys section and select that.
In the hotkeys section you’ll find a complete list of all the RetroArch features and the buttons you need to use to access them. If you’ve never used any of these features such as slow motion or rewind then do have a play. They can be great fun and really helpful when you get to tricky stages in a game.
For this tutorial we need to set the main menu access button and the save state buttons.
As you scroll down the list of hotkeys you should find the load state and save state hotkey definitions. These are usually set to F4 and F2 respectively but if they aren’t on your system then simply make a note of which keys you need to use.
As you scroll down a bit further you’ll come to the save state slot increment and decrement hotkeys. RetroArch allows you to create numbered saved states for each game. Using the F7 and F6 keys as shown in my setup I can select the slot that I both save my current state to and then reload from. In this way I could create a save state at the start of level 2 and save it into slot 2. Then play until I get to level 3 and then save my state to slot 3 and so on. The important thing to remember with the save slots is that you must select the correct slot before you hit the save state button. If you set the active slot to slot 2 so that you reload level 2, play the level and then hit save state, you’ll overwrite your slot 2 save point with the level 3 starting point.
If you’re simply using the save states to get deeper into a game, overwriting the last save state won’t be an issue. Just remember that if you want to create bookmarks for later use be careful with your active save slot.
The last button we need to set up is the menu button. If you continue scrolling down the hotkey definitions you’ll eventually get to the menu toggle hotkey. By default this is set to F1.
Back to the Action
Now that we know which keys we need to use to access the save state feature we can jump into a game and start getting to those higher levels.
So for this demonstration I’m using Ghosts and Ghouls on the Super Nintendo Entertainment System.
My method for progressing in games is to try and keep all of my lives in tact. Each time I die I load a save state to get me back to my starting point rather than losing a life and letting the game take me back to the start of that particular level.
This means that I actually create a save state at the very beginning of the game. That way if it takes me two or three lives to get to the end of level 1, my new save state at the beginning of level 2 doesn’t leave me with just one life left. I always have a full set of lives. When I die during level 1 I simply reload my state and get back to the beginning with all my lives in tact.
So now, I can just play my game, save my state as I get to a new level, take a break, and the next time I come back to the game I just pick up from where I left off.
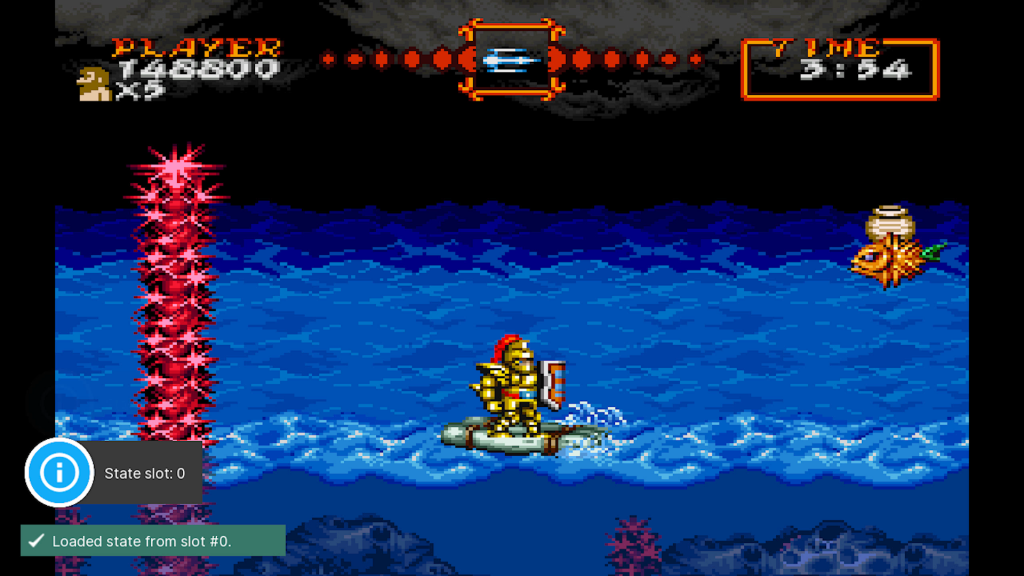
In this way you can get all the way through a game and actually get to play levels you’d never reach by simply playing the game as normal.
I’ve personally found this a fantastic feature as there were some games I owned on original computers and consoles that even after playing for many months I was never able to get past the first few levels without running out of lives. This technique lets me experience all the levels I’d only ever heard about but never been able to play.
Is This Cheating?
You might ask if this is actually cheating. Off course it is! If you want to enter a gaming competition or post up your game speed run you’ll be disqualified or worse for using save states. But we’re not trying to prove how good we are at a game, we’re just trying to experience the full depths of the software that someone’s put a lot of effort into coding for only a very few people to play.
Saving State in Other Emulators
RetroArch covers the vast majority of emulators. But there are times when you want to use a stand-alone emulator for a particular system. I tend to use stand-alone emulators for my home computer gaming as I find it makes it a bit easier to set up the hardware and interface just the way I want it.
Almost all emulators have some sort of save state feature which works in pretty much the same way as the RetroArch one.
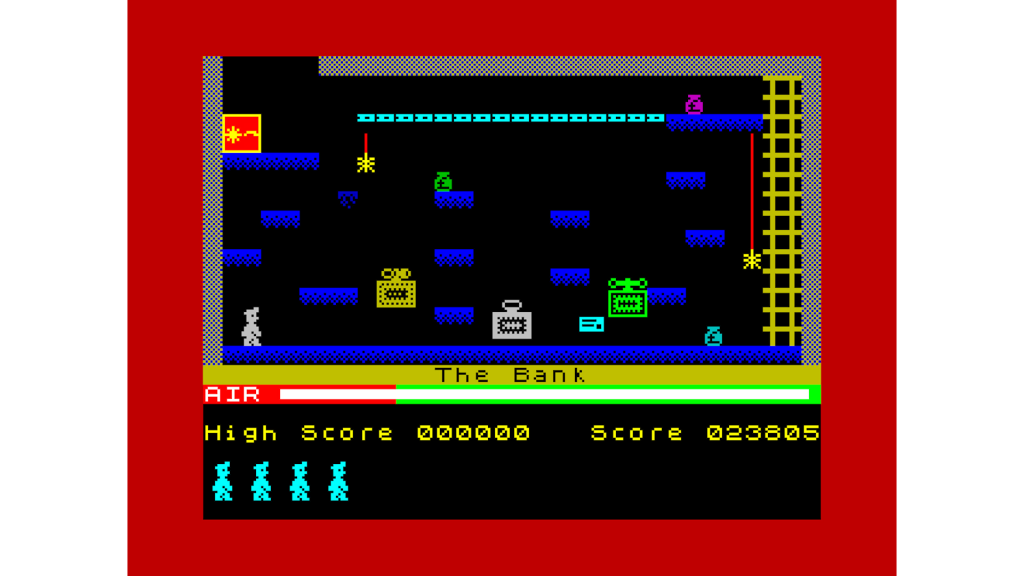
For example, I use the stand-alone version of Fuse for ZX Spectrum emulation. In a game like Manic Miner I’d only ever be able to get to about level 2 or 3 before losing my three lives. If I go to the File menu I can see there is a Save Snapshot option which uses the F2 button as its hotkey.
So if I start playing Manic Miner I can play through level 1 and then hit the F2 button to take a snapshot. This will bring up a file dialogue which will save this snapshot file. I simply name the file and save it somewhere sensible. Now, when I get killed during level 2 I can simply reload my snapshot by either going to the File menu and selecting Open, or use the F3 key as shown in the menu. This will again bring me up my file dialogue where I can select my previously saved snapshot and retry level 2 with my full set of lives.
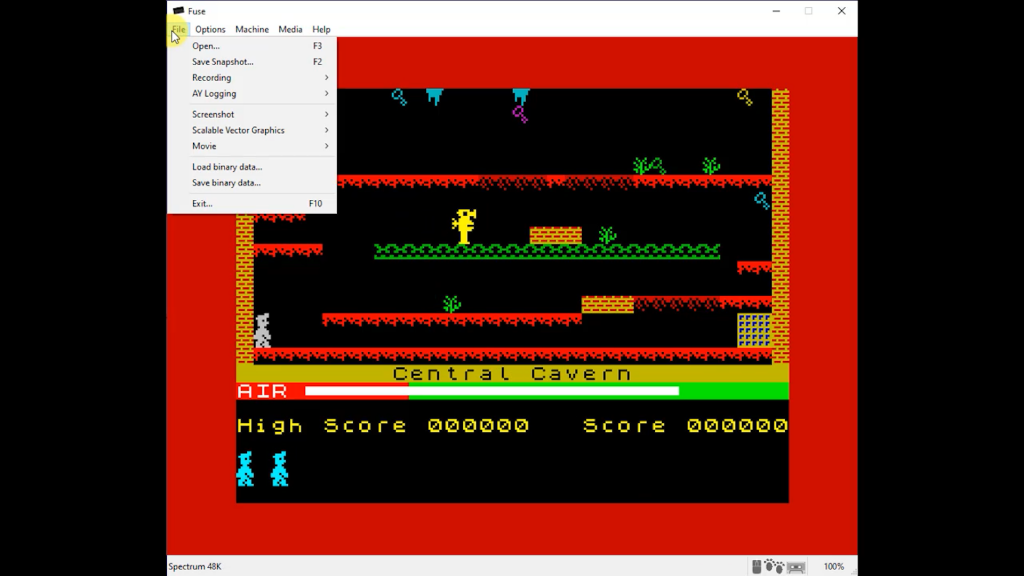
In fact this is one of the games that I’ve played through, creating snapshots at the start of each level so I can simply go back in again at any point and replay my favourite sections.
Saving State in MAME
Arcade gaming is another of my favourite areas and for this I use MAME. Again if you’ve been following my LaunchBox tutorials you’ll have seen how easy it is to get MAME up and running with a full set of arcade games.
But MAME does run as a stand-alone emulator outside of RetroArch so it handles saved states in a slightly different way.
Once you start a game in MAME you can get to the in game menu by pressing the TAB key. If you then select the Input (general) section followed by User Controls you should get a full list of hotkeys for the various features inside MAME. Again there is a whole range of things you can do in here to make your gameplay even more enjoyable. But the controls were looking for are the Save State and Load State hotkeys further down the menu.
By default these are set to Shift F7 to save the state and F7 to load a state.
If we go back into our game and press Shift F7 will get the save state menu pop-up. This shows a list of previous saved states for this game which we can overwrite, or we compress a button on our controller or on a keyboard to mark this particular saved version. Basically we are creating a saved state file and identifying it by selecting a hotkey.
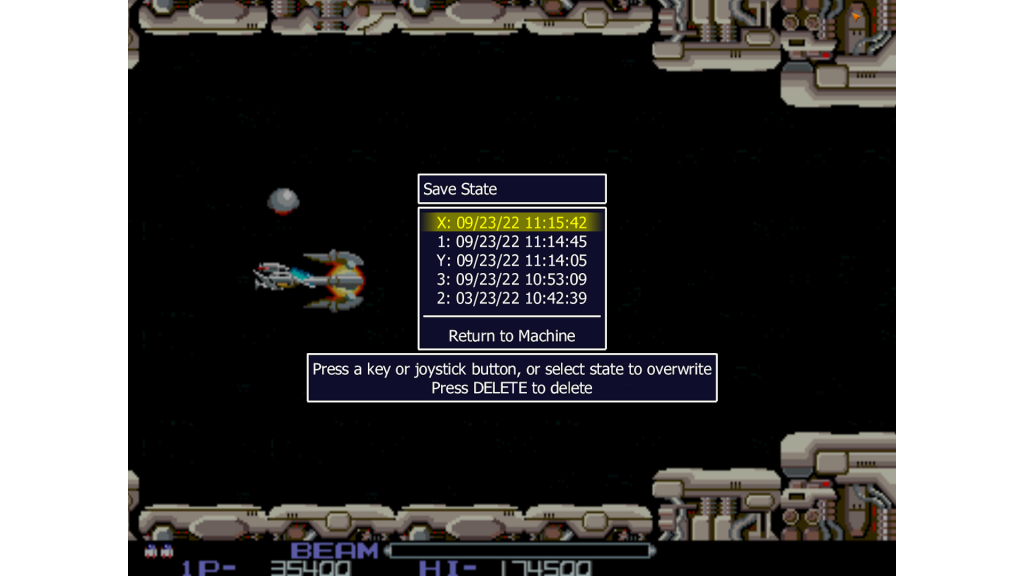
When we want to reload our state we simply hit the F7 key and the load state menu will appear. Again you’ll see a list of the previous saved states or you can simply press the hotkey that relates to the saved state that you want to load.
So here I’m trying to make my way through one of my favourite shoot them up games, R-Type. As soon as I get to the level 1 boss I’m going to create a saved state. After I’ve pressed Shift F7 I then press the number 1 key and that saves my progress. Now when I get killed trying to beat the level 1 boss, as I inevitably will, I can just press the F7 key followed by 1 and go straight back and have another go, but with all of my lives still intact.
Have Fun!
So that’s it for saved states and snapshots in your retro gaming emulators. I find it’s a fantastic way to experience parts of games I would never normally be able to get to. All of that code the game designers created that most people never get to see is now within reach.
I hope you find this feature as much fun as I have and I hope you’ve enjoyed this tutorial.
If you like what I do please make sure to subscribe to my YouTube channel to keep up to date with all my gaming, making and electronic projects.


