How to Make a Replica Commodore 64 – Original Case and Keyboard plus a Raspberry Pi
17th November 2023
Make Your Own Replica ZX Spectrum – Bare Metal Emulation + Original Case and Keyboard
1st December 2023Bare Metal Emulation of the ZX Spectrum With ZXBaremulator
Bare metal emulation gives you the closest experience to the original retro computer that you can get using modern hardware.
Instead of booting into a modern operating system and then loading up your emulator, a bare metal emulator removes the OS layer allowing the emulation software to boot directly after power on. The upshot of this is that your system boots straight into the emulator almost instantly without any windows or other GUI parts to get in the way. Just like the real thing!
The second advantage of bare metal emulation is that it is ideal for building a replica computer using original cases and keyboards so you can effectively build a ‘real’ ZX Spectrum with modern hardware.
Hardware Setup
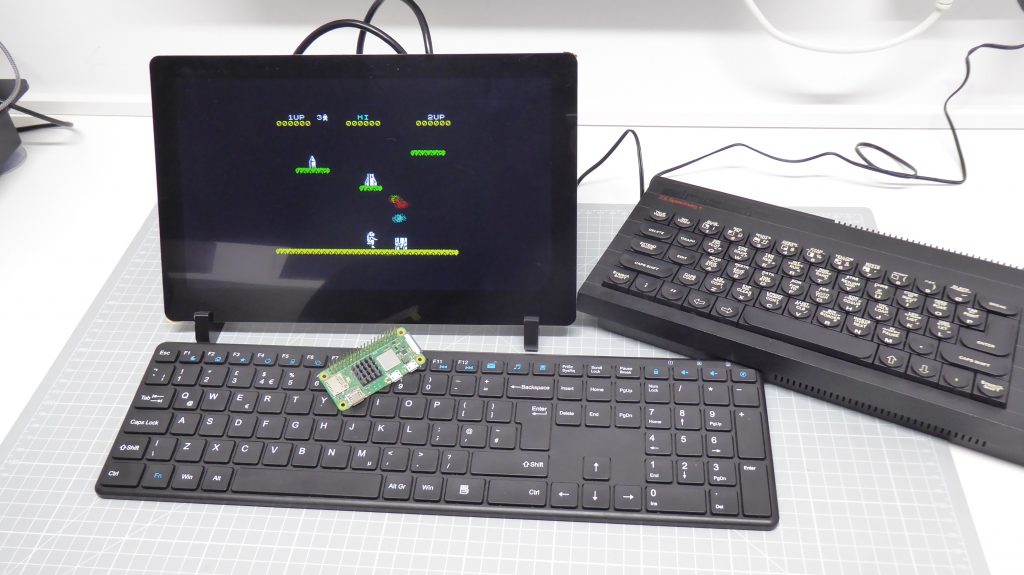
For this part of the project I’ll be using a Raspberry Pi Zero 2W, a modern USB keyboard and a small 11 inch HDMI display with built in sound. This gives me a neat little retro computer that, for me at least, feels very much like a ZX Spectrum with my portable TV sitting directly behind it. Throwing the Speccy up onto a large monitor just doesn’t feel the same.
If you’re interested in the parts I’m using…
Elecrow screen – https://www.crowdsupply.com/elecrow/crowvision
Elecrow speaker connector : https://amzn.to/3utOPrf
Elecrow speakers : https://amzn.to/47rctDt
Other LCD screens : https://amzn.to/3GgsrV2
Raspberry Pi Zero 2W : https://amzn.to/3FXfGhZ
Keyboards : https://amzn.to/3RegHbJ
ZXBaremulator
For this project we’ll be using the ZXBaremultor – https://zxmini.speccy.org/en/index.html
Installation is very simple. Just download the allfiles.zip file from the website and extract the contents onto a blank, FAT32 formatted SD card. There is no flashing process, just copy the files over.
The emulator is compatible with Raspberry Pi Versions 1, 2 and 3 as well as the Pi Zero Versions 1 and 2. There is no Pi4 or Pi5 support and I don’t think there are plans to add that.
My advice is to use a Pi3B+ or a Pi Zero 2W.
Once you’ve copied the files to the SD card it is designed to work with any Raspberry Pi model. I found it booted correctly on my Pi 3B+ but not on my Pi Zero 2W. I suspect the model detection code wasn’t working quite as it should.
My advice is to modify the contents of the SD card to force it into the correct setup.
On the SD card you’ll find a device tree file for each Raspberry Pi model – these are the .dtb files. These contain coded data that describes the hardware setup on each Pi version so that the BIOS and base software can handle the peripheral devices correctly. Keep the one that matches your Raspberry Pi and delete the rest.
The kernel image files relate to the versions of the emulator tailored to the ARM processors used in each Pi model. As shown on the main website;
Kernel.img is suited to the original Pi A and B, and original Pi Zero models which used ARM V6.
Kernel7.img is for the Pi 2 and earlier Pi 3 models.
Kernel8-32.img is for the Pi 3B+ and Zero 2W models using the ARM V8 cores.
So again keep the one for your model and delete the rest.
This should now give you an installation tailored to your Pi model that should boot correctly.
Adding Games
To add games to the SD card simply copy your TZX or TAP files onto the SD card. I tend to put them into a Games folder for easy access but you can file them in whatever way you want. The emulator has a file finder app to load the tape files.
Using ZXBaremulator
When you power on the emulator you’ll find yourself sitting in from of a ZX Spectrum.

To load a game you need to put a tale in the virtual tape deck.
Press F1 to bring up the main menu.
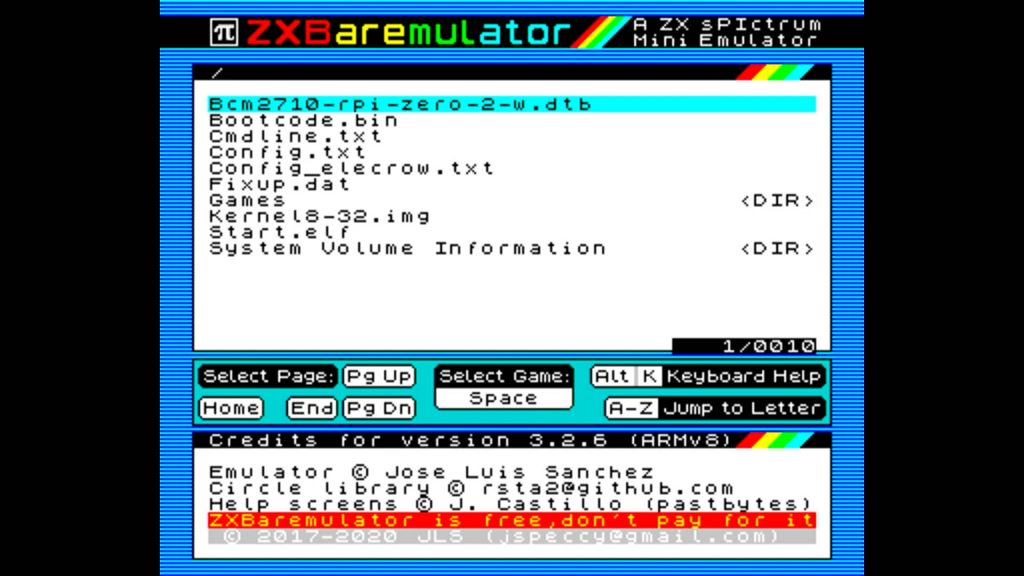
Use the cursor keys to change selection and Space to select an item. Simply navigate to your chosen game file, select it and then press F1 again. You chould see a tape inserted message. This has now put the tape into the tape recorder but not loaded it. You now need to tell the Speccy to load the game files, just like on the real machine!
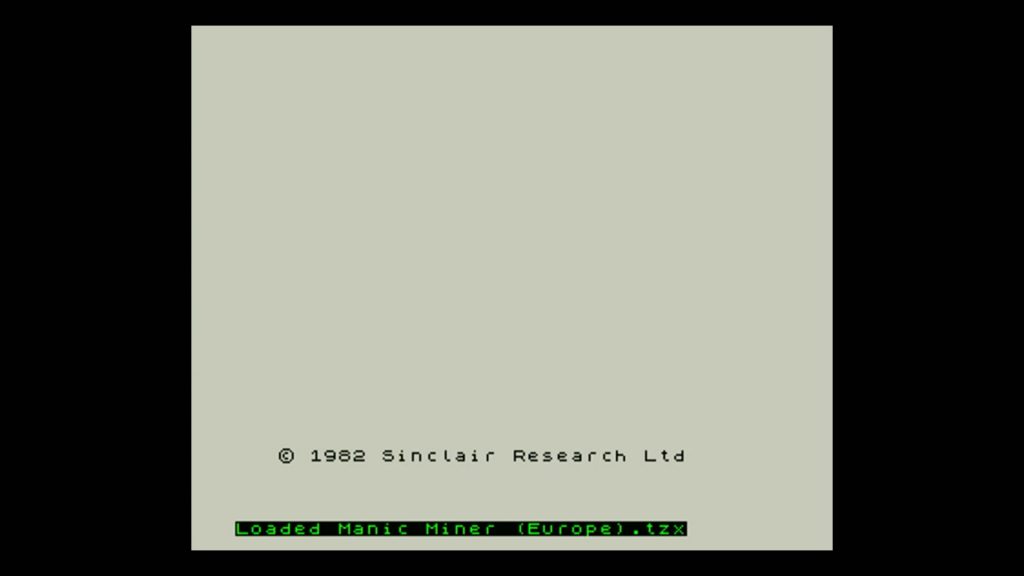
You need to learn how to use the Spectrum keyboard. Pressing ALT + K will bring up the keyboard help screen where you can see the multitude of functions each key has.
For now press J to access the LOAD command and then CTRL + P (CTRL = symbol shift) to get the inverted commas. Then press return and the tape will start to load, just like on the real thing.
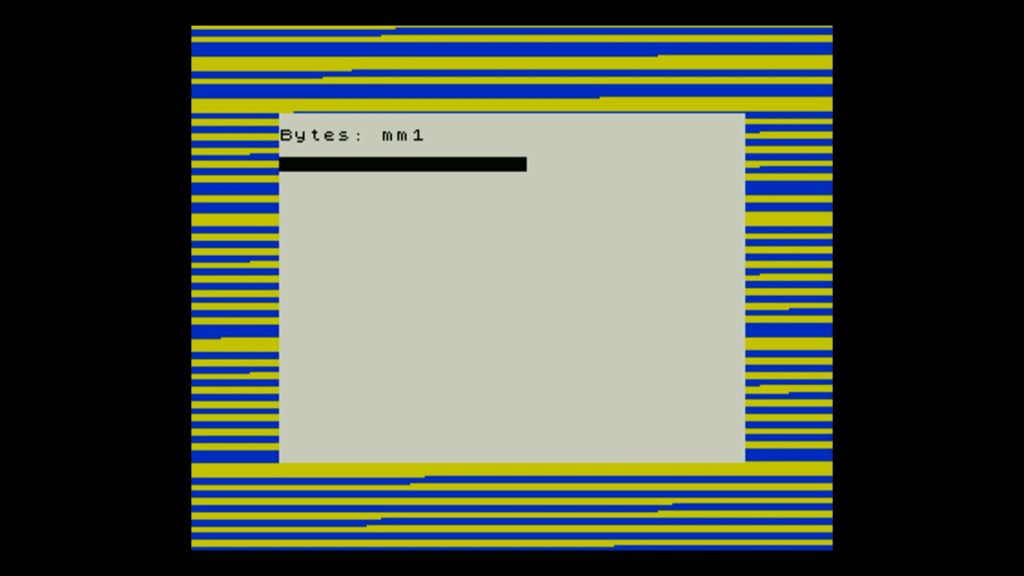
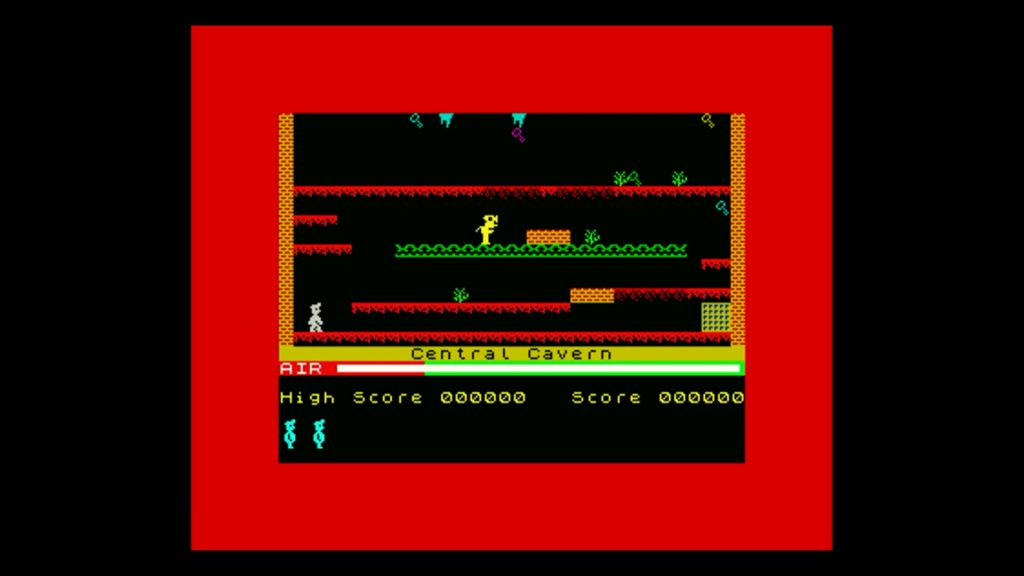
To reset the computer, the only way of getting out of a game, press CTRL + Break, or just power cycle the Raspberry Pi.
What’s Next?
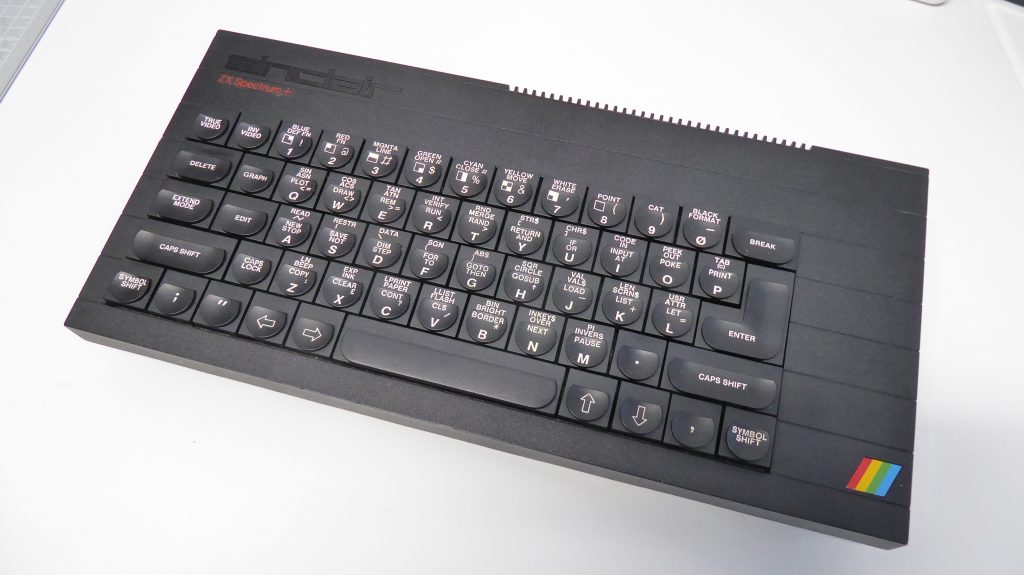
As I mentioned this project is ideal for turning an old ZX Spectrum case and keyboard into a fully working replica computer.
So keep an eye out for the next part of the project where I’ll take my ZX Spectrum + and do just that!
