Multi Thread Coding on the Raspberry Pi Pico in Micropython
19th April 2022
The easiest way to turn your PC into a retro gaming system – consoles, arcade and home computers
30th May 2022Great 10 Inch Raspberry Pi Display With 5 Point Multitouch
There are a range of small portable LCD panels that you can use as a display for your Raspberry Pi. I’ve previously reviewed a 7 inch display by Wimaxit, but the kind people at Andycine.com send me through a larger 10 inch display for an arcade cabinet project.
This model has the same 1024 x 600 pixel IPS LCD panel with built in sound, full capacitive touch and the ability to mount a Raspberry Pi 3 or 4 on the back of the unit. At 10 inches I felt this would be a perfect size screen for a Raspberry Pi powered desktop arcade cabinet.
But first of all let’s take a look at the actual unit to see what you get and to see if it’s worth buying one for yourself.
What Do You Get in the Box
The 10 inch LCD panel comes with everything you need to connect it to either your Raspberry Pi or any other computer with an HDMI output.
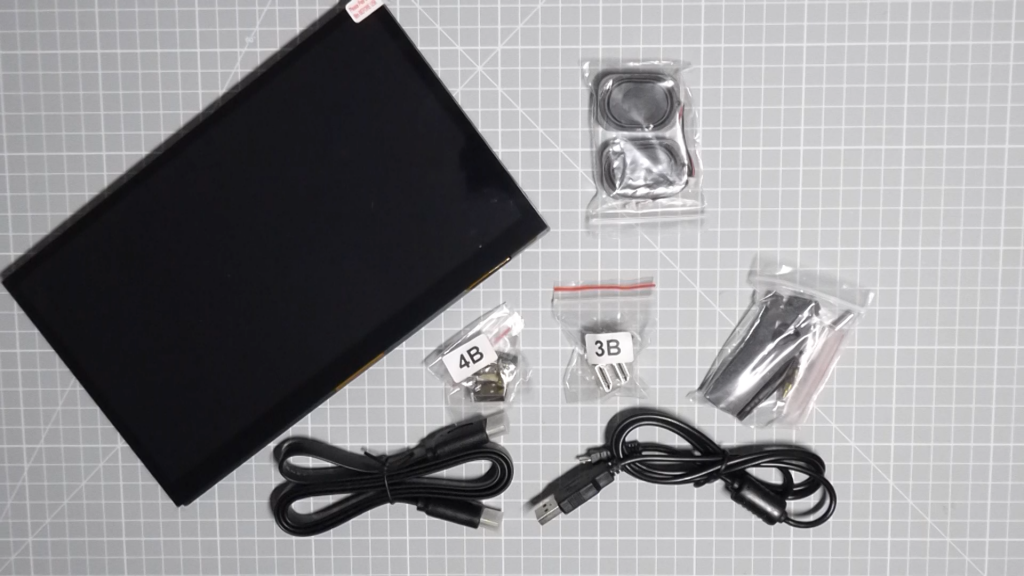
Inside the box you’ll get the LCD panel itself. This is an IPS screen with a quoted 178° viewing angle which basically means that you’ll be able to see the image as long as you’re somewhere in front of it. It has a built in five point capacitive touchscreen so you can easily use your fingers to control your mouse on any compatible operating system along with all the usual pinch to zoom and other multitouch gestures.
The unit has built in stereo sound which is taken from the HDMI signal and rooted through connectors on the back of the panel to 2 included speakers. With these speakers being mounted as separate units you can easily extend speaker cables and have them mounted anywhere you want. As I said earlier my ultimate use for this unit will be to build a desktop arcade cabinet, so this will let me mount my speakers on the cabinet walls rather than at the back of the LCD panel.
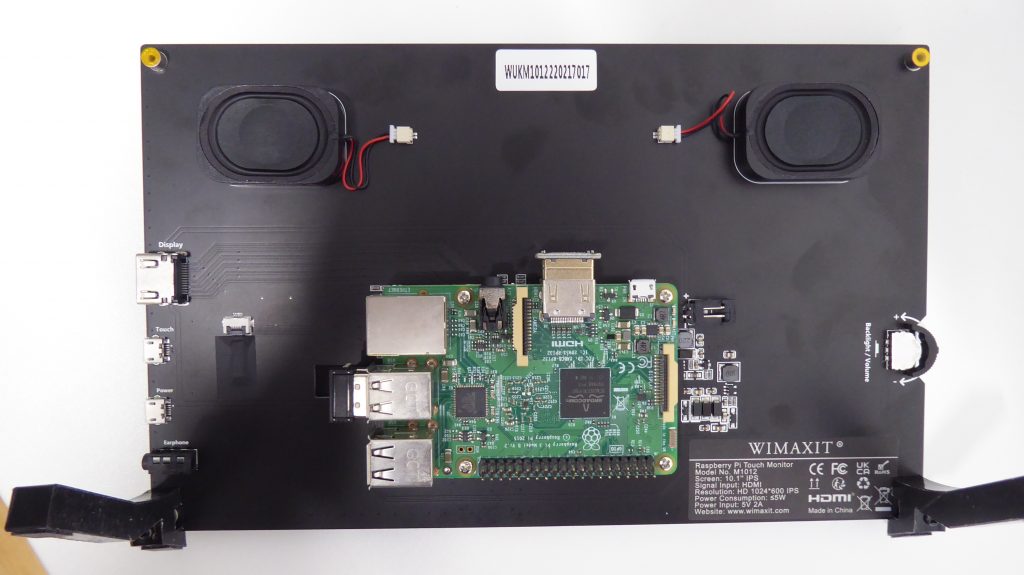
Although this device can be used with any HDMI input it has been designed primarily for use with a Raspberry Pi. This is mounted on fixing points at the back of the unit but requires a couple of specialist connectors to plug it directly into both the HDMI input and USB port for the touchscreen function at the back of the panel. So in the box you’ll find two sets of connectors for the Raspberry Pi 3B and 4B.
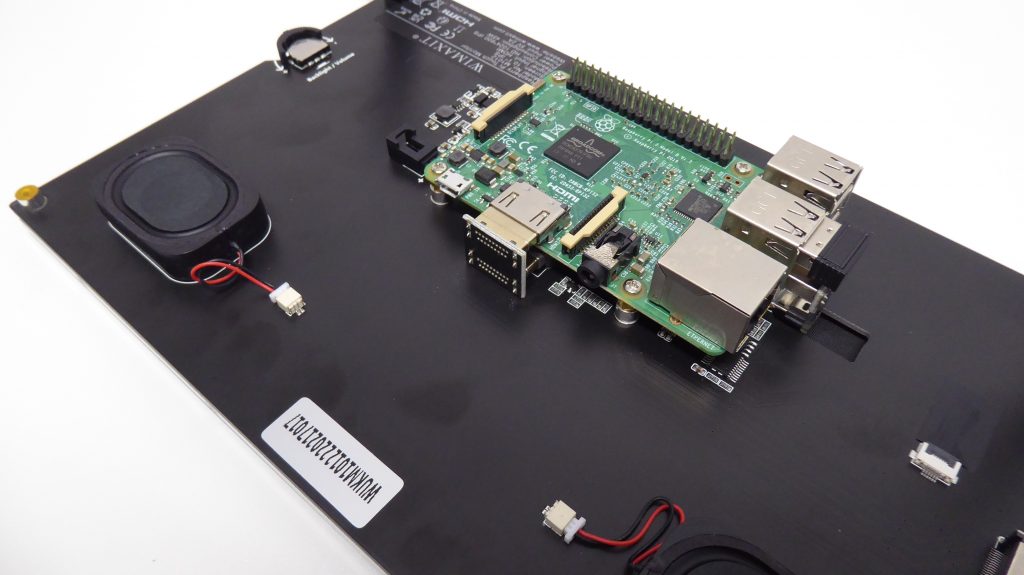
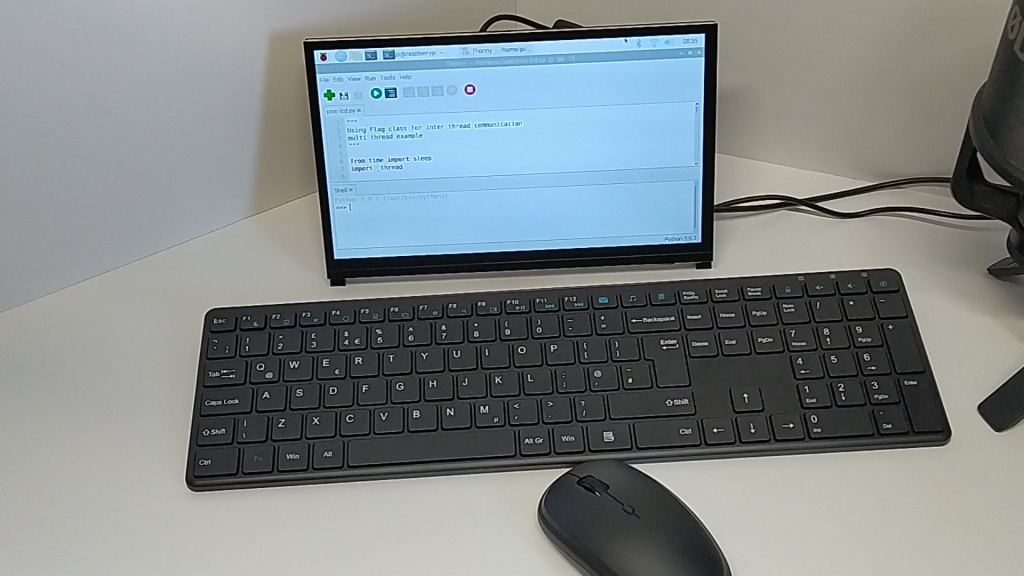
With a Raspberry Pi mounted at the back of the unit it basically becomes an all in one computer system. So you also get a set of legs that can be screwed onto the base of the panel allowing it to sit at a comfortable viewing angle on your desk.
Finally you are also supplied with an HDMI cable to connect to any HDMI output, for example you can use this as a second screen of your laptop, and a micro USB power cable. The micro USB power cable is only needed if you are using this as a stand-alone screen. When you’ve got a Raspberry Pi plugged onto the back of it it will take is power from the Raspberry Pi power supply. So do make sure use a high enough powered supply to cover both your Raspberry Pi and the LCD panel.
Using the LCD Panel As A Monitor
The unit is a very versatile display. By just connecting it to an HDMI source you get a stand alone monitor. So you can use this as an extension screen for your laptop or as a quick display for your Raspberry Pi or games console. Again with full sound over HDMI built in.
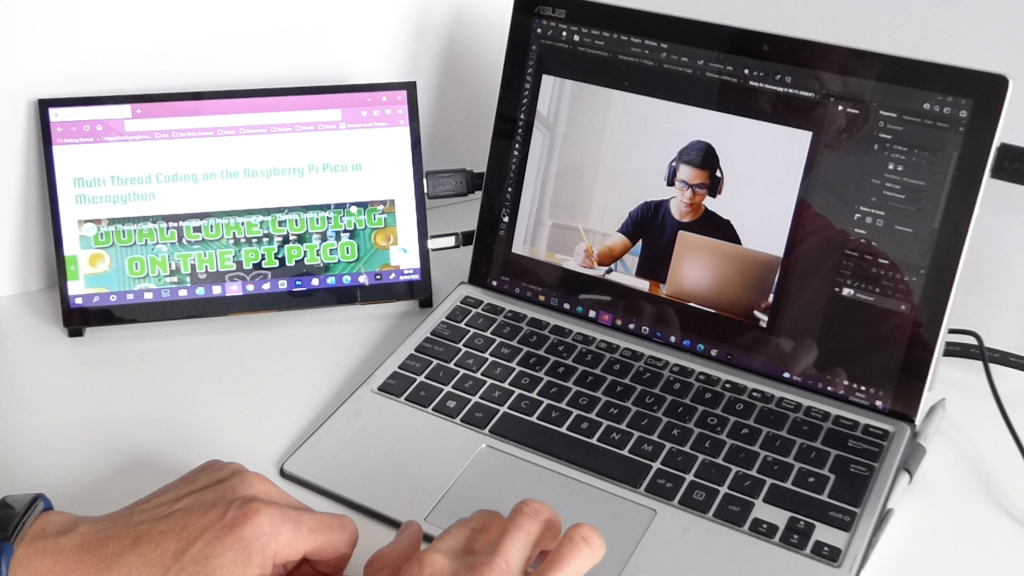
Raspberry Pi Display and All-in-one Computer
Although the display can be used as a portable monitor for any HDMI output its main focus is on use with a Raspberry Pi mounted on the back. Once you’ve mounted your Raspberry Pi you basically have an all-in-one computer in a very neat and useful package.
The 5 point touch panel adds to this experience. Although Linux isn’t great for touch functionality you can still get around the desktop with ease and use the multi touch gestures for zooming etc.
I’ve also been looking at bare metal emulation for retro 8 bit computers and this is an area where the all in one setup comes into its own giving you a fast booting, self contained, Commodore 64, ZX Spectrum, or any other computer you care to build.
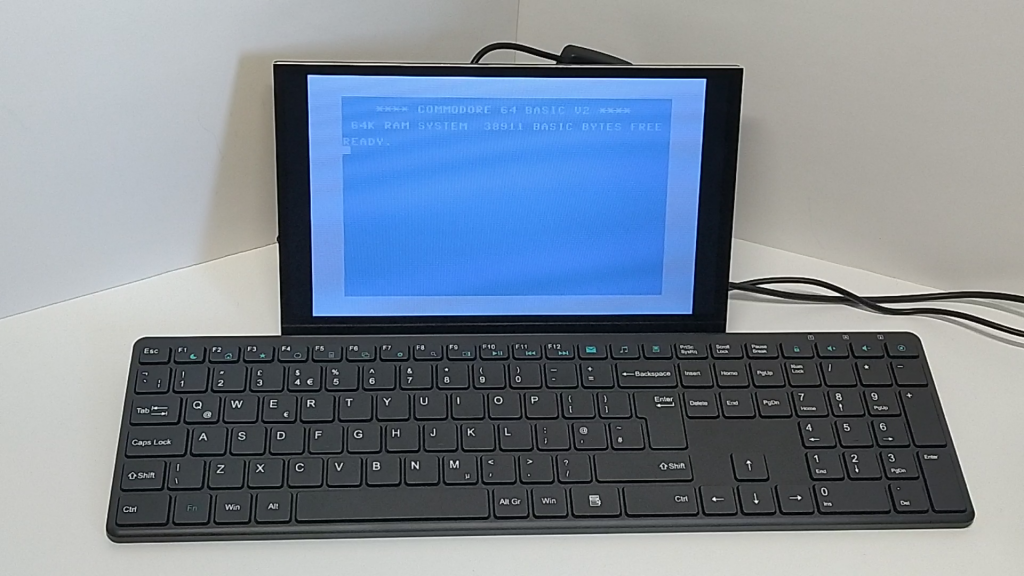
I’ll be covering bare metal emulation in a later video so please look out for that one.
Raspberry Pi Desktop Arcade Cabinet
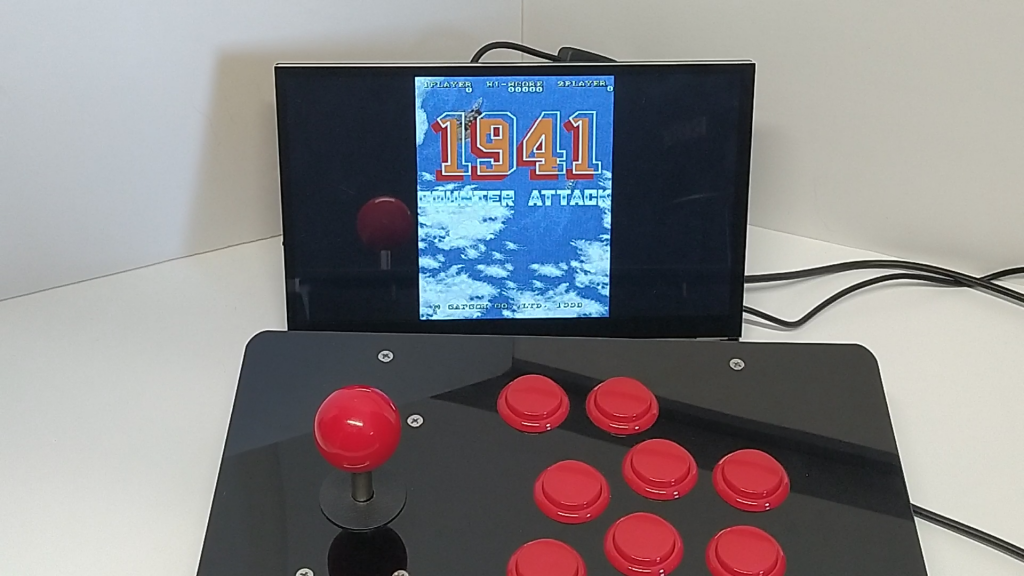
My main plans for this unit are to make a desktop arcade cabinet. The 10 inch display is just about the right size to pair with a proper set of arcade joystick and buttons.
With the all-in-one form factor all I basically need to do is to mount the LCD panel unit and arcade controls into a cabinet. Place the speakers into the cabinet case and simply use a USB connection to connect the controls to the RPi.
Again watch the channel for this project build.
Conclusion
Overall this is a great display for your Raspberry Pi.
You can use it as a portable monitor and it does a great job of that with the built in sound output but I don’t think that’s it’s primary application.
Once you bolt a Raspberry Pi onto the back you get a self contained computer system that looks great, is compact, has touch functionality and full sound.
Overall a great addition to your Raspberry Pi setup.
