
Recalbox 8 Released for the Raspberry Pi Zero 2W – Full install and Nintendo 64 test
6th December 2021
Connect an SPI LCD Display to Your Raspberry Pi Pico Using MicroPython – ILI9341 Driver
29th December 20217in touchscreen display with sound for your Raspberry Pi or laptop – Andycine Wimaxit Touch Panel
I’ve been looking at a small display for my Raspberry Pi projects for a while now and recently came across this 7 inch LCD panel with built in multi point capacitive touch from Andycine. The particular features which drew me to this model were the HDMI input signal and the built in sound output. Andycine was very kind and supplied me with a unit for review, so let’s have a look and see how well it works.
What’s In The Box?
The unit comes in a fairly generic box labelled as a Wimaxit 7 inch Touch Monitor. It’s very well packaged and inside the box you get the LCD panel itself, an HDMI cable for connecting to any device that can drive HDMI such as a laptop, desktop, Switch, etc. A USB connection for connecting to the touchscreen function. A set of speakers, a stand, and mounting kits for both the Raspberry Pi 4 and 3 with all the required standoffs and screws, and even a small screwdriver.
The stand consists of 2 legs that can be screwed onto the back of the panel in 2 positions to give you different levels of tilt. The fixing screws and even a screwdriver are all included in the package.
The speakers are not initially mounted onto the screen so you can just use it as a monitor. If you want to connect it as a second display this is a good option so you don’t get a second sound channel playing through the LCD panel.
Use as A Second Screen
So I’ll use it in this mode first and connect it up to my laptop to see how it works as a quick and portable desktop extension.
So all I have to do is plug the HDMI output from my laptop into the panel and connect a micro USB power supply. The screen uses around 0.3A to 0.5A so I’ve just connected it to a USB port on my laptop. This will of course reduce your battery life but it does mean you’re not tied to an electric socket.
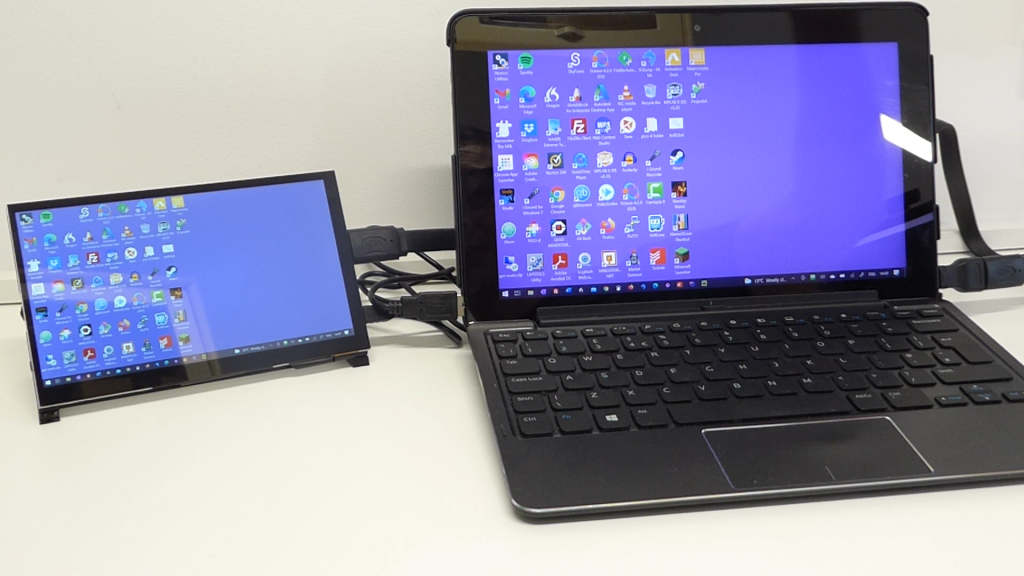
At the moment my laptop is simply duplicating my display but if I go into the display settings I can scroll down and tell Windows to extend my display. Going back up I can tell it where I’ve placed my second screen and there we have a new desktop area to the left of my main display and I can drag and drop windows onto this area. having this extra workspace is especially fantastic for me as if you’re doing any sort of coding work you need a number of panels open to see what you’re doing and my small laptop screen can get quite limiting, having to hide and display information panels as I code. So having this second screen lets me work away from the office whilst still having a usable IDE layout.
Looking at the display quality, this unit works incredibly well. Viewing angles on the 7 inch IPS screen are great and the display looks bright and sharp. Compared to my Dell Laptop display the colours are very slightly muted but overall I’m very pleased with the result.
So that’s using the LCD panel as a simple portable second display. Lets see how well it works with a Raspberry Pi.
Connecting to a Raspberry Pi
I’ll want to have sound with my Pi setup so each speaker comes with an adhesive pad on it’s back so you can just stick them into place on the circuit board and then plug them into the connectors.
The panel is cleverly designed to allow both version 3 and 4 Raspberry Pis to be mounted on the back of the screen without needing any extra cabling. The two mounting packs consist of HDMI and USB adapters that simply plug the Raspberry Pi into the screen connectors once the Pi is mounted onto its fixing points.
So the process is to first use the supplied stand offs to mount the Raspberry Pi board securely onto the back of the LCD panel. You’ll then see that the HDMI and USB ports align with the HDMI and Touch connections on the LCD Panel. The connector kits then plug into place to make the connections between the Pi and the screen. This is a very neat solution and turns the whole assembly into a very sturdy, single unit.
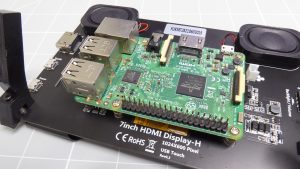
Power for the screen is taken from the Raspberry Pi so you still only need a single power adapter. Just make sure that you’re using one with enough current supply for the extra 0.5 amps that the screen will use. The manual suggests a 3A supply for the Raspberry Pi 4 and 2A for the Pi 3, so any of the official Raspberry Pi power bricks will work fine.
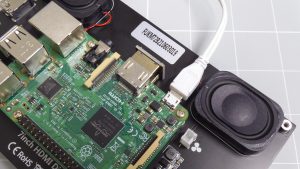
To use the display you don’t need any extra software. The standard Raspberry Pi OS image is all you need. You do however need to tell Linux what settings to use for the display as it’s not a standard resolution.
Enter Screen Settings
To do this you first need to create a clean SD card image of the software you’re going to use. If you’re using the Raspberry Pi Imager App just select the appropriate option for a desktop or gaming setup. Once that is ready you’ll then need to edit the config.txt file.
Put the SD card into your main PC and open up your file manager app. You should see two extra removable drives, one labelled as Boot. Open this drive and in the root folder you’ll find the config.txt file. Open this with any plain text editor, NOT a full word processor, and add the following lines at the bottom of the file.
hdmi_force_edid_audio=1
max_usb_current=1
hdmi_force_hotplug=1
config_hdmi_boost=7
display_rotate=0
hdmi_drive=2
hdmi_group=2
hdmi_mode=87
hdmi_cvt 1024 600 60 6 0 0 0
This code is given in the screen’s manual but I’ll also put it onto the project page in my main website – check the description for links to that.
Basically the lines tell the Raspberry that the screen can play all sound formats, even if it says it can’t, increases the maximum current supplied by the USB ports to 1.2A, forces the HDMI output to be on, boosts the HDMI signal levels, sets the display rotation, forces the sound data to be sent over HDMI, and finally sets the HDMI output format to a custom mode at 1024 x 600 pixels and 60Hz and 15:9 aspect ratio.
HDMI Signal Level Problems
Hopefully these settings will work for you, and indeed they initially worked for me. It wasn’t until I started to use sound output that the screen started to go blank at random intervals making it unusable. After a bit of playing around I pinned it down to the signal boost levels. So if you find this happening just re edit the config.txt file and increase the config_hdmi_boost value. The maximum is 11 but try to find the minimum value that works for you. I found 10 made the system work perfectly.
I did think this might be a power supply issue as sound output will add extra current draw. But running the screen in VGA resolution worked fine with no screen blanking even with full volume sound, and powering the LCD via a separate power supply had no effect. So it does look like a simple signal level issue.
With this fix in place you should now have your Raspberry Pi working as a small desktop computer.
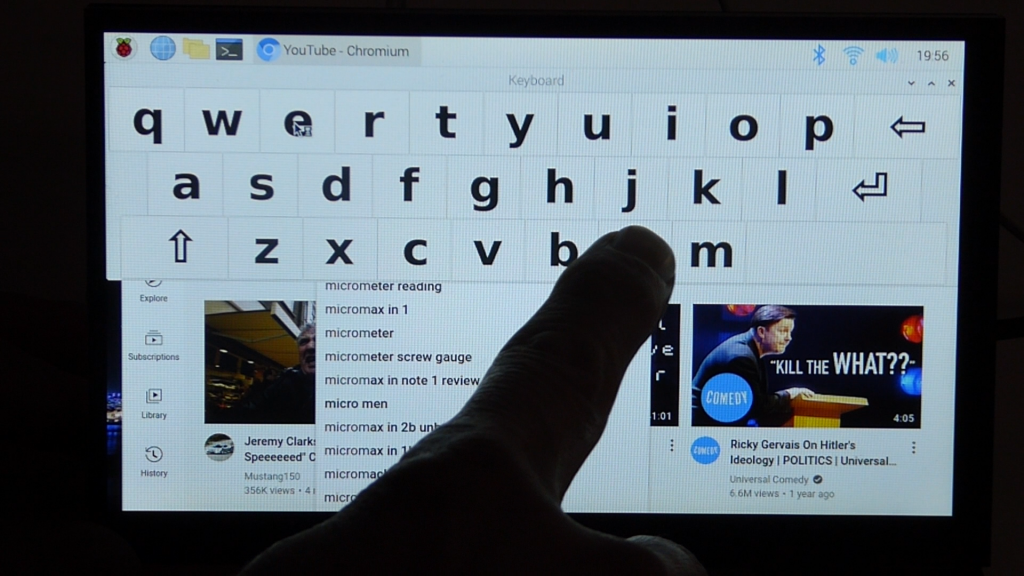
When connected to the Raspberry Pi the screen resolution works at the panel’s native size of 1024 x 600 pixels. For a 7 inch display this is actually quite a good resolution and significantly better than the official 7in display which runs at 800 x 480.
As before the display looks great and with it being a true HDMI connection we’re not going to have any frame rate issues that we would see with an SPI based panel.
The touch screen function works straight out of the box. We’ve got 5 point capacitive touch so driving it with a finger is easy – just like using your mobile phone. Accuracy seems great and although the Linux OS isn’t particularly designed for touch you can easily navigate around and do most of the tasks you need by touch alone. If you need an onscreen keyboard you can install the matchbox-keyboard package which will give you a way to type without having a physical keyboard connected.
Sound output is very good. OK the speakers are not top of the range Bose quality, but for general use they are absolutely fine and have a good volume range. If you’re watching a video or, as we’ll see in a bit, playing a game you can get all the sound you need and the unit also has a headphone socket if you want to keep things more private.
Volume is controlled by the multi function thumb wheel. Press it in to change the function and then turn to adjust the value. This controls volume and screen brightness.
So in this configuration you’ve basically got a Raspberry Pi powered tablet. I can think of endless applications where this sort of unit would be ideal and having everything built into one unit with a single power supply allows you to easily build standalone units or control panels with full touch control.
Retro Gaming Computer
But one of the reasons I wanted to get hold of a display like this was to create a small retro gaming cabinet. So lets load up a Retropie installation and see how that performs on the LCD panel.
Again all we need to do is to burn the Retropie SD card image and then edit the config.txt file. I’m using an HDMI boost value of 10 on my setup to make sure the sound works.
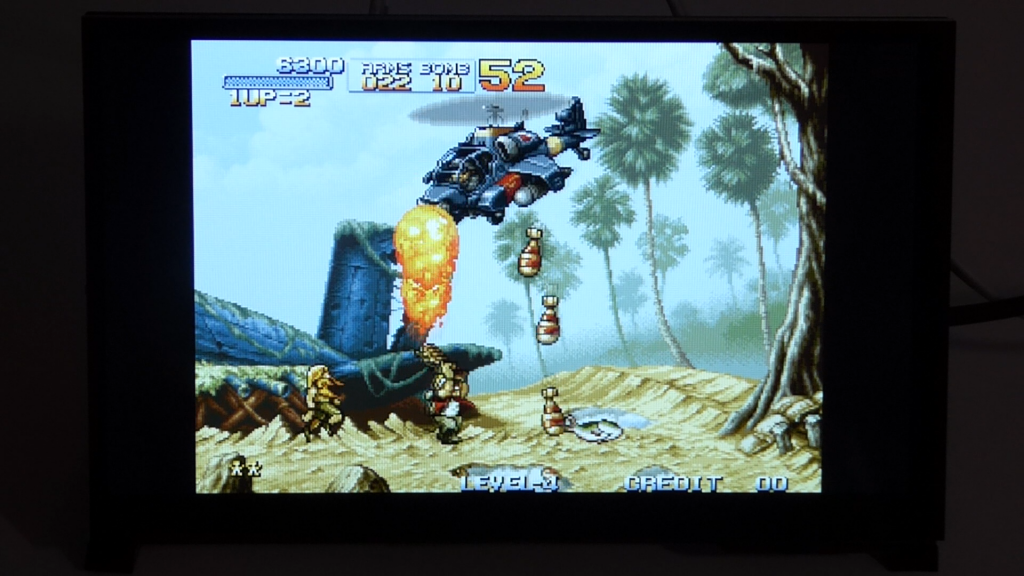
Once this is all booted up all I can really say is that it just works. The screen looks great and having the sound built in is a great bonus. The speakers can easily by moved from there position on the back of the panel so mounting this into a small cabinet will be no problem. I’ll then have the full Raspberry Pi setup which I can attach the controls to and create a great little desktop gaming unit.
Conclusion
This is a really good and very useful addition to your Raspberry Pi setup. If like me you don’t use your Raspberry Pi as a day to day work machine it lets you have a Raspberry Pi set up as a very portable computer system that you can put wherever you want when you need a Pi for projects and so on. The GPIO connector is fully unused and easily accessible for both wire connection and Hats and being mounted on the back gets it off the table and away from any bits of wire and other conductive debris.
As a base for a gaming project it’s fantastic. All the work has been done for you to get a full frame rate display with good quality sound output. All you need is a box and some buttons.
So thanks again to Andycine.com for supplying the unit. If you want to get hold of one please use the links below.
Other Amazon countries
https://www.amazon.com/dp/B093BNVFKF
https://www.amazon.com/dp/B0932CX42D
https://amzn.to/3uztgkq
https://amzn.to/3oedcC0
https://amzn.to/2SGC0XE
https://www.amazon.fr/dp/B09373CK49
https://www.amazon.es/dp/B09373CK49
https://www.amazon.es/dp/B09373CK49
https://www.amazon.pl/dp/B09373CK49
https://www.amazon.de/dp/B093FNSDYF
https://www.amazon.co.uk/dp/B093FNSDYF
https://www.amazon.it/dp/B093FNSDYF
https://www.amazon.es/dp/B093FNSDYF
https://www.amazon.fr/dp/B093FNSDYF
https://www.amazon.nl/dp/B093FNSDYF
https://www.amazon.pl/dp/B093FNSDYF
https://www.amazon.co.jp/dp/B094QN43M1
https://www.aliexpress.com/item/1005002716389220.html?spm=a2g0o.store_pc_allProduct.8148356.1.da635ab297DS4K
https://wimaxit.com/products/wimaxit-raspberry-pi-7-touch-screen-display-monitor-1024×600-usb-powered-hdmi-screen-monitor-ips-178-with-rear-speakers-stand-for-raspberry-4-3-2-laptop-pc?_pos=1&_sid=92c3c533b&_ss=r


