
How Create, Manage, Resize and Fix Bootable SD Cards and Flash Drives
3rd November 2023
How to Make a Replica Commodore 64 – Original Case and Keyboard plus a Raspberry Pi
17th November 2023Batocera Full Installation to Portable USB and Hard Drive
Batocera is a completely free retro gaming system that you can install onto a wide range of different devices. If you browse to batocera.org you’ll find the project website which has lots of information and documentation to help you setup and fine tune your installation. If we go to the downloads page you’ll see the full range of supported devices from PCs, to Raspberry Pis, other SBCs, Android TV boxes and basically anything that can run Linux.
Batocera is actually a completely self-contained Linux distribution that is tailored to running a wide range of console and computer emulators using RetroArch as the core software. As it’s effectively its own operating system we can create a Batocera bootable drive and then plug that into a compatible computer and instantly turn it into a retro gaming console. One of the great features of this approach is that if we run it from a portable USB stick, once we remove the Batocera drive the computer will revert to its normal state as either a Windows PC or Mac without disturbing the computer’s setup.
For Raspberry Pis and similar SBC and devices, the Batocera boot drive we’re about to create will become the system’s main boot drive so you’ll need to make sure that you use a big enough SD card to hold the OS along with your games and media. But as we’ll be using a mini PC I’ll also show you how to transfer the Batocera OS onto the internal hard drive for extra storage space.
Creating Your Boot Drive
So to get started we simply need to download the boot drive image for our target system and flash it onto an SD card or USB stick. If you need help with this process have a look at this tutorial – How Create, Manage, Resize and Fix Bootable SD Cards and Flash Drives.
Once that’s ready simply pop the boot drive into your system and power up making sure you’ve set the BIOS to boot from the correct device (again watch the above video link if you’re unsure).
Batocera will boot up and you should now have a portable Batocera USB stick.
Setting Up
Batocera is designed to work with a game controller, so make sure you plug one in. The software is very good at setting up the button mappings but you should go through the full mapping process to make sure it’s got all the buttons covered.
To do this you’ll need to navigate the menu system.
The hat buttons on your game controller are used for the direction keys. The A button (the south button) is used to select an option, the B button (east) is used to go back or cancel a selection.
The start button is used to get into and out of the menu system.
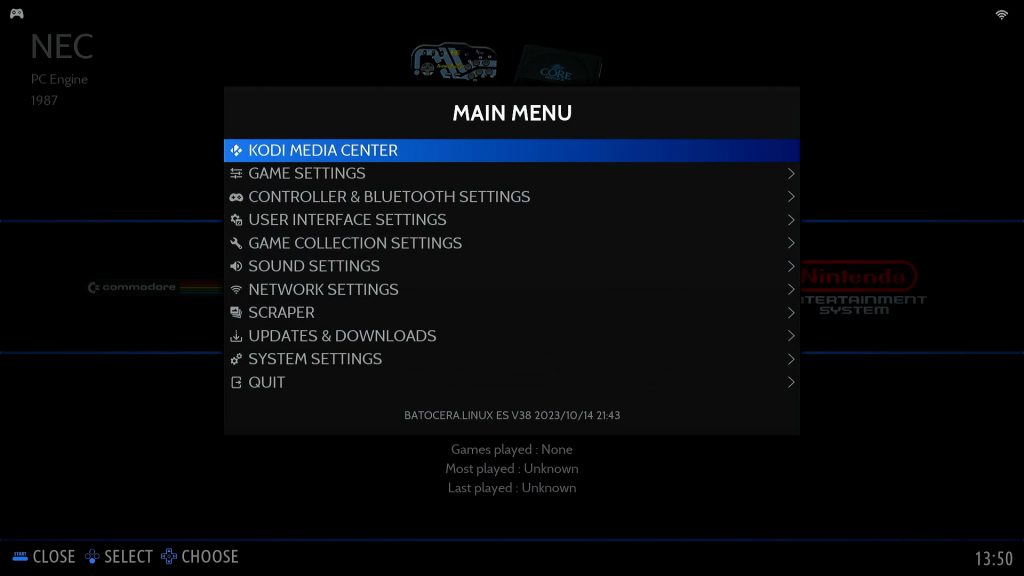
Once in the menu system you need to scroll down to the Controllers option and select it with the A button. Then select the Controller Mapping option. You now need to hold down a button on the controller until the system recognises the game pad and enters the mapping screen
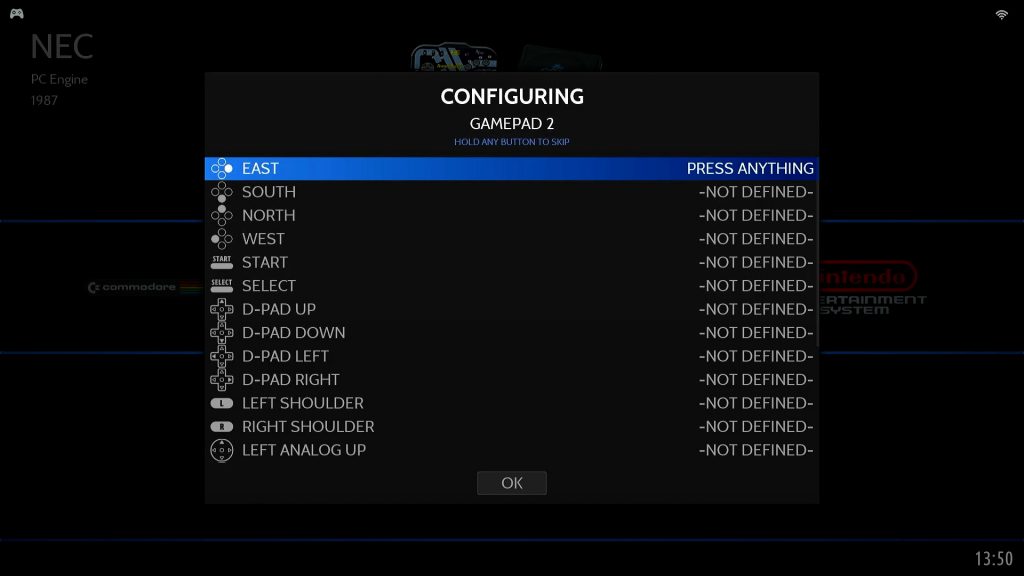
You now simple press the button that matches the icon on the left.
When you get to the hotkey button the best option if to press the select button again. This will set your game exit key combination to select / start. Pressing this combination when you are in a game will exit the emulator and take you back to the Batocera selection screens.
Network Setup
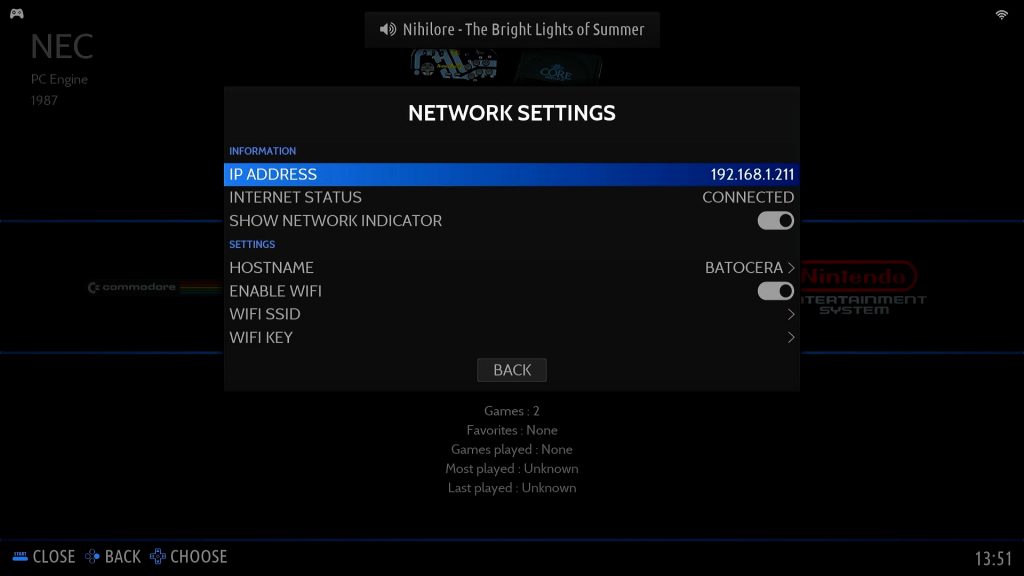
Next you need to select the Network Settings option from the main menu.
If you’re using Ethernet everything should be connected and ready to run.
If you’re using WiFi you will need to enable WiFi first, then enter your SSID and password. Once those are entered Batocera should be able to connect to your network and use the Internet.
Installing Onto Your Hard Drive
Now that your controller and network are connected correctly you have a few choices.
If you’re using a SBC or similar device the SD card is now ready to use as your main boot device. The rest of the procedures in this post will work on the system as it is.
Similarly, if you intend to use your USB stick as a portable drive you all set to go. Simply plug this drive into any PC, boot from it and you’ll have a ready to use retro gaming system.
Or you can move the Batocera operating system onto your hard drive and turn your PC into a dedicated retro gaming console.
NOTE : This process will overwrite your entire hard drive and cannot be undone.
To put Batocera on your hard drive go to the menu and select System Settings, then Install on a New Hard Drive. You’ll now be in the hard drive installation menu.
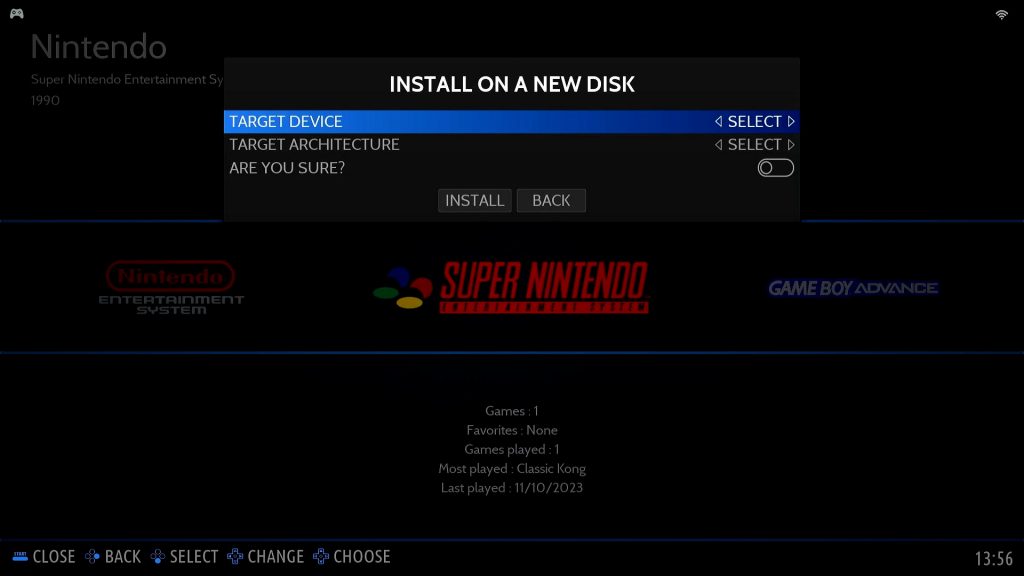
For the target device you need to select the hard drive you want to install Batocera on to.
For the target architecture you’ll need to select the processor type for your machine. For this you’ll need to consult your device specification. For example most modern PCs will use the X86_64 architecture. Raspberry Pis will use the BCM SoC devices (Pi4 = BCM2711, Pi5 = BCM2712, Pi3 = BCM2837) and so on.
You then then to confirm you know what you’re doing and finally select the install button. The software will now download the installation files, reformat your hard drive and install Batocera. This process may take a while but just let it run through.
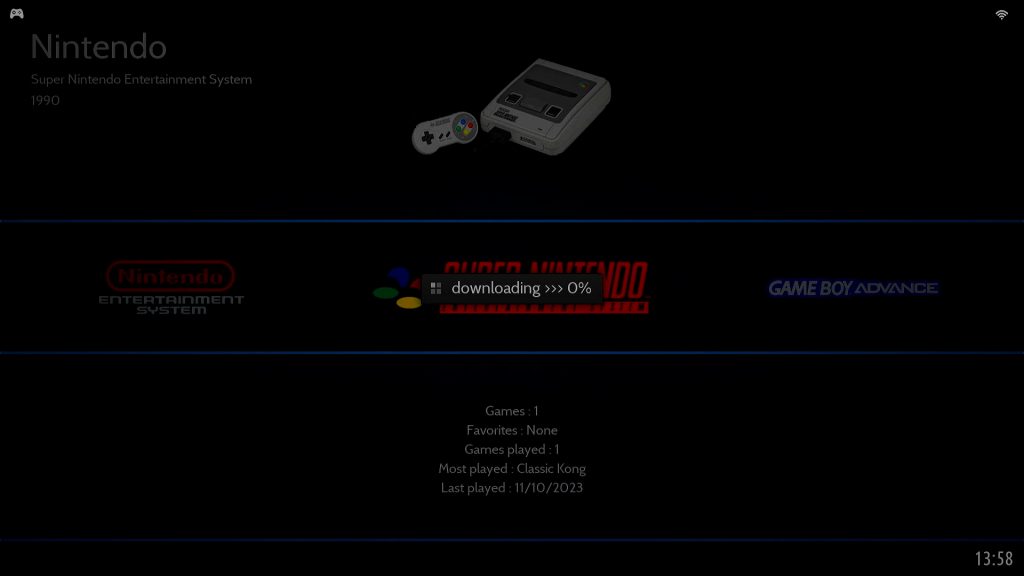
Once it’s finished you’ll be able to take the USB drive out and reboot your PC from its internal hard drive.
Note that this will be a fresh installation so you’ll need to go back and remap your controller and reset your network settings.
Loading Games
Really all that’s left now is to get some games files onto the system and start playing.
Getting hold of games files can be a bit tricky to begin with. But once you get started you’ll quickly find what you need. Google is your best friend here. Try the Internet Archive and also have a look at this video tutorial for some hints – Fix the Emuparadise Download Links Using Tampermonkey Javascript Code
The files need to be copied into therelevant system folders inside the /share/roms folder on your Batocera drive.
You can use the network shared drive to do this. On your main computer where your games files are stored open up your file explorer app. You now nee to go to a network drive \\BATOCERA\share. This will connect you directly to the Batocera drive in your gaming device. Just drag and drop ROM files as normal.
You can also plug a USB drive into your Batocera machine and use the file manager app in Batocera to copy files. Make sure you’ve got a keyboard and mouse attached and simply click the F1 key to open the file manager. Then simply copy and paste files from your USB drive to the relevant ROMs folders.
Get Playing
If all’s gone well you’re now set to game. Enjoy!


