Turn your Nintendo Switch into an Android phone or tablet – full LineageOS install and setup
7th June 2026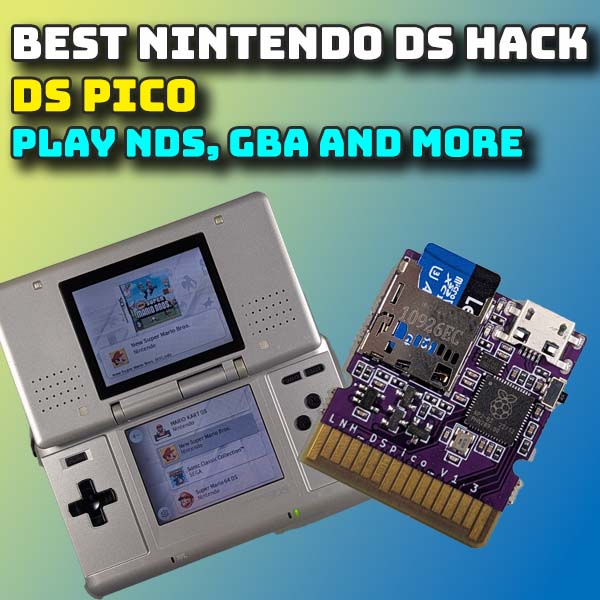
Best way to mod your Nintendo DS – DSpico flash cart – full setup and emulation
The Nintendo DS is still one of the best handheld consoles to own simply for the vast range of great games that make use of the dual screen format and touchscreen input. Along with its bigger brother the DSi, we’ve long been able to mod them with flash carts. This allows you to play DS games from your legally obtained backup files as well as games from a whole range of other consoles such as the GameBoy series, Sega consoles and many more.
The most common of these flash carts is the R4 which comes in a wide range of bespoke variations from a number of manufacturers. I did make a video on the R4 card setup a while ago so please do have a look at that. But the major drawback for these is that they are all closed source designs and they are all slightly different in the way they work and the software needed to get them running. A lot of cards no longer have online support so it can be a bit tricky to find the right combination of firmware and software to properly set them up.
There is also an EZ Flash card that promised better support but that too has issues, not least because the developer has stopped updating the system.
So there is definitely a need for a reliable, modern and fully supported flash cart for the DS. And this is where the Dspico comes in.
Dspico
This is a completely open source project created by the LNH Team and you can full details of the project at
It is based on the RP2040 microcontroller which powers the Raspberry Pi Pico boards. This gives the device a good amount of processing power, lower power consumption that the R4 cards for longer battery life and great expansion capabilities. The team have been very careful to create a design that can grow with the community, providing USB access and a few easily accessible I/O pins direct from the main processor. These will allow additional devices to be connected to the DS, for example, Infra Red sensors for some of the Pokemon games.
On the software side the team have open sourced the main firmware to drive the system and created their own Pico Launcher and Pico Loader applications that give the system full compatibility with all the existing DS and DSi homebrew code and games files.
Overall we’ve now got a community driven project that’s fully open sourced for both hardware and software, that’s fully up to date with full futureproofing.
Getting Started
To get started with the Dspico you’ll need the Dspico card itself and a micro SD card for your code and games. You’ll also need to format and copy files to the SD card so you’ll want to have some sort of computer handy.
Being open source you can download the files for the circuit board and case and make everything yourself. But I guess the vast majority of us will just want to buy one ready made. You can easily pick these up online for about £10 to £20 depending on what accessories you get.
On the micro SD card front pretty much any card will do. The RP2040 isn’t able to read data at much more than 6MB/s so don’t bother with a top of the range card, but do make sure you get a reliable brand. If you’re unsure of what to pick do have a look at my SD card video so you can understand what you’re buying. DS game file sizes are not very big so even a 16GB card will have loads of room for both DS and other emulated console ROMs.
So with everything ready let’s set it all up.
Firmware
The LNH team provide the firmware as a set of configurable source files. This lets you compile a version of the firmware that matches your system. The main choice is whether you want to be able to use the card in unmodded DSi and 3DS consoles.
This compiling process can be a bit awkward if you’re not used to the process, so luckily there are some precompiled versions available with the most common options.
My card came with a QR code on the box that downloads a manual. Inside this manual are links to all the code you need to get up and running. If you do get firmware links from your supplier they often contain the extra code needed to use the DSpico on unmodded DSi and 3DS consoles so I would use those if you can.
If your card doesn’t have this you can use this very useful site which has loads of tutorials and information for a whole range of DS carts.
https://sanrax.github.io/flashcart-guides/cart-guides/dspico/
In general you’ll want to download the latest version of the Hybrid Firmware. This will work on all DS models and softmodded DSi and 3DS consoles. If you haven’t modded your DSi or 3DS you can still use the DSpico but you’ll need to do a bit of compilation to get it to work due to copyright issues. But my advice would be to softmod these consoles as you’ll get a better end result than using any flash carts. To do that have a look at my modding tutorials.
Once you download the firmware you’ll end up with a .uf2 file. If you download any sort of zip or 7z archive file you’ll need to use an app like 7-zip to extract the .uf2 file.
This simply needs to be copied over to the DSpico via the USB connection.
If you connect the DSpico directly to your computer you’ll probably find a new external drive pop up. If this doesn’t happen, unplug the DSpico and take it out of its case. You’ll find a little push button on the edge, next to the RP2040 chip. This is the BOOTSEL button. Hold that in and keep it held in as you connect the USB lead to your computer. You should now see the drive appear. Once its connected release the BOOTSEL button.
The DSpico drive is actually the internal storage on the RP2040 chip. To flash the new firmware make sure you delete any .uf2 file that’s already on there and then copy over your newly downloaded file.
The drive may disappear and reappear on your computer, that’s normal. But once it’s all copied over eject the drive and put your DSpico card back in its case if you had to take it out.
The firmware is now fully up to date.
Software
To get our SD card ready we first need to make sure its formatted as an FAT32 drive using a 32KB cluster size and using an MBR partition scheme. If you’ve got a 32GB or smaller SD card the normal Windows format tool will do this for you. If you’ve got 64GB or bigger you’ll need some specialist formatting software. I like to use Minitools Partition Wizard free edition but Rufus will work as well.
In Partition Wizard I simply wipe all partitions off the card to make sure it’s fully cleaned. The SD card will almost certainly be using an MBR sceme. If not you can change that here. Then create a new partition. This needs to be a primary partition, using FAT32 and a 32KB cluster size. Once that’s all set we can run the commands and the SD card will be prepared. If you need more help in doing this please have a look at my SD card preparation video which goes through the process in more detail.
We now need to prepare the DSpico software on our SD card. This involves downloading 2 packages from the LNH team.
First we need the Pico Launcher from this GitHub repository
https://github.com/LNH-team/pico-launcher
Go to the latest releases and download the Pico_Launcher.zip file. On your computer extract the contents to a folder and then navigate to the downloaded files. You should find a _pico folder and a LAUNCHER.nds file.
To get this to work on the DSpico you need to rename the LAUNCHER.nds file to _picoboot.nds.
You can then copy the _pico folder and the .nds file to the root of your SD card.
Next we need the Pico Loader software. Again this if stored on a GitHub repo at this address
https://github.com/LNH-team/pico-loader
This loader can run on a number of R4 and other carts so make sure you download the latest release for the DSpico and extract the zip file contents to a folder. Inside that folder you should find a number of files. These need to be copied into the _pico folder on your SD card.
That’s the DSpico software set up
Games
We now need some DS games.
As usual you’ll need to find these yourself and as always do make sure that you have permission to use any software that you find to avoid breaking any copyright laws in your region.
On your SD card create a folder in the root directory called Games. Inside that create a folder called nds for your DS games and then copy your .nds game files into this folder. Make sure you’re using .nds files and not zip archives.
We’re now ready to go!
First Boot
Eject your SD card from your computer and plug it into your DSpico. Now pop the cart into your DS and power on.
You will either boot directly into the Pico Launcher application or you’ll see the DSpico sitting as a game on the main boot screen. Just select it and you’ll drop into the launcher app.
The bottom screen should show you the contents of your SD card. You can use the touch screen or d pad and A button to navigate and select items. The B key will back out one level.
If you select the Games folder you should see your nds folder inside. Open that and you’ll see your games. Find the game you want to play and select it with the A key. If everything is set up correctly the game will start.