Learn to Code Snake in TIC80 – Code Walkthrough
8th October 2020
The 8 Queen Problem – Computer Science
18th October 2020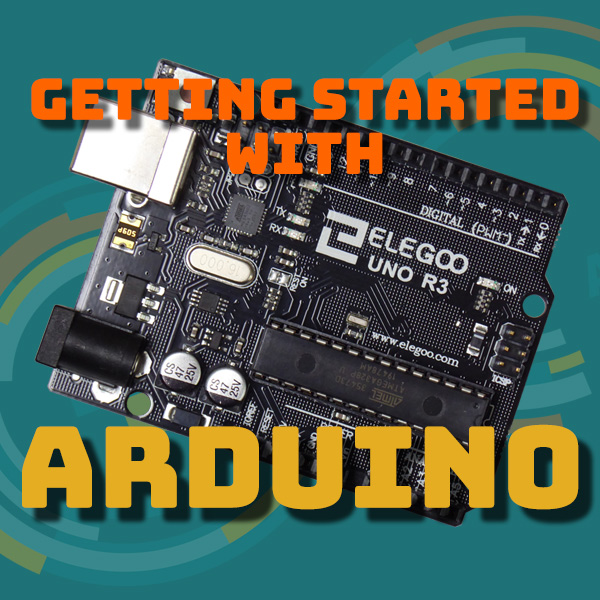
Getting Started With Arduino
Getting Started With Arduino
Arduino’s come in a range of different formats. Each variant offers different features such as more memory, more input output connections or simply a smaller physical size. But they all share the same development system and programming language so once you’ve learned to use one you can use any.
In this series I’ll be using an Arduino Uno which is probably the most common variant. You’ll also find that Arduino’s are made by a range of companies. The Arduino organisation made the Project an open hardware design so that anyone could build their own variation of the system whilst still being compatible with all the development systems and code.
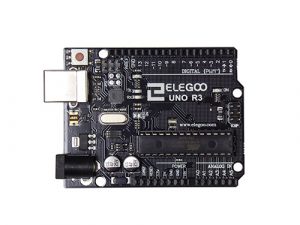
The Uno uses an ATmega328P microcontroller for the main brains of the system. A microcontroller is basically a whole computer built into a single integrated circuit. It contains programmable memory to store your code and RAM to store your variables and data. It also provides you with 14 digital input output pins and six analogue input pins. These pins allow you to connect your electronic devices to the main processor.
If you’re used to using PCs, tablets or even Raspberry Pi’s you’re not going to be impressed by the performance statistics of an Arduino. The Uno’s processor runs at 16 MHz, yes that’s 0.016 GHz! You’ve got 32 kB of memory for your program and 2 kB to store your data and variables. Again these are kilobytes, not megabytes or gigabytes.
So you might be wondering how you can get anything to work on such a low powered system.
Arduino’s don’t use any complicated operating system such as Windows or Linux. The code you write is pretty much the only code it needs. Everything you do with the board is achieved by talking directly to the microprocessor. Any drivers needed to talk to devices have to be coded by you or downloaded from a library and included in your software. All of this means that you can fit an awful lot inside the small devices. For example if you’ve got a 3D printer it’s almost definitely got an Arduino inside it.
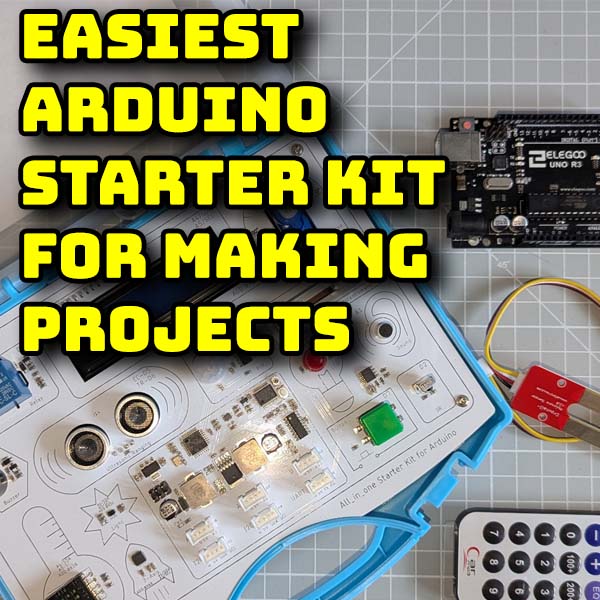
To get started with Arduino projects you obviously need to buy a board. But you’ll also need some electronic parts to connect to it. If you’re just starting out my best advice is to buy a project kit. You’ll find a range of these on Amazon or eBay, but the one I’m going to be using in this series is from a company called Elegoo. I’ll put some links in the description below. This kit contains an Arduino Uno, everything you need to connect to it, and a wide range of devices. This lets us explore all the features of the Arduino for a surprisingly low cost of around £35.
If you’re not ready to splash out and buy a kit you can do almost all the projects using a virtual Arduino. Tinkercad.com is a great online Arduino simulator that will let you build up circuits using all the same components that I’ll be using from the kit. It even lets you simulate the breadboard which I’ll be using to plug all the bits together with.
Although using the simulator is great fun I do strongly recommend you get hold of a kit of parts. There’s something special about using real world components rather than pixels on the screen. You can buy all the parts individually as you go along but unless you’ve got a really good electronics shop nearby the postage costs alone will make this much more expensive.
So that’s enough talking about Arduino’s. Let’s get started and make something.