Run your Wii U and vWii games from a single hard drive – Modded Wii U ISFShax setup
20th February 2026
Mod any Nintendo Switch with the PicoFly hard mod – Step by step tutorial
15th March 2026
My Ultimate Nintendo Console – Every device ever made in one machine
Nintendo have been making electronic games and consoles since 1977. In that time we’ve seen them go from the Pong style Color TV-Game, through the Nintendo Entertainment System or NES, Gameboy and DS handhelds, Wii and Wii U and on to today’s Switch and Switch 2. Almost all of these have been fantastic success stories with thousands of great games spanning all ages and genres.
But which is the best console to own?
This is an incredibly difficult question to answer as there have been so many great machines. I myself have a number of consoles that I still use and have great fun with, especially once they are modded so I can run my games from my backup files. Your choice may well be guided by what you owned and grew up with.
But in this video I’m going to offer a different solution to the question.
Why choose one, when you can make your own console with absolutely every single device ever released.
Welcome to my best Nintendo console ever made.
Parts
GEEKOM IT12 2025 Edition:
GEEKOM US: https://www.geekompc.com/geekom-mini-it12-mini-pc/?mtm_campaign=kit12251
GEEKOM UK: https://www.geekom.co.uk/geekom-mini-it12-mini-pc?mtm_campaign=kit12251
GameSir N2Lite Game Controller – https://amzn.to/4r2ABVN
GameSir G7 Pro controller – https://amzn.to/4cpks9p
Nintendo Wiimote – https://amzn.to/4bjAdO7
What Is It?
This is a mini Windows PC running a number of Nintendo emulators so that it can play the original software form the whole range of Nintendo machines.
My PC was kindly supplied to me my Geekom and this is their Mini IT12 model with an Intel Core i7-1280P and 32GB of DDR4 RAM. I did make a full review video of the PC a few months ago so please do check that out if you want to get the full rundown on this excellent, and powerful, computer.
One of the great things about these mini PCs is that they can easily be made into a small games console that you can just plug into any TV to turn it into a full games machine. All you need is the PC, it’s power supply and a games controller and you’re all set.
What Software?
Software wise I’m basing my setup on Launchbox, or in this case the premium version, BigBox. Either version will do. Launchbox itself is a completely free application that will do everything I’m going to show you today. BigBox just lets you run it in full screen mode without any Windowsey bits getting in the way.
I’ve chosen Launchbox as it’s great for connecting up a range of standalone emulators and pulling everything into the one interface, but you can use other systems such as Retrobat or Batocera.
I’m not going to cover the full installation of the system as that would be a bit of a long video, but I have covered each part that we need in separate episodes so I’ll link out to those so you can build everything for yourself.
Nintendo Timeline
So for this video I thought we’d walk along the Nintendo timeline to see how you can play each system.
So lets jump back to 1977 and start there.
Pong Style Consoles
Nintendo started trading in 1889 as a playing card manufacturer but didn’t make its first electronic game and until the Color TV-Game 6 console in the late 1970s. These were discrete TTL logic powered machines with no processor as such, just hard wired electronics. As such the emulators for these systems are software simulations of the games rather than running the actual logic. To get hold of the simulators you can use a great Pong game repo by ThomasVisvader on GitHub.
https://github.com/ThomasVisvader/Pong
There you’ll find recreations of pretty much all the pong style consoles from the time including the full range of Nintendo machines. These have been compiled as Windows .exe files to make them easier to get up and running. Otherwise you can use the Python scripts running with the PyGame library.
Running them from Launchbox we’re just using the application launcher feature to start the standalone code.
Not a lot to say about these machines other than they did bring colour displays into the mix, but they did start Nintendo on its way to world domination!
Game and Watch
Next we move on to 1980 when Nintendo released its Game and Watch handhelds. These were basically souped up calculators with custom LCD panels that played a single game. This is where we do start to run into copyrighted material in terms of the games so I’m not able to tell you where to get hold of them, suffice to say that Google will help you a lot. As with all the games I this video if you get really stuck do have a look at my main project page where I can give you a bit more guidance.
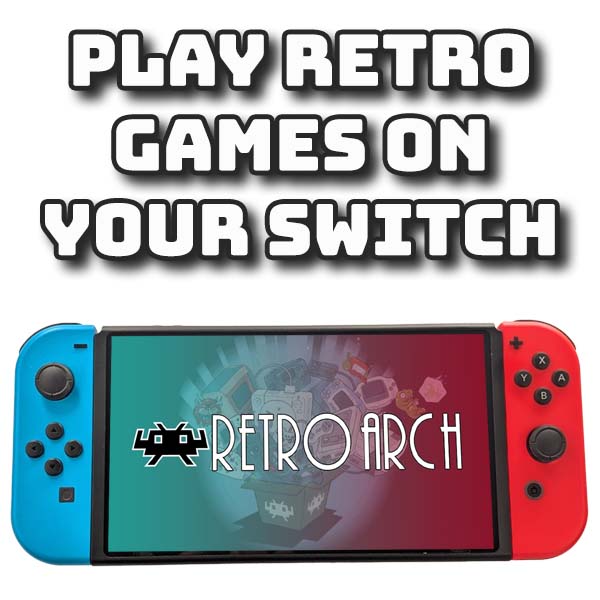
To play these games on your computer we start to make use of the go to application for retro gamers, RetoArch. This is a multi system emulator that uses what are known as cores to allow it to emulate a whole range of computer games. The Nintendo Game and Watch core will let you run the game files for these games.
If you’re using Launchbox another great feature is that it is fully aware of the emulators and game systems that you’ll want to play so can actually download and install the emulators and even the RetroArch cores you’ll need automatically. Again please refer to my Launchbox installation video for more info on how to do that.
So once you’ve got that all installed you’ll have access to the majority of the games released by Nintendo along with quite a few other LCD and LED tabletop systems from the time. Remember these were on the market just as home computers were starting to become available.
For me one of the great finds here was Astro Wars, or Galaxy II as the US called it. I do remember getting this for Christmas around 1981 as an upgrade to my Galaxy Invader 1000 game. Still great fun to play even if it’s a bit basic by todays standards, but a marvel of electronics back in the day.
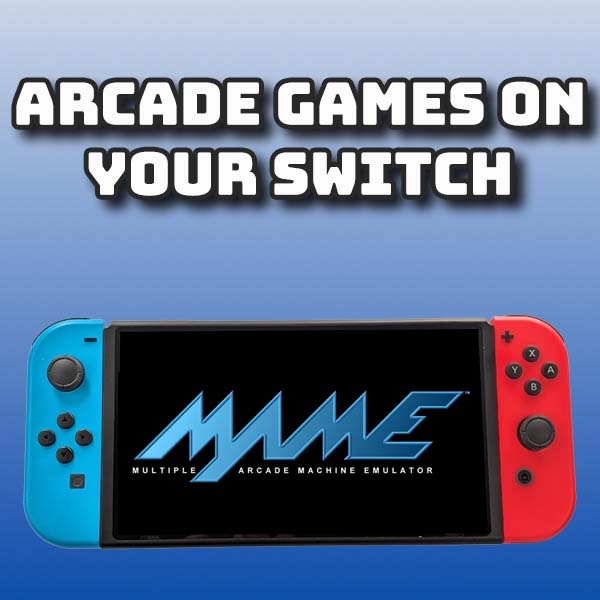
Nintendo Entertainment System
So back to our Ultimate Nintendo console and we’ve reached the real commercial take off point for the company with the 1983 release of the Famicom system, known in the rest of the world as the Nintendo Entertainment System or NES. Again RetroArch is the best bet for emulation and importing the games into Launchbox will get everything set up for you.
From there you can browse and play absolutely every game ever released using the real code dumped directly from the ROM cartridges.
GameBoy
Moving on to 1989 Nintendo released the first of its proper handheld computer systems, the GameBoy. Microprocessors and LCD panels had reached a state which made this possible with only standard batteries needed to power them. This was followed by the GameBoy Color and GameBoy Advanced, all adding extra power, better graphics and better games than the previous versions.
RetroArch again has all of these covered with a range of cores so that you can play them all on your computer.
Super Nintendo Entertainment System
Back on the console side the SNES was released just after the GameBoy in 1989 and was Nintendo’s entry into the 16 bit console race. As expected the jump in processing power brought higher resolution graphics with better colour palettes and more immersive gameplay. Together with the start of the 3D game scene with some basic polygon modelling in games like StarFox or Lylatt Wars.
Yet again RetroArch cores are more than capable of handling these machines along with the Sega Megadrive and other 16 bit competitors.
Virtual Boy
At this point there is probably one Nintendo console that gets overlooked, the Virtual Boy. This was sort of a mixture between a headset and a game controller with the idea of bringing stereoscopic 3D to gaming, very similar to the VR headsets of today. In emulation we naturally lose the 3D effects but can still play the limited supply of games from another RetroArch core.
There aren’t a lot of games for this console, only 22 titles, as it didn’t really take off, but definitely one to try out if you’re building up your Nintendo collection.
Nintendo 64
Next on our list is the Nintendo 64. Jumping over the 32 bit processors during the Bit count wars with Sega this was released in 1996. This was when 3D became to way forward. Starting with the launch title of Super Mario 64 the console was at last able to render fairly complex polygon models at a reasonable framerate to create some really stunning, again for the time, games.
For our console we’re getting to the point where the RetroArch core system starts to become less efficient than dedicated emulator applications. With the Geekom 12th generation processor it’s still fine for even the harder to emulate titles such as Golden Eye but if your machine starts to waver you can try the Project 64 code which I find is a very effective alternative. Here again Launchbox makes it easy to swap out your emulator so that everything runs seamlessly from the main interface.
GameCube
By 2000 Sega had dropped out of the console market and was now developing games in cooperation with Nintendo which I guess is why Sonic started to appear on the Nintendo machines. The Gamecube was launched in 2001droping back to a 32bit processor but with much more power than the N64. It also started using mini CD disks instead of the memory cartridges of the N64.
The console was not as successful as others but Nintendo had a stranglehold on the handheld market with the GameBoy Advance so it wasn’t in any financial jeopardy. Having said that there are some great games for the platform as gaming started to become more and more like what we see today with more realistic 3D worlds and higher definition graphics.
From the emulation point of view I’d recommend moving to the dedicated Dolphin emulator, named after the pre release code name for the GameCube. This emulator does need a moderately powerful processor to run GameCube at full speed but it has lots of tricks to squeeze a few extra frames per second if you’re struggling. Dolphin is one of the emulators that Launchbox supports so you can simply ask it to download, install and set it up for you. You then just need to map in your controllers.
DS
In 2004 Nintendo replaced its GameBoy range with the new Nintendo DS. This was a dual screen handheld with the bottom screen proving a touchscreen interface as a unique way of interfacing with the games. This console was an immediate success and is a contender for the best ever selling console of any type topping over 150 million sold. As such there are hundreds of fantastic titles for it, so well worth loading up the emulator.
For emulation I tend to use one of the RetroArch cores which work fine on my mini PC. But if you need to, the melonDS or DeSmuME standalone applications will give you more control over performance settings.
Using the bezels in Launchbox also gives you a nice DS look to the screen displays so make sure you load those in. Playing games works with both the gamepad and the using the mouse for touch input.
Wii
By 2005 there were a few more competitors in the console market with the Sony PlayStation range and the Microsoft Xbox. It was at this point Nintendo broke away from the standard console progression of more power and resolution to create the Nintendo Wii.
This console uses a unique controller system which seamlessly integrates motion sensing into the gameplay allowing for a whole range of new and innovative titles. The Wii isn’t as graphically powerful as it’s competitors but it did offer a unique alternative. Which was a real success for Nintendo.
Emulation is again provide by the Dolphin emulator with full support for using real Wiimotes with your PC. All you need is a USB powered sensor bar which houses a couple of infra red led arrays to allow the Wiimote’s IR camera to sense position and direction. I did make a full installation video on how to set this all up so please do have a look at that.
This gives you the full Wii gaming experience without the need for a real console. If you are going to load this emulator then please do get hold of a sensor bar and Wiimote as you really won’t get the full enjoyment from the games without them.
3DS
By 2010 there had been a few iterations of the DS console before the Nintendo 3DS was launched. This was a bigger and more powerful DS style console but now with an autostereoscopic display which gave you a 3D screen without the need for glasses. I’ve used it a few times and it actually works very well.
Of course in emulation you lose the 3D effects but none of the games relied on it to play. For emulation I use the Azahar application which is a development of the Citra emulator. Installation is as easy as download the application and adding games. There’s hardly any setup to do. This isn’t an emulator that Launchbox knows about but you can easily add it as a custom app so that everything fits into the normal interface.
With 3DS prices going through the roof at the moment emulation is going to be the best way to experience this console.
WiiU
On the console side Nintendo launched a new version of the Wii, the Wii U. This came out in 2011 but didn’t really build on the astounding success of the Wii. It was a new console that was able to play Wii games using its built in virtual Wii emulator, the vWii. It was also the stepping stone between the DS/3DS dual screen layout and the later Switch console.
The WiiU had a standard processor box but also a handheld gamepad with a built in touchscreen that connected wirelessly to the processor box – effectively giving you the same configuration as the Switch and DS models.
For emulation use the Cemu emulator. This does a great job of running the WiiU games but does require a little bit of setup to get it working. It does rely on some decryption keys to allow games to work but I’ve covered all of that in my Cemu setup video so do have a look at that.
Once up and running though it has very good compatibility with the WiiU game library so you’ll have loads of fun.
Switch
So this finally brings us up to date with the 2017 Nintendo Switch. This combined the whole WiiU setup into a single handheld unit so that you could play either on a big screen or as a portable console.
Nintendo have been hunting down and trying to kill off emulators for the system, but luckily the whole open source nature of these applications means that they are fighting a loosing battle, which of course is great for us.
At the moment my favoured emulator is Eden which is a development of the Yuzu code base which was closed down by Nintendo in 2024. Again you’ll need to do a bit of work to get it running by adding official firmware and console keys but one running you can play most of the console games. Again you’ll need a reasonably powerful processor and RAM to get good performance. On my Geekom PC it runs very well with just a couple of slowdowns as it recompiles some of the shaders during scene changes, but that’s to be expected. But overall you can play even the later games with ease.
Conclusion
So that’s a quick run through of my ultimate Nintendo console.
Hopefully you’ve had fun seeing all the consoles running effortlessly on a mini PC which you can just pack up and take with you wherever you want.
If you want to get hold of one of these PCs I’ll put some links in the description together with some of the controllers I’ve been using.
For me having some of the original consoles can’t be beaten, especially the Wii and DS style machines as they really do lose a bit when taken to the emulator. But for sheer enjoyment and access to the whole Nintendo history I really don’t think you can beat this emulation setup.