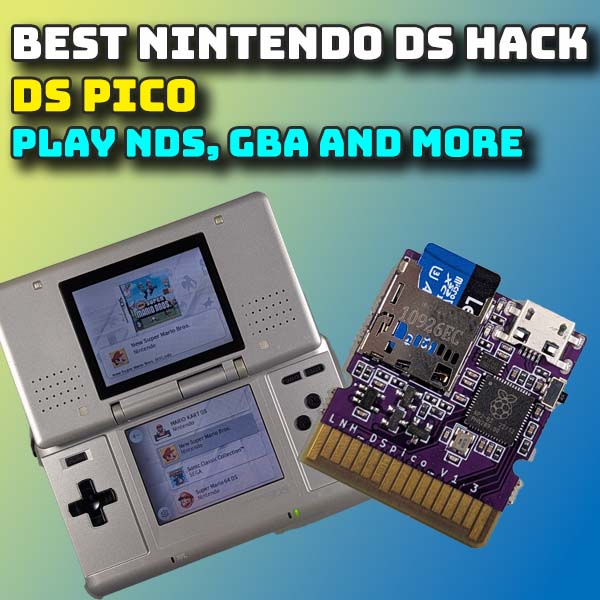
My Ultimate Nintendo Console – Every device ever made in one machine
3rd March 2026
Install backup files on your modded Nintendo Switch – Use DBI Installer to create and install game dump files
22nd March 2026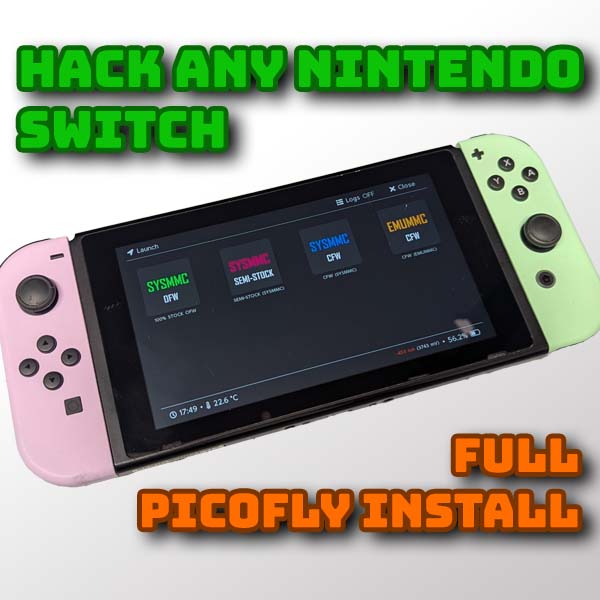
Mod any Nintendo Switch with the PicoFly hard mod – Step by step tutorial
The Switch is the main console currently being sold by Nintendo. Version 1 was released back in March of 2017 with Version 2 launched in June 2025. With over 150 million units sold, the console has built up a fantastic library of games for us the play.
But if you’ve been following my channel, and please do subscribe if you haven’t already, you’ll know that I like to show you how to mod your machines so we can run custom firmware and install homebrew applications and backup and run our game cards from an SD card and generally take full advantage of the console’s features.
Modding the Switch can be achieved in 2 main ways.
If you’ve got one of the early version 1 models you can use an RCM hack. This uses a development setting that was left in place by Nintendo where you simply short out a couple of pins on one of the joycon connectors to put the console into its recovery mode. From there you can inject a custom payload to hack the system.
Unfortunately this route was patched by Nintendo in mid 2018, so only the first years’ worth of production units can be hacked in this way.
If you want to find out if your console is able to use the RCM hack head over to the Switch hacks Guide at
https://switch.hacks.guide/user_guide/getting_started
and type in your serial number. You’ll find this on a sticker on the bottom edge of your Switch or go into your Settings and scroll down to System. Then open the Serial Numbers section.
Here you can see that my switch is patched so can’t use the RCM method.
If you are able to use the RCM method you can exploit the console with a simple RCM jig and a computer or custom payload injector. This method works great, but it does need you to connect to your PC or injector every time you power on the console. The exploit is not persistent which means that it has to be re enabled if the console powers off.
As I don’t own an unpatched console I’ll direct you to this video which covers the process really well. Once the system is exploited the homebrew code and setup is exactly the same.
The second method, and the one I’ll be covering in this video, involves soldering a small circuit board onto your Switch motherboard to permanently exploit it. This will work on any Core Switch model including the version 1 and version 2 and models that can use the RCM hack. These modchips use a voltage glitch on the processor to break into the boot sequence allowing a payload to be injected to hack the system. This works as soon as you power on the machine so your Switch is effectively permanently hacked.
The same modchip can be used on the Lite and OLED models but the modifications to the motherboard are a bit different. If you own one of these models please have a look at a video that specifically deals with your version of the console. Both the Lite an OLED are slightly more involved but the basic process is the same.
Of the two methods I’d probably advise this method if you’re happy with the soldering as it’s permanently enabled as soon as you turn on your console.
So let’s see how to install the PicoFly modchip.
Firmware Versions
Before we do anything we need to make sure that our console is on a hackable firmware version. In January of 2026 the main developer of Atmoshpere, the custom firmware we’ll be using, retired from the hacking scene. This means that the code is not being updated as fast as usual. It’s important that you check the main repository releases section at
https://github.com/Atmosphere-NX/Atmosphere/releases
to see which is the latest official firmware version that is supported.
You then need to check the firmware version on your console to make sure it is covered. Make sure you power on your console and immediately turn off automatic firmware updates by going into the settings page, System settings and then scrolling down to the Automatic Software Updates section. Click it to turn it off.
You can now scroll back up to the top of the system settings and under Software Update you should see your current firmware.
At the time of making this video in March 2026 that latest firmware version is 21.2.0 which is fully supported by all the software I’ll be showing you in the video. To find out what the current latest official firmware is do a search online for Latest Nintendo Switch Firmware version. You should get a link to a Nintendo support page like this one which will list the last released update.
If the latest released version is moddable it’s probably worth updating so you have the bug and firmware fixes in place. BUT CHECK THE NUMBERS FIRST!
What You Need
Parts used :
Headset : https://amzn.to/46XZxH8
Soldering iron : https://amzn.to/3Nqiagb
Screw driver set : https://amzn.to/4sE7qtA
Spudger : https://amzn.to/3NqikEj
Alcohol : https://amzn.to/3PbNHD5
Flux : https://amzn.to/4lyRd6D
Tweezers : https://amzn.to/3PksSW0
For this video I’ll be using the PicoFly modchip. This is the latest version and the most widely supported. There are a couple of versions but you should aim to get hold of the one built onto a flexible circuit board as this makes the whole installation process really easy with pre aligned solder points and no extra wires running around the system.
AliExpress is probably the best place to shop for these and you’re looking for the PicoFly Core version. This should include a V1 and V2 solder point flexible ribbon cable which connects to the main RP2040 PicoFly board and a small programming adapter USB port so you can flash the microcontroller code. If you’ve got a Lite or OLED model make sure you get the right set for those. Each model has it’s own set of solder points so it is important that you match your model to the version you buy.
On top of the PicoFly board you’ll need the normal soldering tools, cleaning tools, screwdrivers sets and some thermal paste to replace the heatsinks properly.
You’ll also need an SD card that’s big enough to hold your game backup files and any other software and games you’ll want to install.
Once you’ve got all that assembled we’re good to go.
Warning
Before we start taking the console apart do be aware that this process does require some fine soldering. If you’re new to soldering watch the video through first and then use an old circuit board to practice soldering to the tiny surface mount components. Have a look at my soldering guide so you understand about using flux and how the solder flows around components.
Make sure you have the right tools and a good temperature controlled soldering iron. If you splash solder on the motherboard or knock a component out of place you can break your switch.
It’s not a difficult mod, but be careful and take it slowly.
If you don’t feel you’re able to do it yourself there are people who will do it for you. Have a look on Etsy or search online. It will cost you around £100 for the mod to be fitted.
Fitting the PicoFly Modchip
Please see the video for full disassembly and fitting instructions.
Software Installation
https://sthetix.info/hats/releases/
Once we have a confirmed working PicoFly installation we need to install the payload and boot folders so that PicoFly has some custom firmware to work with. For this we’ll be using Hekate.
At this point we’ve also reached the main starting point on the Switch Hack Guide at
https://switch.hacks.guide/user_guide/modchip/preparing_hekate
I’ll be taking you part way through this guide to get the base system installed and setup.